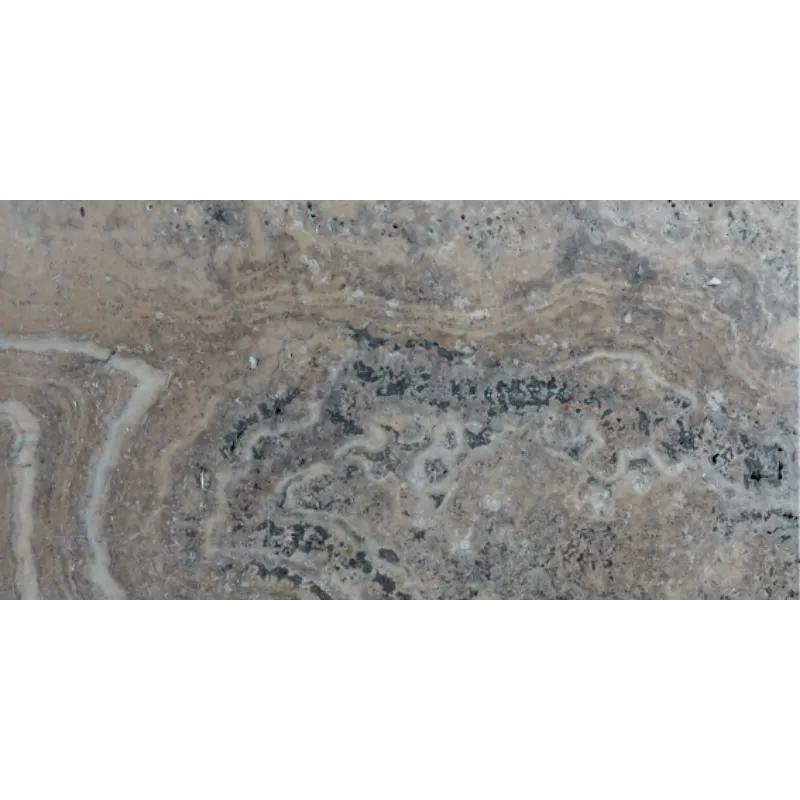
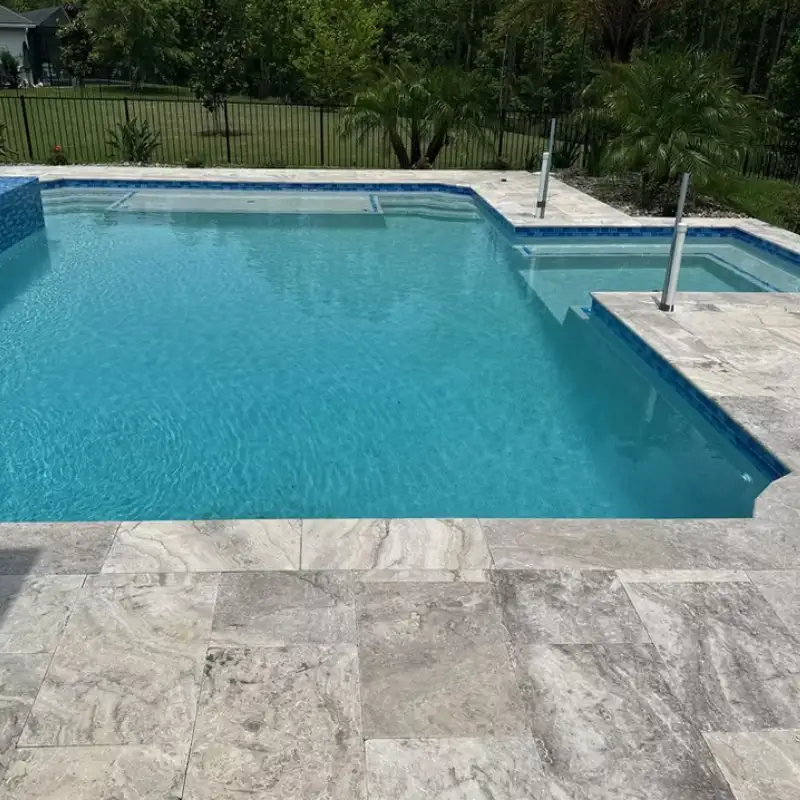
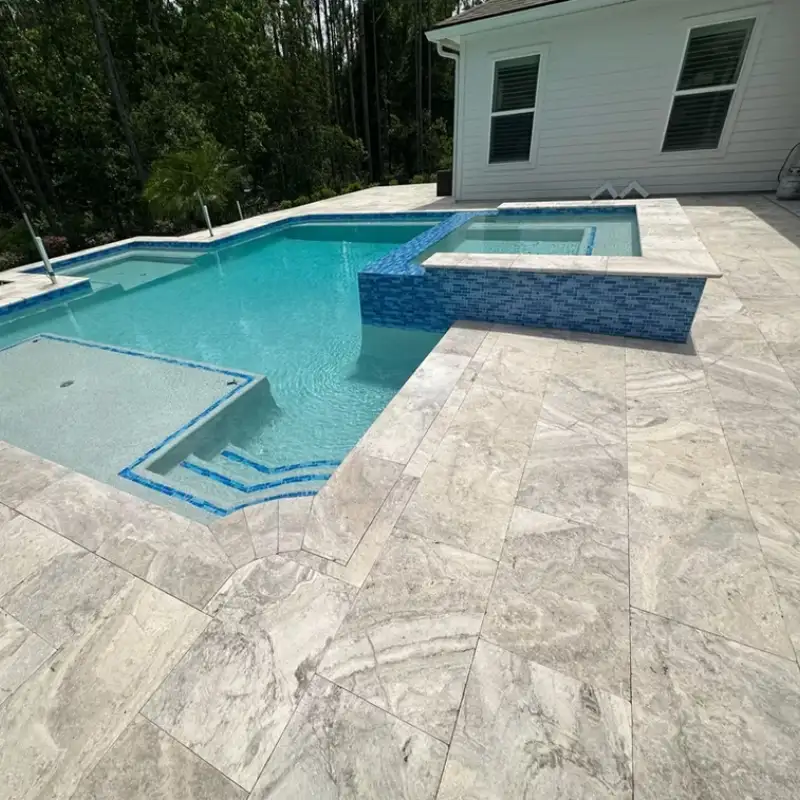
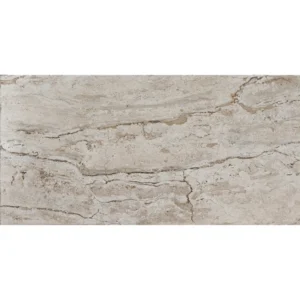
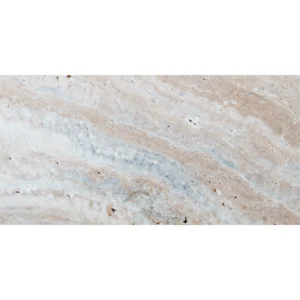
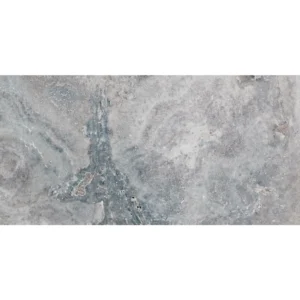
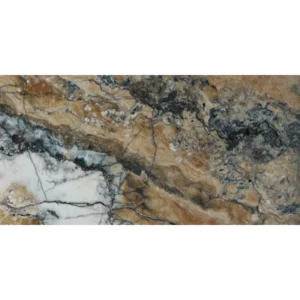
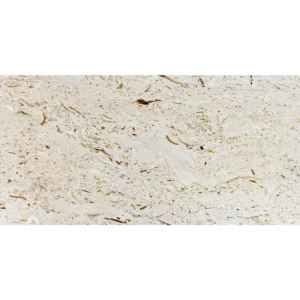
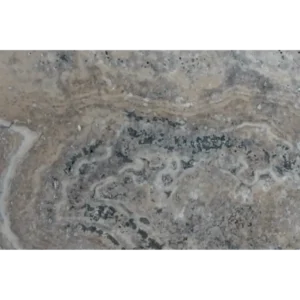
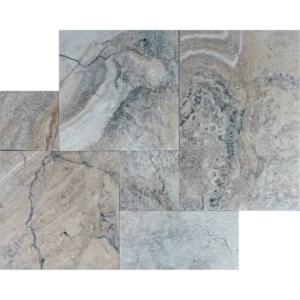
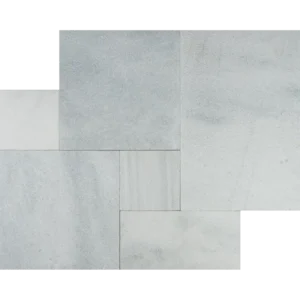
Alaska Silver Tumbled 12″x24″ Travertine Paver – Large Format, Modern Elegance
The Alaska Silver Tumbled 12×24 Travertine Paver brings a refined, contemporary feel to outdoor spaces through its larger format and subtle silver-gray coloration. The elongated proportions create a clean, open visual flow, making this paver an excellent choice for modern patios and spacious landscapes.
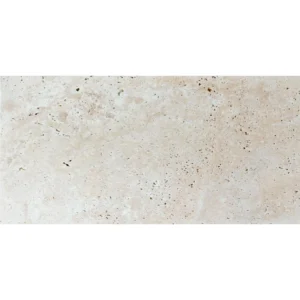
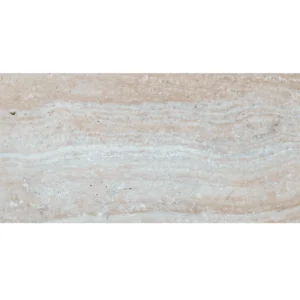
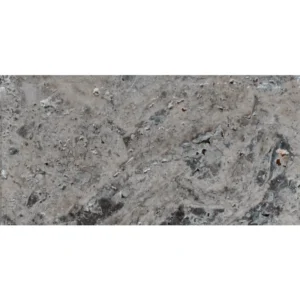
Its tumbled finish softens the stone’s surface and edges, delivering a naturally aged character while maintaining a comfortable, slip-friendly texture underfoot. Natural variation in tone and veining ensures each installation remains unique, adding depth and authenticity to the overall design.
Compared to smaller formats, the 12″x24″ size minimizes grout lines and enhances visual continuity, especially in large-scale outdoor applications. This format pairs well with both straight-set and staggered layouts, allowing designers and homeowners to achieve a sleek yet organic appearance.
Key Features
- Material: Natural Alaska Silver travertine
- Color: Silver-gray with subtle beige undertones
- Finish: Tumbled for a softly aged, non-slip surface
- Size: 12″ x 24″ (nominal)
- Edge: Tumbled, eased edges
- Patterns: Straight lay, staggered, modular accents
- Applications: Patios, pool decks, courtyards, terraces, and outdoor living areas
Installation Guide – Alaska Silver Tumbled 12″x24″ Travertine Paver
Important Note
This guide covers the paver placement phase only. Proper sub-base preparation, drainage, and bedding installation must be completed in advance by qualified professionals.
Step 1: Dry Layout & Planning
- Dry-lay all pavers to evaluate natural color variation, veining, and tumbled edge differences.
- For large-format 12″x24″ pavers, select layouts that minimize lippage—running bond or ashlar patterns are recommended.
- Use chalk lines or a laser level to establish straight, consistent reference lines.
Step 2: Paver Placement
- Carefully place each 12″x24″ paver onto a properly leveled bedding layer.
- Maintain consistent joint spacing of 3/16″–1/4″ to allow for movement and joint material.
- Lightly tap pavers with a rubber mallet to ensure full bedding contact.
- Continuously check adjacent edges and surface plane to prevent lippage.
Step 3: Cutting & Edge Finishing
- Use a wet saw with a diamond blade designed for natural travertine.
- Fully support large-format pavers during cutting to prevent cracking or edge damage.
- Dress exposed cut edges with a rubbing stone to visually match the tumbled finish.
Step 4: Joint Filling
- Fill joints with polymeric sand or a joint filler approved for natural travertine.
- Sweep excess material from the surface and compact joints gently.
- Lightly mist polymeric sand according to manufacturer specifications.
Step 5: Sealing & Maintenance
- Once the installation is fully dry, apply a breathable penetrating sealer suitable for exterior travertine.
- Reapply sealer every 12–24 months based on climate exposure and foot traffic.
- Use only pH-neutral stone cleaners; avoid acidic or abrasive products.
Disclaimer
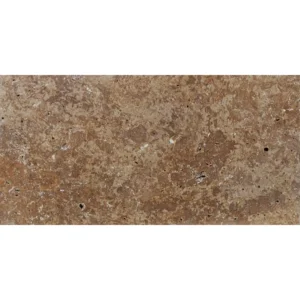
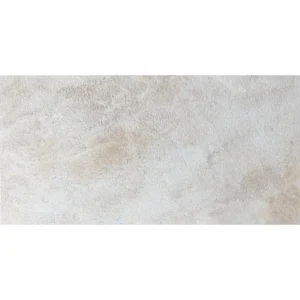
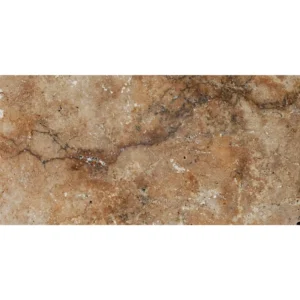
Travertine is a natural stone and may contain color variation, surface pits, and veining. These characteristics are inherent and not considered defects. Always inspect and dry-lay materials prior to installation. Mechanical plate compactors should not be used directly on stone pavers. Professional installation is strongly recommended.