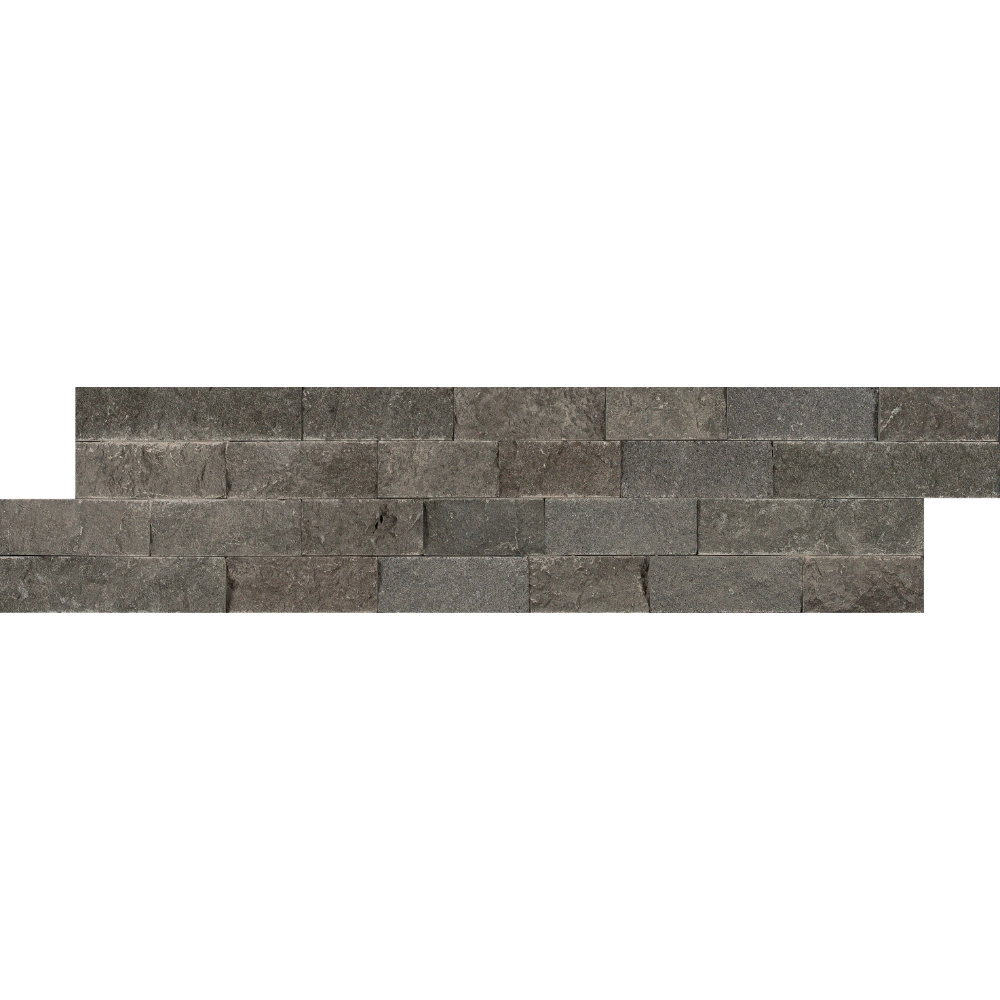
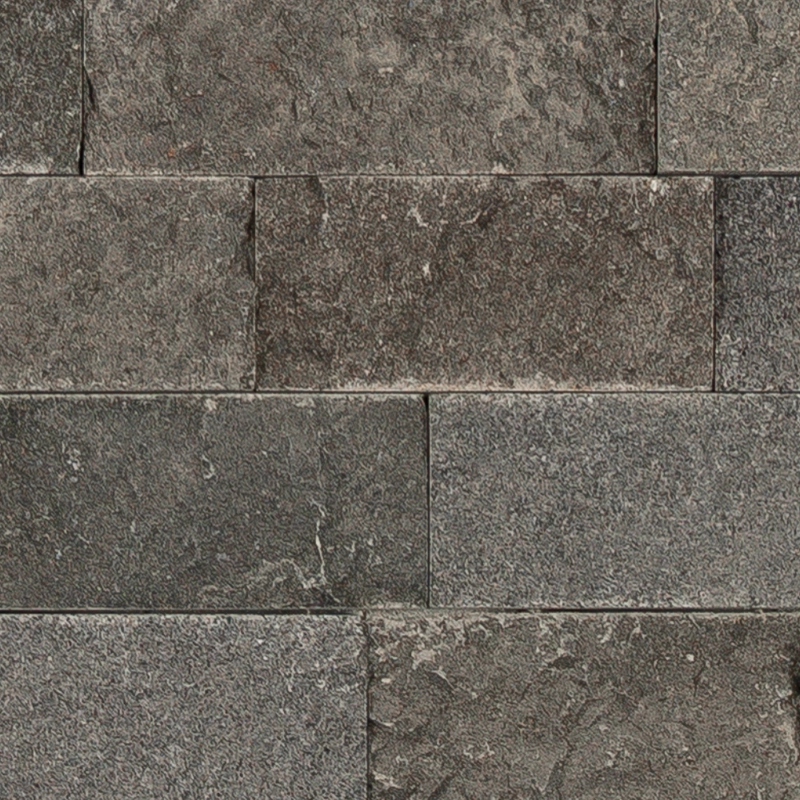
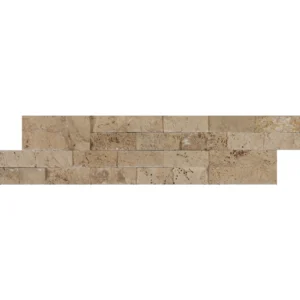
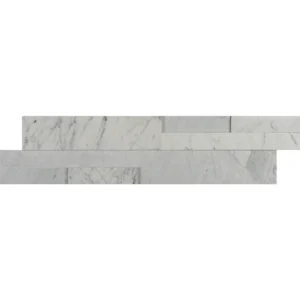
Add rugged elegance to your design with the Basalt 6×24 Ledgestone Splitface Panel. This natural stone panel features deep charcoal hues and a textured splitface finish that captures light beautifully. Its modular 6″x24″ size offers an interlocking edge, ensuring a seamless installation with no grout required.
Thanks to its timeless color and bold structure, this panel suits a wide range of applications. You can install it on fireplace surrounds, feature walls, outdoor kitchens, or building façades. Whether you’re creating a rustic backdrop or a contemporary accent wall, the Basalt panel delivers lasting sophistication.
Key Features – Basalt 6×24 Ledgestone Splitface Panel
- Material: Natural basalt stone
- Color: Rich charcoal gray with tonal variation
- Finish: Splitface for dimensional texture
- Size: 6″x24″ interlocking panel
- Use: For vertical wall applications only
Suggested Applications:
- Living room and fireplace walls
- Exterior facades and columns
- Accent walls in kitchens or bathrooms
- Outdoor kitchens and BBQ surrounds
With its natural texture and dark tones, the Basalt 6×24 Splitface Ledgestone Panel blends nature and design to elevate both indoor and outdoor environments.
Installation Guide – Basalt 6″x24″ Ledgestone Splitface Panel (Vertical Wall Use Only)
Step 1: Surface Preparation
- Ensure the wall surface is clean, dry, and structurally sound.
- Acceptable substrates include cement backer board, concrete block, and masonry.
- Do not install over drywall. Use metal lath and a scratch coat where needed.
- Apply a waterproof membrane for installations in wet areas.
Step 2: Layout & Orientation
- This panel is designed exclusively for vertical wall applications.
- Dry-lay multiple panels to blend variations in shade and texture before setting.
- Stagger vertical seams to create a natural, seamless look.
- Mark centerlines to help align the first row accurately.
Step 3: Adhesive Application
Recommended Mortars:
- Laticrete MVIS Hi-Bond
- Mapei Ultraflex LFT or equivalent polymer-modified thin-set mortar
Instructions:
- Use a 1/2″ square-notched trowel on the substrate surface.
- Back-butter each panel completely for maximum bond strength.
- Press panels into place using firm pressure and slight twisting motion.
- Start from the bottom and work upward in sections.
- Use spacers only if needed—this is a dry-stack application.
Step 4: Cutting & Fitting
- Use a wet saw with a continuous-rim diamond blade for clean, accurate cuts.
- Trim panels as needed to fit around corners and edges while preserving alignment.
- Use matching corner pieces or mitered returns for professional transitions.
Step 5: Curing & Sealing
- Allow mortar to cure for at least 24–48 hours before any exposure to moisture.
- Clean the surface gently using a damp sponge during installation—do not allow mortar to dry on the face.
- Apply a high-quality penetrating sealer to enhance color and protect against stains (optional but recommended).
Maintenance Tips
- Clean with pH-neutral stone cleaner and a soft brush.
- Avoid acidic or abrasive products.
- Reapply sealer every 1–2 years depending on exposure conditions.
Disclaimer
This product is designed for vertical wall installation only. It is not intended for floors, countertops, or load-bearing surfaces. Natural stone panels may vary in tone, veining, and thickness. Always inspect product before installation. Stonemarket USA is not responsible for installation errors or misuse. We recommend hiring a licensed installer and using premium setting materials for optimal results.


