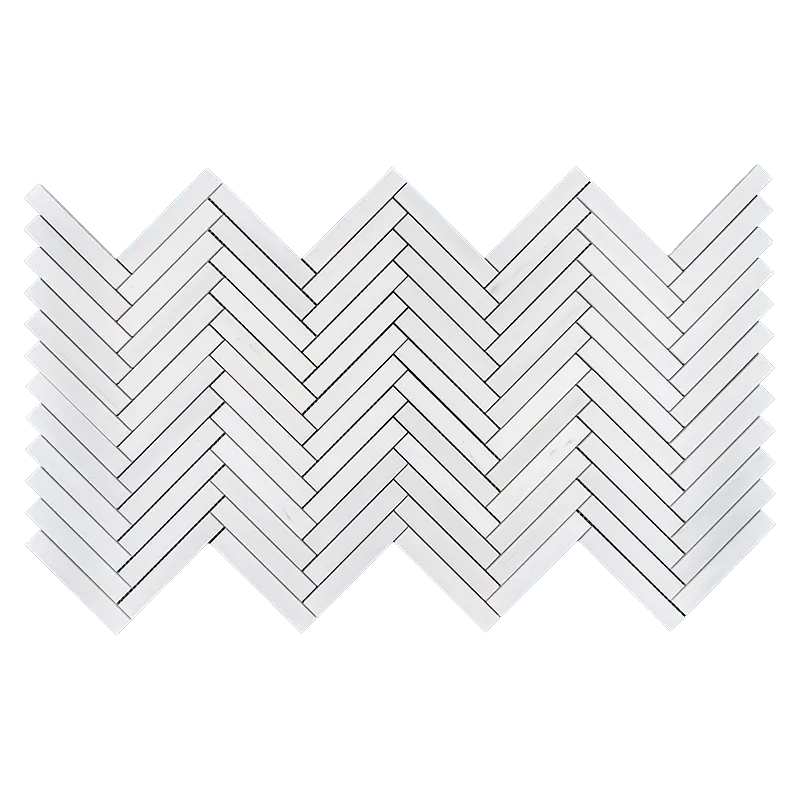
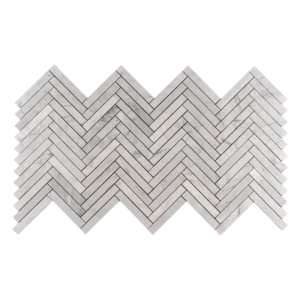
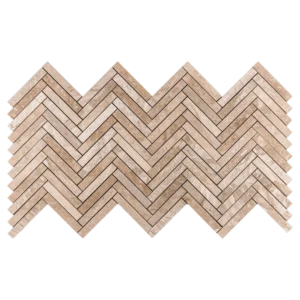
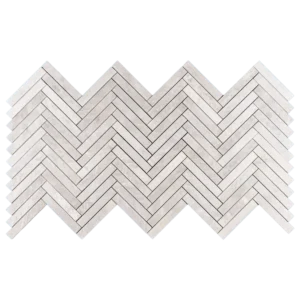
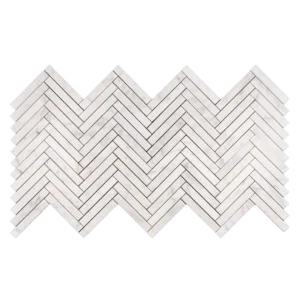
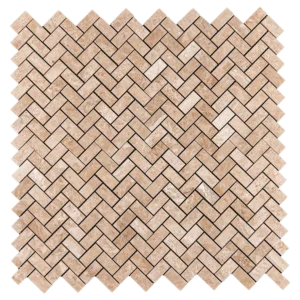
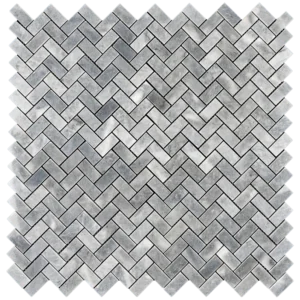
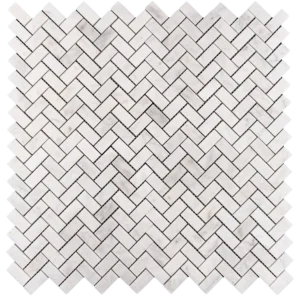
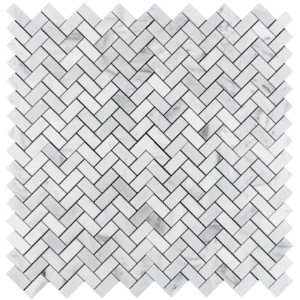
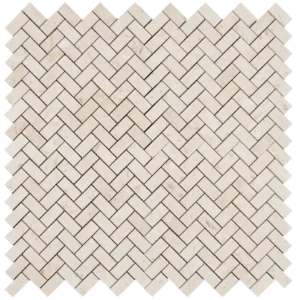
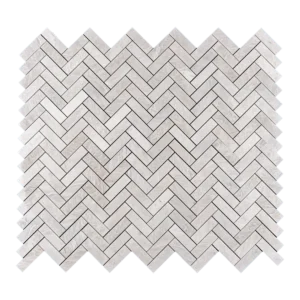
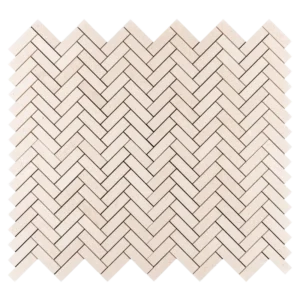
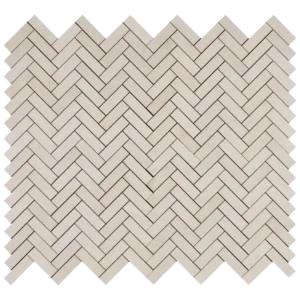
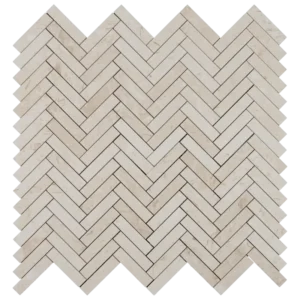
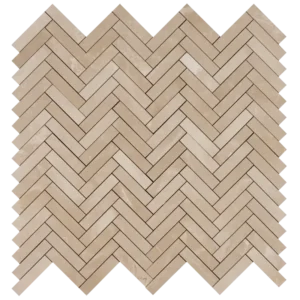
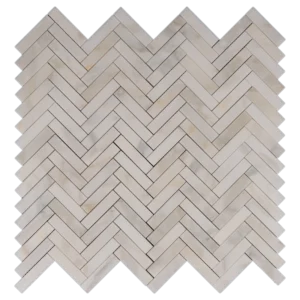
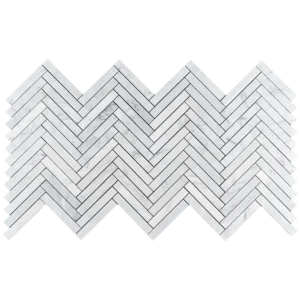
Enhance your home or commercial space with the luxurious 1″x6″ Herringbone Dolomite Mosaic Tile.
Crafted from high-quality dolomite marble, this tile features a honed finish that offers a smooth, refined appearance. The classic herringbone pattern brings depth and character, making it an ideal choice for backsplashes, accent walls, showers, and flooring.
Key Features:
- Material: Dolomite Marble
- Finish: Honed
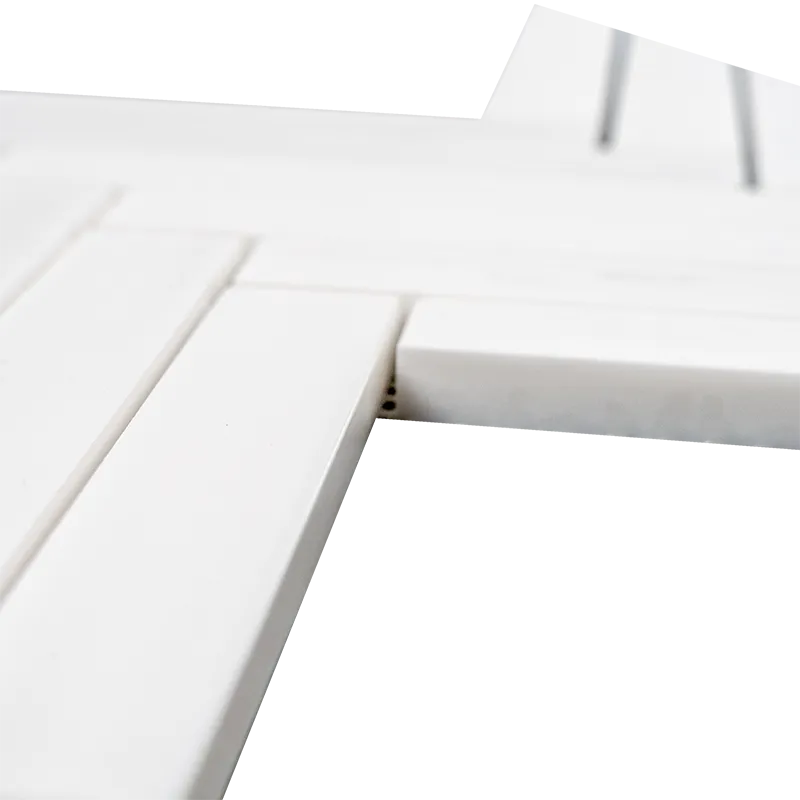
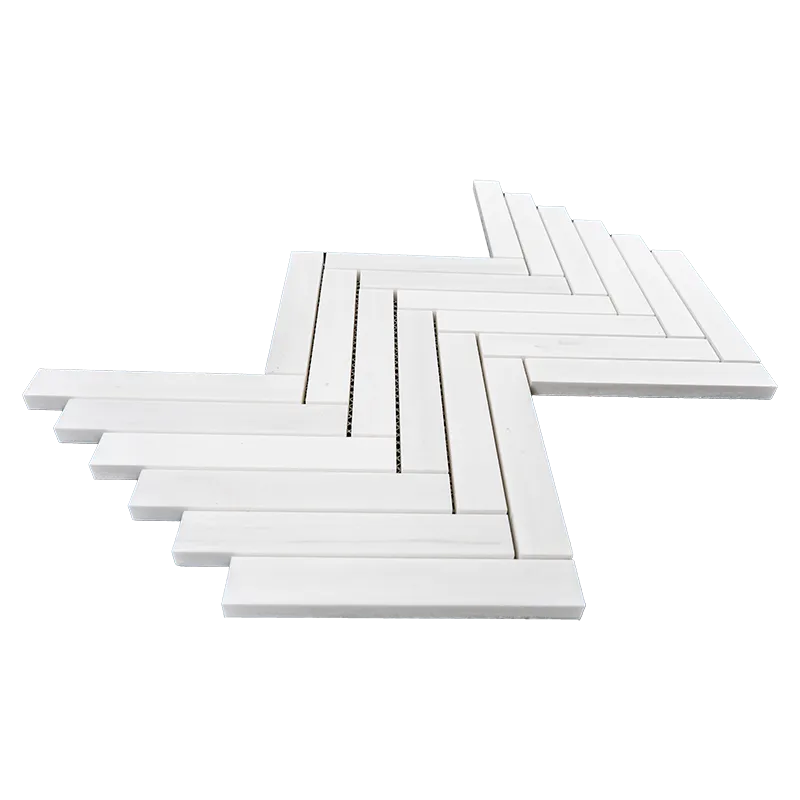
- Sheet Size: 8.4″ x 16.6″
- Thickness: 3/8″
- Application: Suitable for floors, walls, kitchens, bathrooms, and showers
- Durability: Scratch and moisture-resistant
- Easy Installation: Mounted on mesh backing for quick and efficient installation
Recommended Applications:
- Kitchen backsplashes
- Shower and bathroom walls
- Living room accent walls
- Commercial interiors and office spaces
Why Choose Dolomite Marble Tiles?
- Timeless Look: Elegant white tones with soft veining, suitable for both modern and traditional interiors
- Versatile Design: Complements a wide range of interior styles, from minimalist to luxury settings
- Long-Lasting: A natural stone choice that stands up to daily wear
Need Assistance?
Have questions or need help selecting the right product? Our team is happy to help with design advice, bulk pricing, or personalized quotes.
Let us help you create inspiring spaces with premium natural stone tiles..
1×6 Herringbone Dolomite Mosaic Tile
Tools & Materials Needed:
✅ Tile adhesive (thin-set mortar)
✅ Notched trowel
✅ Tile spacers
✅ Level
✅ Tile cutter or wet saw
✅ Grout
✅ Grout float
✅ Sponge & bucket of water
✅ Measuring tape
✅ Pencil & straightedge
Step-by-Step Installation Instructions
Step 1: Surface Preparation
- Ensure the installation surface is clean, dry, and level.
- For backsplash installations, remove any dust or grease.
- For floor installations, ensure the subfloor is solid and stable to prevent movement.
- If necessary, apply a waterproofing membrane for wet areas like showers.
Step 2: Planning & Layout
- Dry lay the tiles on the surface to determine the best layout and reduce unnecessary cuts.
- Use a chalk line or level to mark the starting points.
- Ensure the herringbone pattern is aligned properly for a seamless look.
Step 3: Applying the Adhesive
- Using a notched trowel, spread a thin layer of tile adhesive evenly over a small working section.
- Hold the trowel at a 45-degree angle to create grooves for better adhesion.
Step 4: Installing the Tiles
- Carefully place the mosaic sheets onto the adhesive, pressing firmly but gently.
- Use tile spacers to maintain even gaps between sheets.
- Adjust tiles before the adhesive dries to ensure straight lines and proper alignment.
Step 5: Cutting Tiles (If Needed)
- Use a wet saw or tile cutter to trim tiles at edges and corners.
- Always measure twice and cut once for accuracy.
Step 6: Allowing the Adhesive to Set
- Let the tiles set for 24 hours before applying grout.
- Avoid walking on the tiles or applying pressure during this curing time.
Step 7: Grouting the Tiles
- Choose a grout color that complements the dolomite marble.
- Using a grout float, spread the grout diagonally over the tiles, pressing it into the joints.
- Wipe off excess grout using a damp sponge, rinsing frequently.
- Allow the grout to set for 24 hours before the final cleaning.
Step 8: Sealing & Maintenance
- Dolomite is a natural stone and should be sealed to prevent stains and moisture damage.
- Apply a high-quality penetrating sealer and reapply every 6-12 months for optimal protection.
- Clean regularly using a pH-neutral stone cleaner (avoid acidic cleaners like vinegar).
Important Tips:
✔️ Always check manufacturer recommendations for adhesives and grout.
✔️ If installing in wet areas (e.g., shower walls), use a waterproof membrane.
✔️ Allow for expansion joints in larger installations.
✔️ Work in small sections to prevent the adhesive from drying too quickly.
✔️ Hire a professional if you’re unsure about any step in the process.
Need More Help? Contact Us!
For expert guidance or bulk order inquiries, feel free to reach out:
📧 Email: info@stonemarketusa.com
📞 Phone: +1 813 613 92 91