Installation Guide – Titan Aqua Deco 4×12 Glossy Ceramic Tile
Important Advisory
Inspect all tile before installation and confirm that the product is appropriate for the intended environment. Follow current Happy Floors instructions, setting-material manufacturer requirements, applicable local codes, and recognized tile-industry standards. This product is not frost-resistant and should not be used where it may be exposed to freeze-thaw conditions.
Step 1: Layout & Planning
- Confirm quantities and plan the layout before setting tile, accounting for cuts, focal points, transitions, and the placement of the Deco design.
- Establish level and plumb reference lines to keep the 4×12 format aligned throughout the installation.
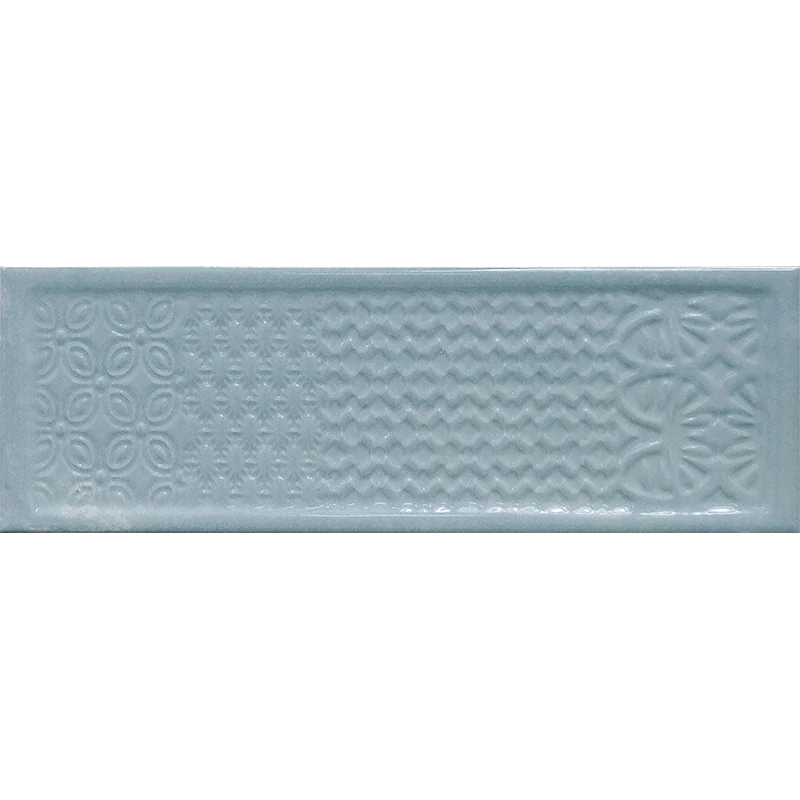
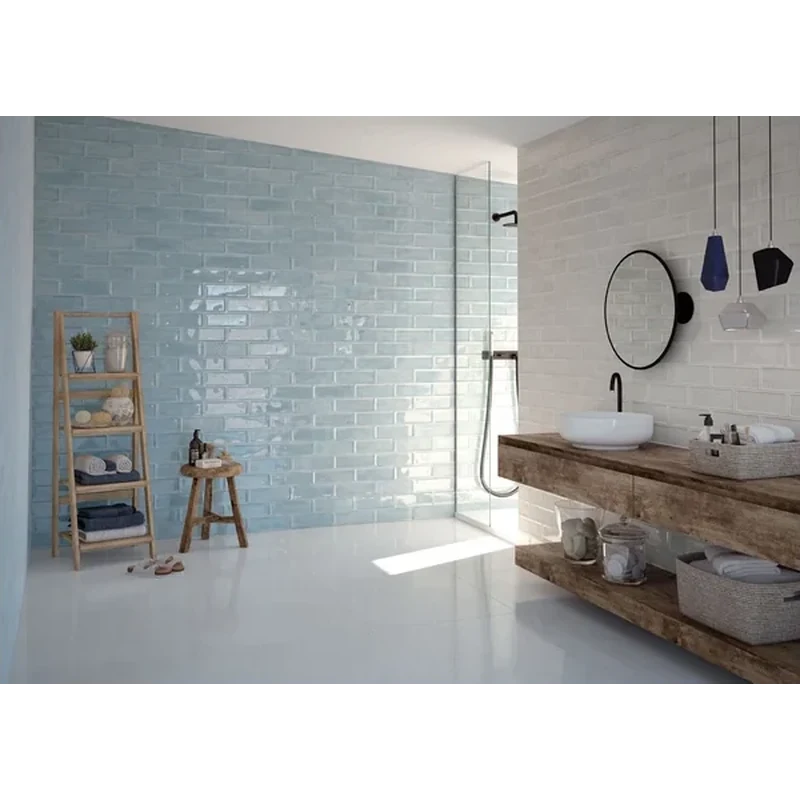
- Dry-lay representative tiles to review the Aqua color, glossy finish, pressed edges, and orientation of the decorative design.
- Select grout-joint spacing according to tile-industry guidance and the recommendations of the tile, mortar, and grout manufacturers.
Step 2: Tile Installation
- The substrate must be clean, dry, flat, stable, and free of contaminants that could interfere with adhesion. Repair unsuitable or uneven areas before installation.
- Use a waterproofing system appropriate for the assembly in showers and other wet areas, following local codes and system-manufacturer instructions.
- Choose a mortar suitable for ceramic tile, the substrate, and the installation environment. Apply it within the manufacturer’s stated working time.
- Set each tile firmly while maintaining consistent alignment and joints. Periodically verify sufficient mortar contact and transfer.
- Provide movement accommodation at perimeters, changes of plane, and other required locations in accordance with recognized industry standards. Allow setting materials to cure as directed before grouting.
Step 3: Cutting
- Use a professional tile cutter or wet saw with a blade appropriate for ceramic tile.
- Measure and dry-fit cuts before setting them, particularly around outlets, penetrations, corners, and transitions.
- Handle cut and factory edges carefully to help protect the glossy surface from chipping.
Step 4: Joint Filling
- Select grout compatible with glossy ceramic tile and the planned joint width. Test grout on a sample when appearance or cleanability is a concern.
- Remove excess grout promptly using the grout manufacturer’s approved method and avoid excessive water during cleanup.
- Use an appropriate flexible sealant instead of rigid grout at changes of plane and other movement locations where required.
- Follow the grout and sealant manufacturers’ curing, cleaning, and sealing recommendations.
Step 5: Cleaning & Maintenance
- Clean the glossy ceramic surface with a mild, non-abrasive cleaner suitable for ceramic tile.
- Avoid abrasive pads, harsh tools, and incompatible chemicals that could affect the finish.
- Wipe away soap residue, grease, and spills before buildup develops.
- Maintain grout and sealant joints according to their manufacturers’ care instructions.
Disclaimer
Installation conditions vary. Verify substrate preparation, setting materials, waterproofing, movement joints, grout, and maintenance requirements with the relevant manufacturers and installer. Inspect color, finish, dimensions, and design before installation; installed material is generally considered accepted.