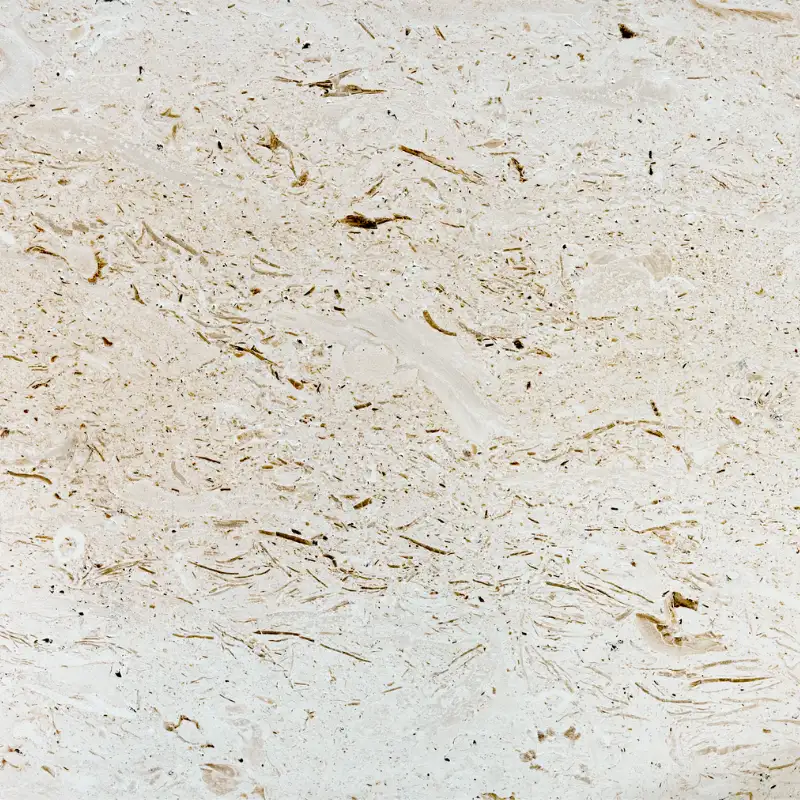
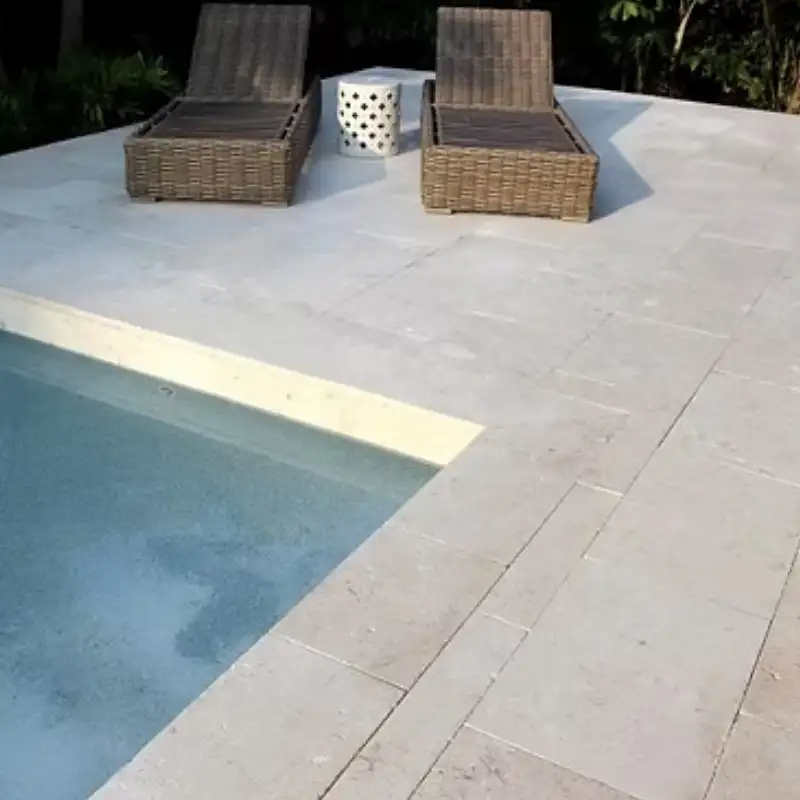
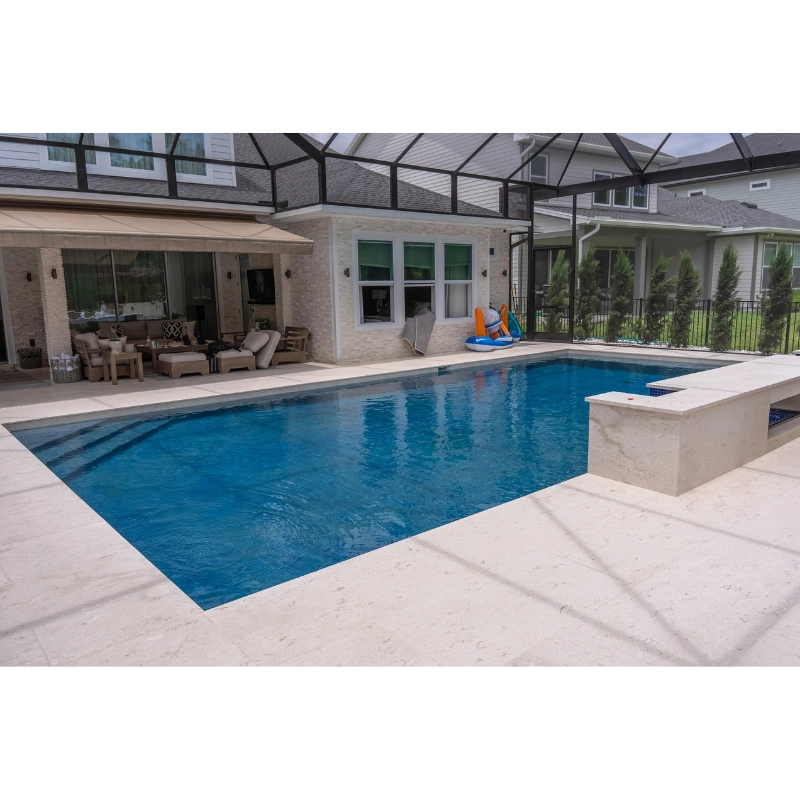
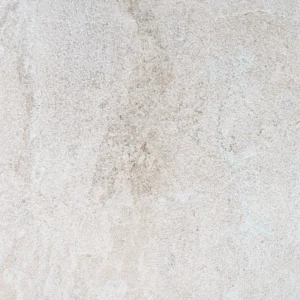
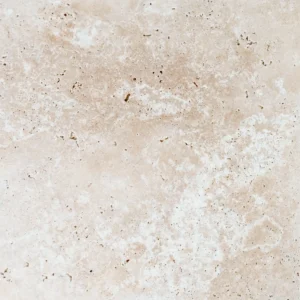
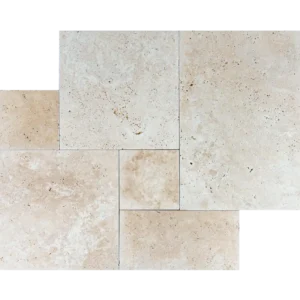
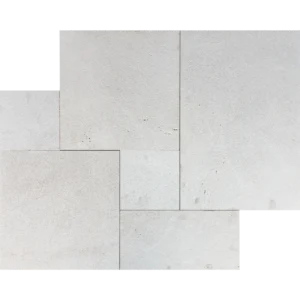
The Myra Shell Limestone 24″x24″ Honed Tile brings refined natural beauty and subtle fossil character to interior spaces. Featuring warm beige tones with authentic shell formations, this limestone tile delivers a timeless and sophisticated aesthetic suitable for both classic and contemporary designs.
Crafted from premium Myra limestone, each tile showcases naturally occurring shell details that make every piece unique. The honed finish provides a smooth, matte surface that enhances the stone’s natural texture while maintaining a clean and elegant look. Its large-format 24″x24″ size creates a seamless visual flow with fewer grout lines, making spaces feel more open and balanced.
Designed for durability and long-term performance, Myra Shell Limestone is an excellent choice for interior flooring applications. Natural variations in color and fossil patterns add depth and authenticity, ensuring a truly distinctive finish for your project.
- Natural Myra Shell Limestone
- Honed finish for a smooth, refined surface
- Color: Warm beige with natural shell fossils
- Size: 24″x24″
- Ideal for interior use: living areas, kitchens, bathrooms, and entryways
- Timeless, durable, and naturally elegant
Choose Myra Shell Limestone 24″x24″ to create a sophisticated interior environment defined by natural character and lasting beauty.
Installation Guide – Myra Shell Limestone 24″x24″ Honed Tile
Material Overview
- Natural Myra Shell limestone tile featuring a honed finish and large-format 24″x24″ dimensions.
- Designed for interior horizontal surfaces such as living areas, kitchens, bathrooms, hallways, and entryways.
- Large-format limestone tiles require a flat, stable, and properly prepared substrate to ensure long-term performance.
Step 1: Substrate Preparation
- Ensure the subfloor or concrete slab is structurally sound, clean, dry, and level.
- Surface flatness should not exceed 1/8″ variation over 10 feet. Use a self-leveling compound if necessary.
- Install an appropriate waterproofing or crack isolation membrane in wet areas such as bathrooms.
Step 2: Dry Layout & Planning
- Dry-lay several tiles to determine layout, joint alignment, and visual balance.
- Plan cuts in advance to maintain symmetry and avoid narrow edge pieces.
- Due to natural shell fossils and color variation, blend tiles from multiple boxes during installation.
Step 3: Tile Installation (Wet-Set Method)
- Use a high-quality polymer-modified thin-set mortar suitable for natural limestone.
- Apply mortar with a 1/2″ notched trowel to ensure full coverage.
- Back-butter each tile to achieve proper adhesion and eliminate voids.
- Set tiles carefully and press firmly to achieve full contact with the substrate.
Step 4: Joint Spacing & Alignment
- Maintain consistent joint spacing of 1/8″–3/16″ using tile spacers.
- Check alignment frequently with a level to prevent lippage between large-format tiles.
- Make adjustments while mortar is still workable.
Step 5: Grouting
- Allow mortar to cure according to manufacturer recommendations before grouting.
- Use a non-sanded or fine-grain grout suitable for honed limestone.
- Clean grout residue promptly to avoid haze on the stone surface.
Sealing & Maintenance
- Apply a penetrating sealer before grouting to protect the limestone from staining.
- After installation, apply a second coat of sealer once grout has fully cured.
- Clean regularly with a pH-neutral stone cleaner. Avoid acidic or abrasive products.
Disclaimer
Due to its natural composition, Myra Shell Limestone may contain shell fossils, color variation, and subtle texture differences. These characteristics are inherent to natural stone and contribute to its unique appearance. Proper installation techniques and substrate preparation are essential for optimal performance. Always consult local building codes and perform a test area prior to full installation.