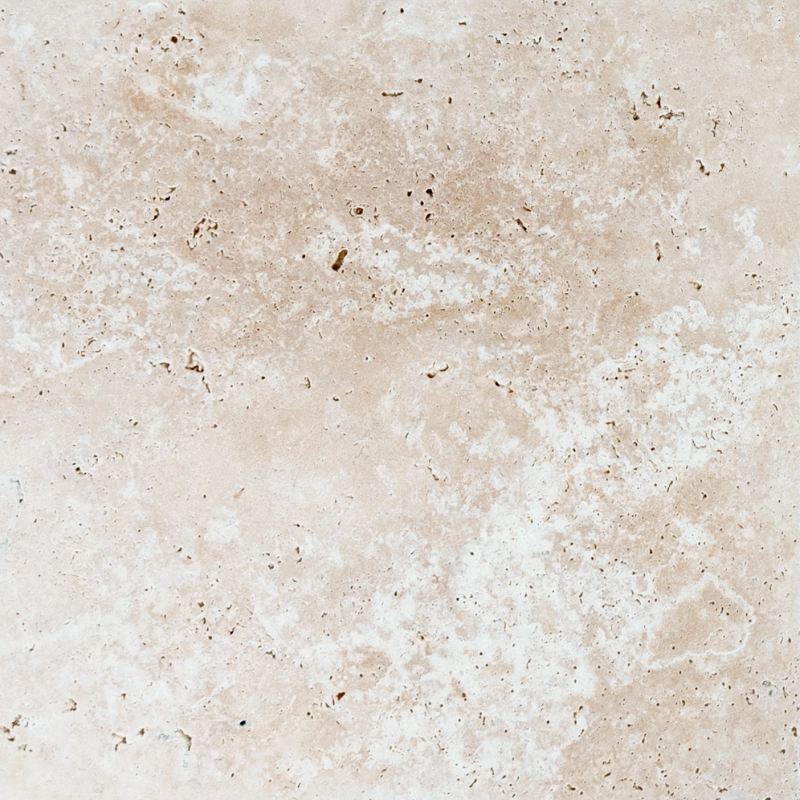
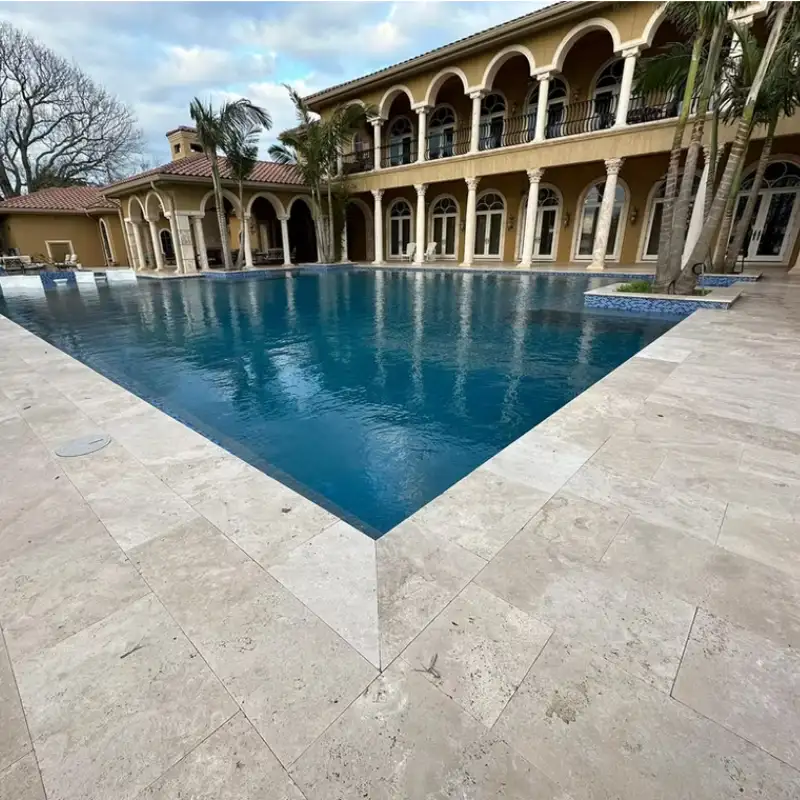
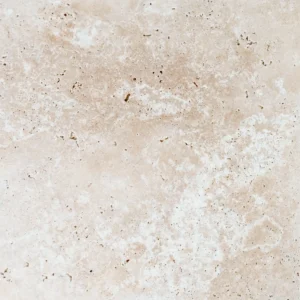
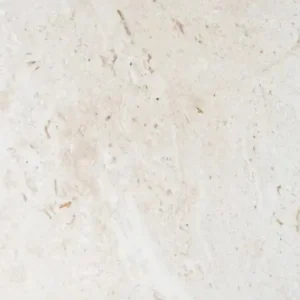
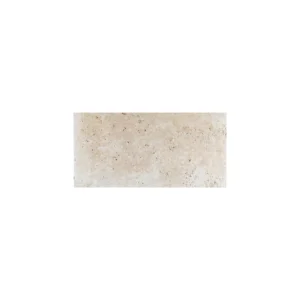
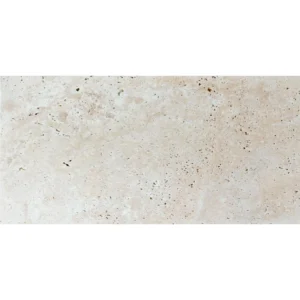
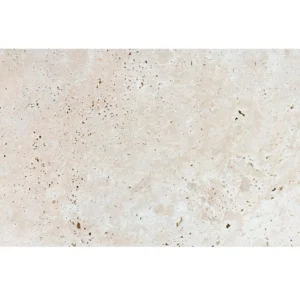
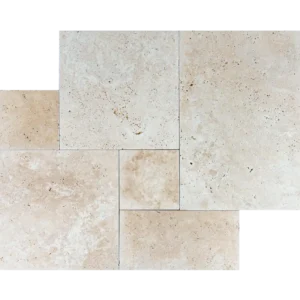
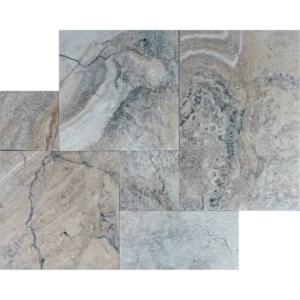
The Ivory 24″x24″ Tumbled Travertine Paver adds natural charm and timeless appeal to any outdoor area. Its soft ivory tones and tumbled finish create a rustic look that pairs beautifully with both classic and modern designs.
Each paver is made from durable travertine stone and features a slightly weathered texture for a slip-resistant surface. This makes it ideal for patios, walkways, pool decks, and garden paths. The 24″x24″ size offers broad coverage, allowing for faster installation and fewer grout lines.
Thanks to its natural strength and weather resistance, this paver performs well in various climates. Slight variations in color and texture enhance its authenticity, giving your space a custom feel.
- Natural travertine stone
- Tumbled finish for added grip and vintage character
- Color: Ivory with soft variation
- Size: 24″x24″
- Perfect for outdoor use: patios, walkways, and pool surrounds
- Slip-resistant and weather-tested
Choose this travertine paver to bring natural elegance and long-lasting performance to your landscape project.
Installation Guide – Ivory 24″x24″ Tumbled Travertine Paver
Material Overview
- Natural travertine paver with a tumbled finish and large format 24″x24″.
- Best suited for outdoor horizontal surfaces such as patios, courtyards, pool decks, and walkways (not recommended for vehicular traffic).
- Heavy stone requires stable and well-compacted sub-base for long-term durability.
Step 1: Excavation & Base Preparation (Dry-Set)
- Excavate the area to a depth of 6″–8″ depending on local soil and freeze conditions.
- Fill with 4″–6″ of compacted crushed stone or road base. Compact in layers using a plate compactor.
- Add 1″ of bedding sand (concrete sand or screening), screed to level.
Step 2: Laying the Pavers
- Lay the 24″x24″ tumbled travertine pavers using a running bond or grid pattern to reduce the risk of lippage.
- Due to the large format, ensure each paver is firmly seated into the bedding sand to avoid rocking or movement.
- Maintain consistent spacing between 1/8″–1/4″. Use spacers if needed.
Step 3: Leveling & Adjustment
- Use a rubber mallet and a level to make adjustments. Each paver must be fully supported to prevent corner cracking.
- Fill voids under the stone as necessary for full support, especially along corners and edges.
Step 4: Joint Sand Application
- After all pavers are placed, sweep polymeric joint sand into the joints to stabilize the layout.
- Compact the surface using a plate compactor with a rubber mat to avoid chipping the edges.
- Reapply sand and compact again if needed, then lightly mist with water to activate polymeric binding.
Alternative: Wet-Set Installation
- Install over a concrete slab with thin-set mortar using a 1/2″ notched trowel.
- Back-butter each paver for full adhesion and avoid hollow spots.
- Clean mortar from joints and surface before it hardens.
Sealing & Maintenance
- Use a penetrating sealer suitable for travertine and exterior use. Avoid topical sealers that may trap moisture.
- Re-seal every 1–2 years based on exposure to water and sunlight.
- Clean using a soft brush and pH-neutral stone cleaner. Avoid acidic products.
Disclaimer
Due to its natural composition, travertine may contain surface pores, color variations, and fossil markings. Proper handling and base preparation are essential for large-format pavers to prevent cracking or shifting. Always consult with local codes and perform a small test area before full installation.