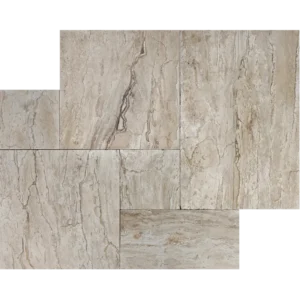
Charcoal 24″x24″ Tumbled Travertine Paver – Grand Scale Rustic Appeal
Introduce bold style with the Charcoal 24″x24″ Tumbled Travertine Paver.
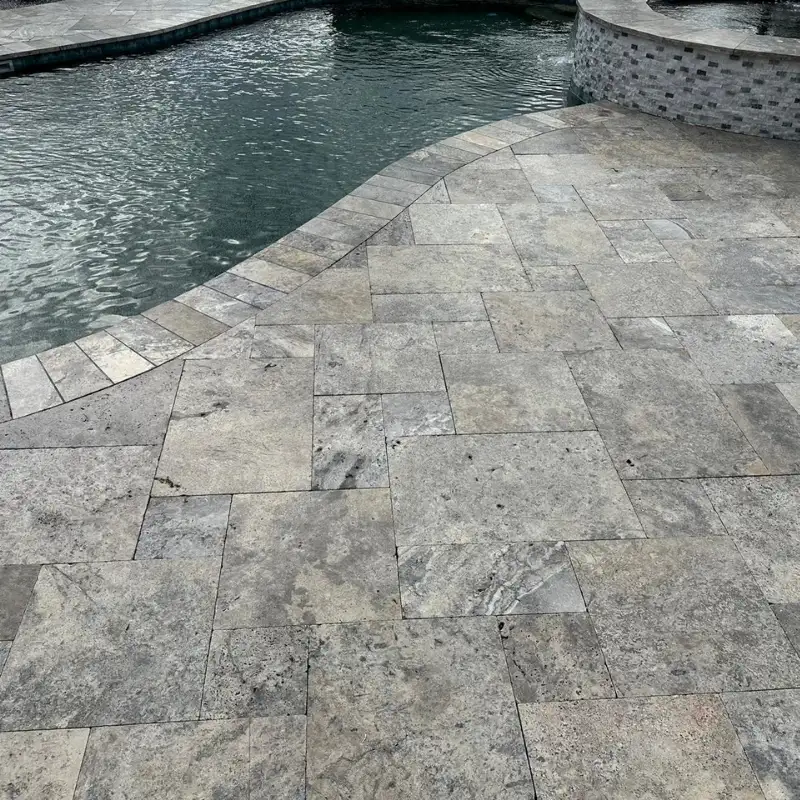
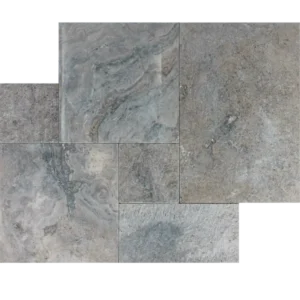
Its large format reduces grout lines and creates a seamless look.
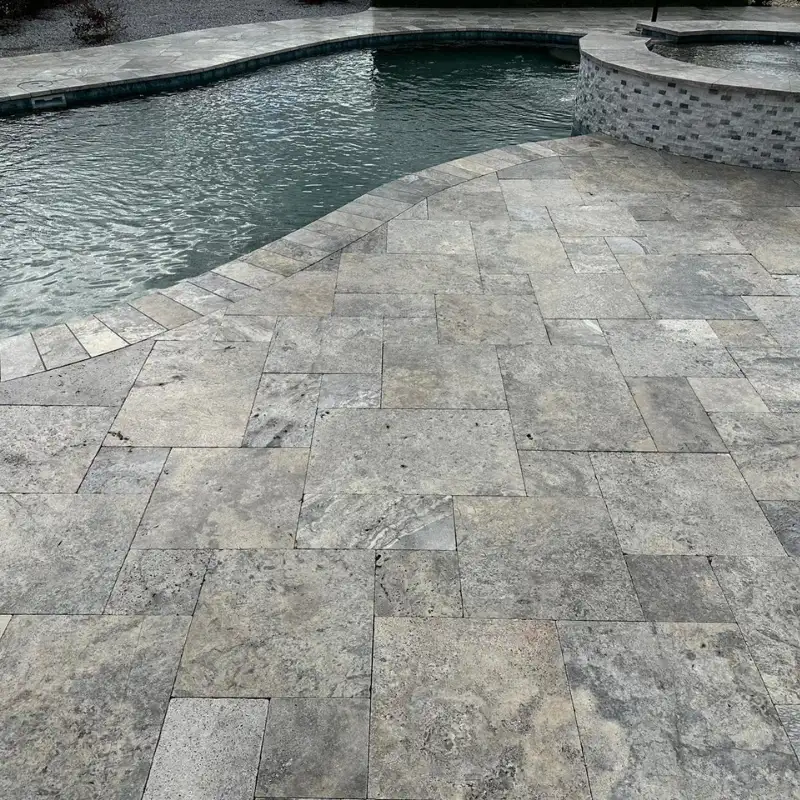
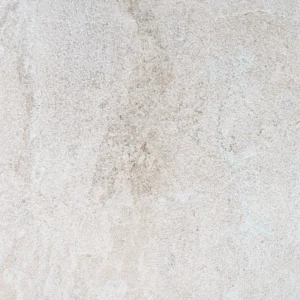
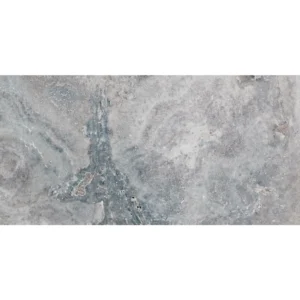
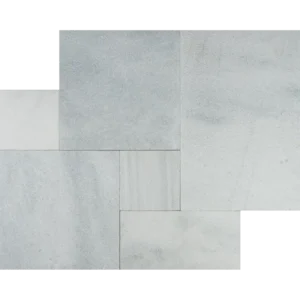
Moreover, the deep charcoal tones lend dramatic contrast and a refined edge to outdoor surfaces.
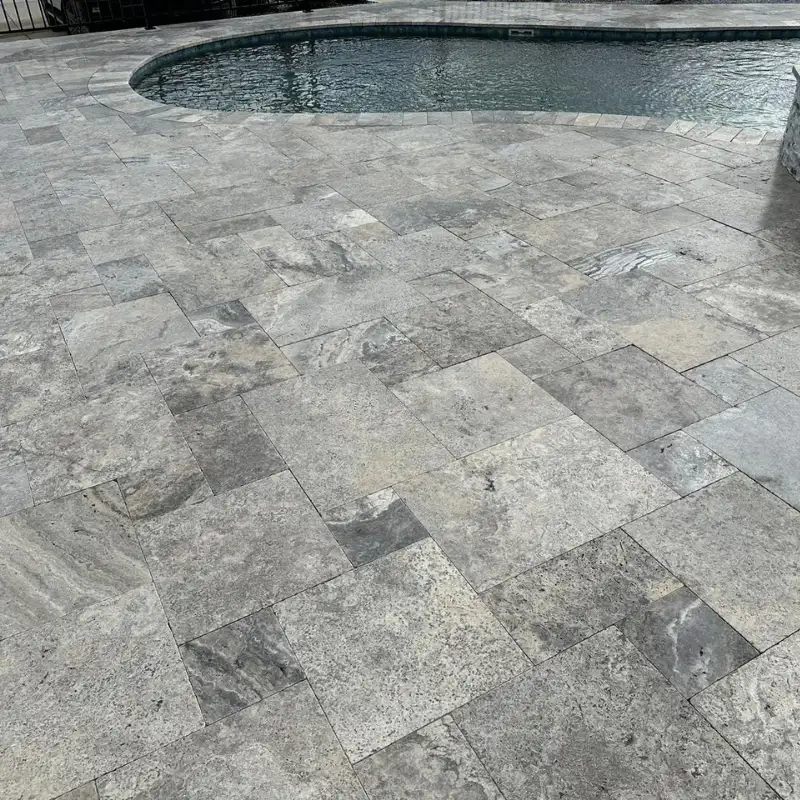
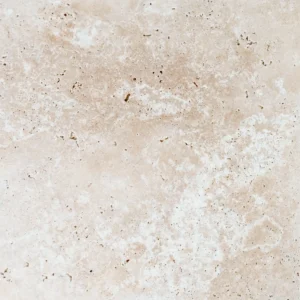
The tumbled finish adds natural texture and slip resistance.
Consequently, this paver works well for patios, pool decks, driveways, and courtyards.
Additionally, the 24″x24″ size makes installation faster and more efficient in large areas.
Crafted from premium natural travertine, these pavers withstand weather extremes and foot traffic.
Their durable nature and low-maintenance requirements ensure lasting beauty.
Therefore, this paver is an ideal choice for both residential and commercial projects.
Key Features
- Material: Premium natural travertine
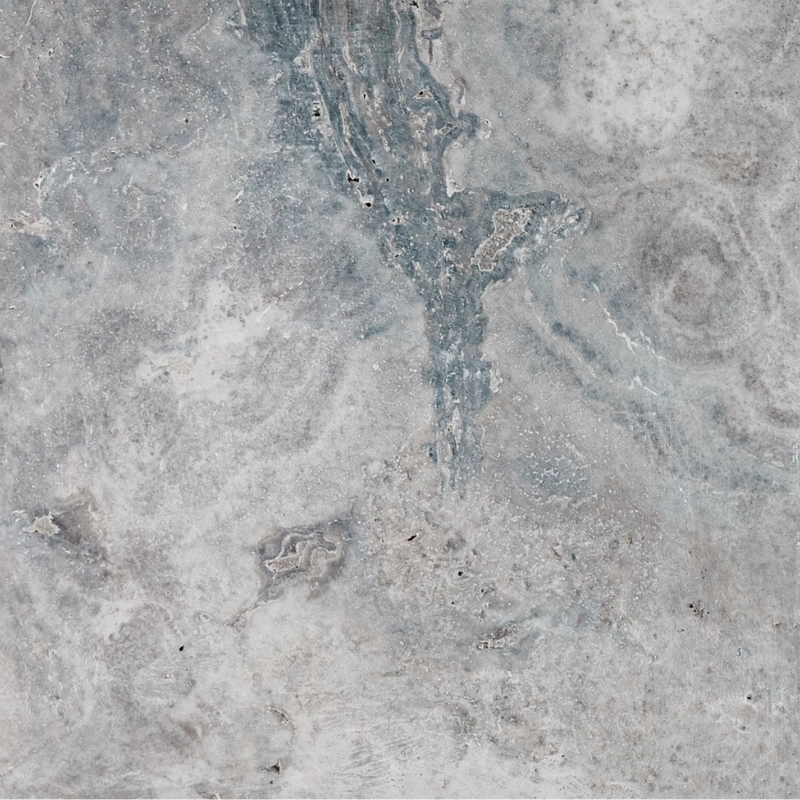
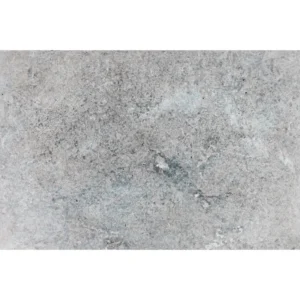
- Color: Charcoal gray with subtle variation
- Finish: Tumbled for a non-slip surface
- Size: 24″x24″ (nominal)
- Edge: Tumbled for a rustic look
- Applications: Patios, pool decks, driveways, and courtyards
Installation Guide – Charcoal 24″x24″ Tumbled Travertine Paver
Important Note
This guide addresses only the paver covering process. Sub-base and bedding preparation must be performed by qualified professionals prior to paver installation.
Step 1: Dry Layout & Planning
- Dry-lay pavers to inspect natural color variation, surface texture, and veining.
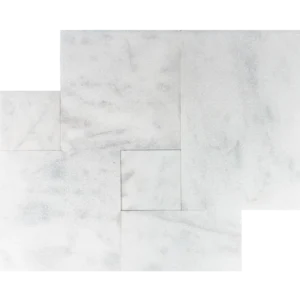
- Arrange pavers in a balanced pattern, such as a straight grid or running bond, to enhance visual flow and reduce alignment stress on large-format pieces.
- Mark reference lines to ensure straight rows and consistent alignment.
Step 2: Paver Placement
- Carefully place each 24″x24″ paver on the prepared bedding surface.
- Maintain joint spacing of 1/8″–1/4″ for sand or joint filler application.
- Tap lightly with a rubber mallet to seat the paver fully and ensure level alignment across the surface.
- Check frequently for evenness to avoid lippage, especially with large-format pavers.
Step 3: Cutting & Adjustments
- Use a wet saw with a diamond blade approved for travertine for clean, precise cuts.
- Support the large-format paver securely during cutting to prevent edge chipping or cracking.
- Smooth exposed cut edges with a rubbing stone to preserve the natural, tumbled appearance.
Step 4: Joint Filling
- Fill all joints with polymeric sand or a travertine-compatible joint filler.
- Compact the surface gently, then sweep away excess material.
- If using polymeric sand, lightly mist the surface to activate its binding properties, following manufacturer instructions.
Step 5: Sealing & Maintenance
- Once the installation is dry, apply a breathable, penetrating sealer suitable for exterior travertine.
- Re-seal every 1–2 years, or as needed depending on climate and traffic.
- Clean only with pH-neutral stone cleaners. Avoid acidic or abrasive products that may damage the stone.
Disclaimer
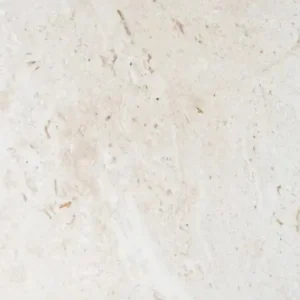
Travertine is a natural stone that may display tonal variation, veining, and surface pits, which are part of its unique appeal. Always inspect and dry-lay pavers prior to final installation. Professional installation is highly recommended to ensure long-term durability and optimal results.