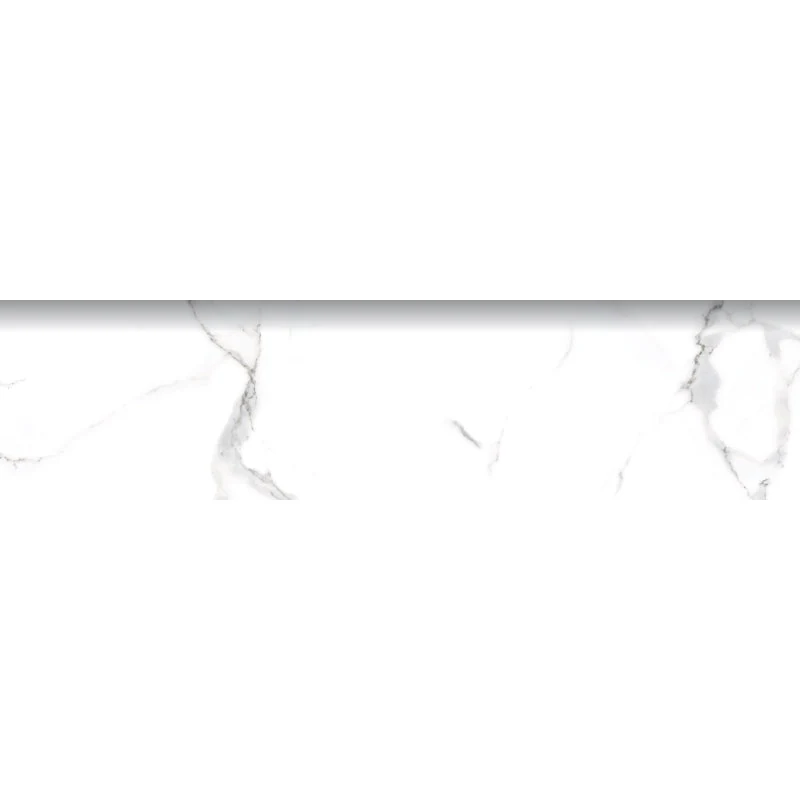
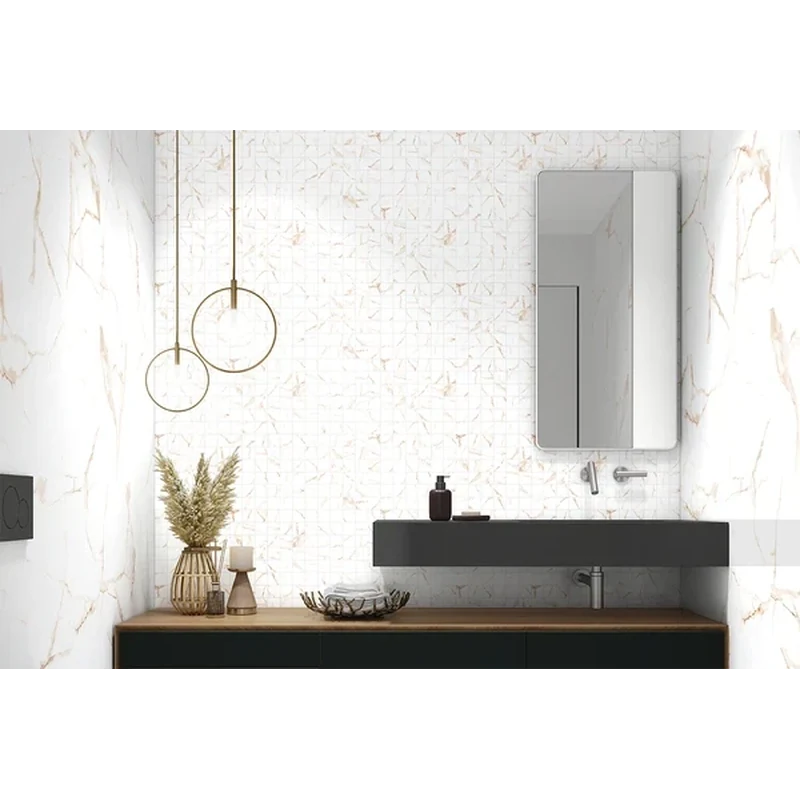
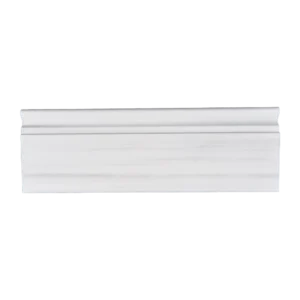
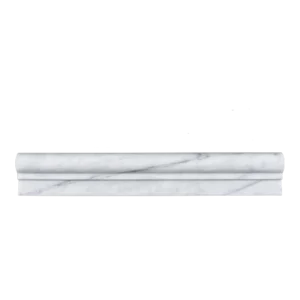
Installation Guide – Alsacia Grey 3×12 Natural Porcelain Bullnose Tile
Important Advisory
Inspect all pieces before installation and confirm color, finish, size, edge orientation, and compatibility with the coordinating field tile. Follow Happy Floors product instructions, setting-material and grout-manufacturer directions, applicable local codes, and recognized tile industry standards.
Step 1: Layout & Planning
- Confirm the location of each finished edge, border, and transition before setting the bullnose.
- Dry-fit the Alsacia Grey bullnose with the coordinating field tile to check alignment, spacing, corner conditions, and overall appearance.
- Plan the layout so factory-finished bullnose edges face exposed areas whenever possible.
- Maintain consistent joint placement between the bullnose and adjacent tile, while accounting for changes of plane and movement requirements.
Step 2: Bullnose Installation
- Verify that the substrate is clean, dry, sound, properly prepared, and suitable for porcelain tile installation.
- For wet-area installations, coordinate the tile work with an appropriate waterproofing system and follow the waterproofing manufacturer’s instructions.
- Use a setting material suitable for porcelain tile and the prepared substrate. Apply it according to the material manufacturer’s directions and within its recommended working time.
- Set each individual bullnose piece firmly and align it with the adjoining field tile. Check the finished edge frequently for straightness, even spacing, and consistent projection.
- Remove excess setting material from the tile face and joints before it hardens. Allow the installation to cure as directed before grouting or placing it into service.
Step 3: Cutting
- Measure each cut carefully and dry-fit pieces before setting them.
- Use a tile-cutting method and diamond blade appropriate for porcelain tile, following the tool manufacturer’s safety instructions.
- Position cut edges away from exposed areas when the layout permits, reserving the pressed factory edge for visible finished locations.
- Use appropriate personal protective equipment and control dust according to applicable safety requirements.
Step 4: Joint Filling
- Select grout that is suitable for porcelain tile, the planned joint conditions, and the installation environment.
- Keep grout joints consistent with the adjacent field tile and follow the grout manufacturer’s recommendations for application and cleanup.
- Remove grout residue from the natural-finish surface using the grout manufacturer’s approved method.
- At changes of plane and other locations requiring movement accommodation, use an appropriate flexible sealant rather than rigid grout when specified by industry standards or the project system.
Step 5: Cleaning & Maintenance
- Remove installation residue using products approved for porcelain tile and the applicable grout system.
- Clean regularly with a suitable pH-neutral tile cleaner and a soft or non-abrasive tool.
- Avoid harsh chemicals, abrasive cleaners, and abrasive tools that could affect the tile, grout, or finished appearance.
- Address spills and residue promptly. Sealing requirements depend on the grout and other installation materials used.
Disclaimer
Installation results depend on substrate conditions, layout, setting materials, workmanship, and jobsite requirements. Stone Market USA is not responsible for installation errors, unsuitable substrate conditions, or failure to follow manufacturer instructions, local codes, or applicable industry standards.