Loading... (Warehouse Local Time)
Stone Trim • Marble & Limestone
From pencil liners to base trim and chair rails — learn how stone trim elevates interiors with clean transitions, durability, and elegant design.
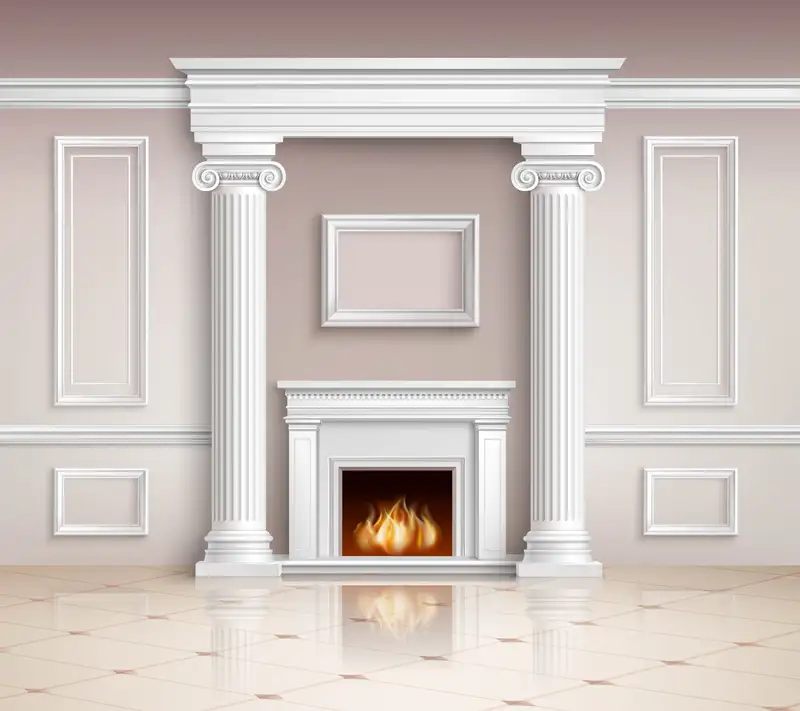
Shop Moldings Request SamplesStone moldings (also called trim, profiles, or transitions) are shaped strips of natural stone that frame edges, smooth transitions, and provide a beautiful border around tile or architectural elements. Functionally, they protect edges from chipping, mask slight height variations, and give a clean termination. Visually, moldings define lines, add shadows, and complete the look of interiors.
Even premium tile installations can feel unfinished if edges are exposed or transitions abrupt. With a matching baseboard, pencil liner, or chair rail, the installation gains a refined, professional appearance. Explore your options in our Moldings Collection.

Note: Some marbles are more porous — sealing is essential. Choose finishes consistent with field tiles. Check our Marble Molding options.
Note: Limestone is slightly softer — in high-traffic zones, prefer rounded or simpler profiles. Seal immediately after install. Browse our Limestone Moldings.
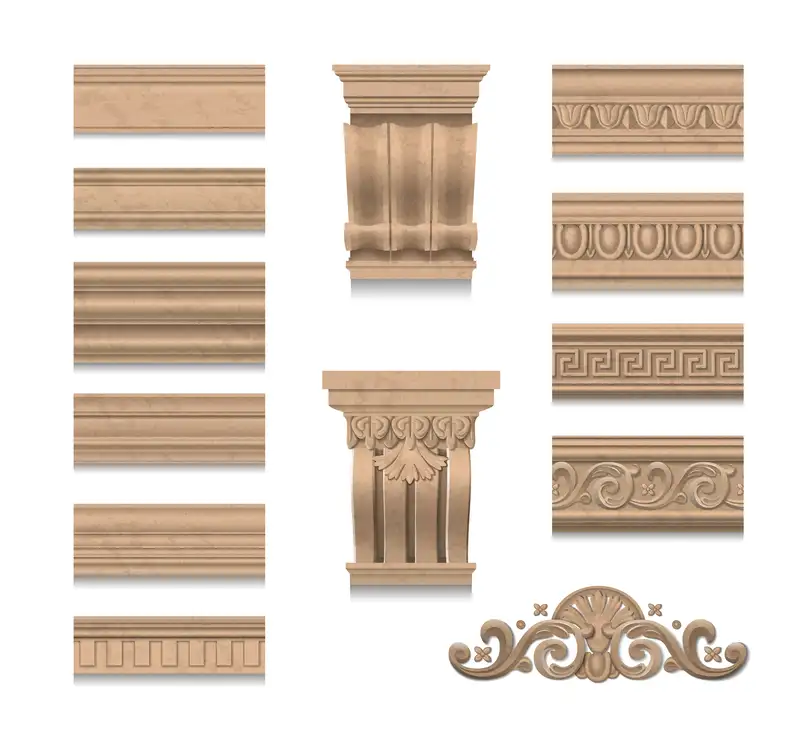
The right molding depends on three factors: profile (shape), size (thickness & length), and finish. Below is a guide to help you decide during selection.
| Profile | Typical Use | Design Effect |
|---|---|---|
| Baseboard / Base Trim | Where tile meets wall or floor | Provides a clean termination, hides gaps, frames the perimeter |
| Chair Rail | Mid-wall accent or wainscoting | Adds proportion and visual break |
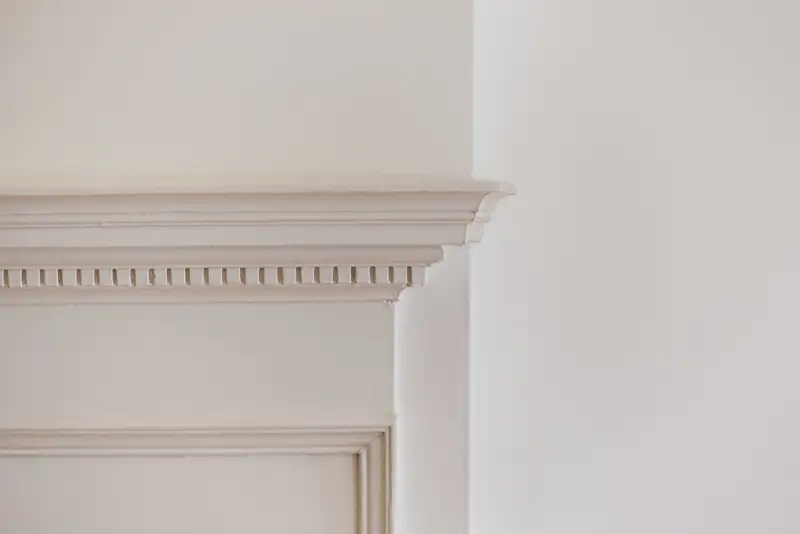
| Crown / Top Trim | Top of walls, crown edges, feature caps | Caps walls elegantly and cleanly |
| Pencil / Liner | Edge trim, accent separation | Subtle, fine line detail |
| Cove / Quarter-Round | Inside/outside corners, niches | Smooth, rounded transitions |
Ensure molding thickness aligns with tile thickness to avoid step edges. Moldings come in fixed lengths—always dry-fit and plan joints at grout lines when possible to maintain visual alignment.
Polished: Mirror-like and bold. Honed: Matte, subtle. Brushed / Textured: Soft touch surfaces for more tactile interest. Always aim to match or complement the finish of your field tiles.
We deliver consistent quality & premium stone, a versatile catalog (baseboards, liners, chair rails, crowns in marble & limestone), fast U.S. shipping, and expert support to help you choose materials, estimate quantities, or plan runs.
Yes — material and finish matching offers the cleanest result. For subtle distinction, choose a tone-shifted version of the same stone type.
Not if properly installed and sealed. Use rounded or thicker profiles in busy zones for extra protection.
Honed hides water spots; polished gives elegant shine. Many designers pair honed field tile with polished trim to accent.
Absolutely. Use a penetrating sealer after installation and reseal periodically based on usage and cleaning practices.
