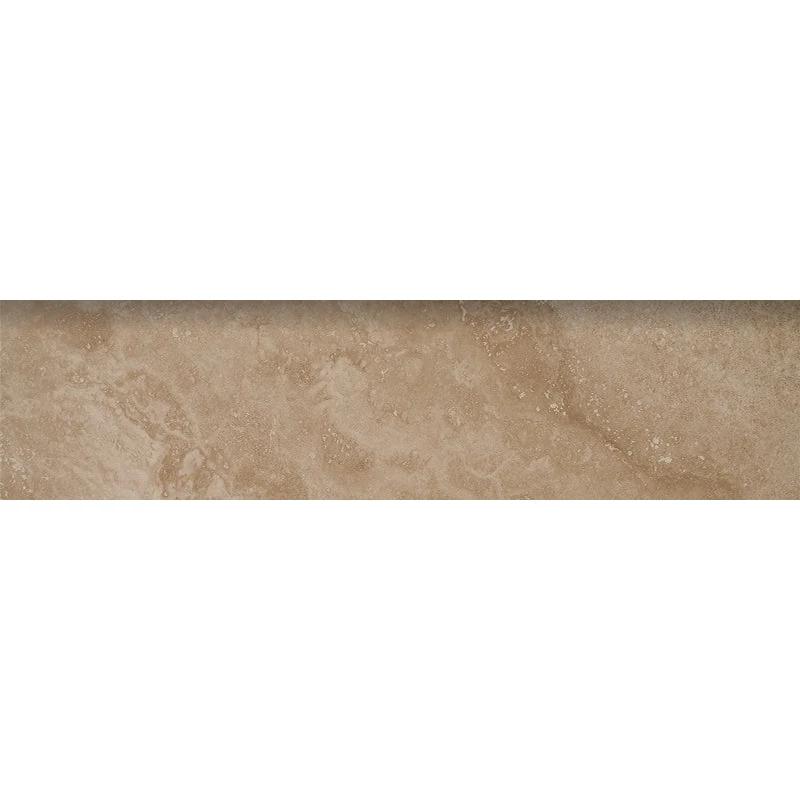
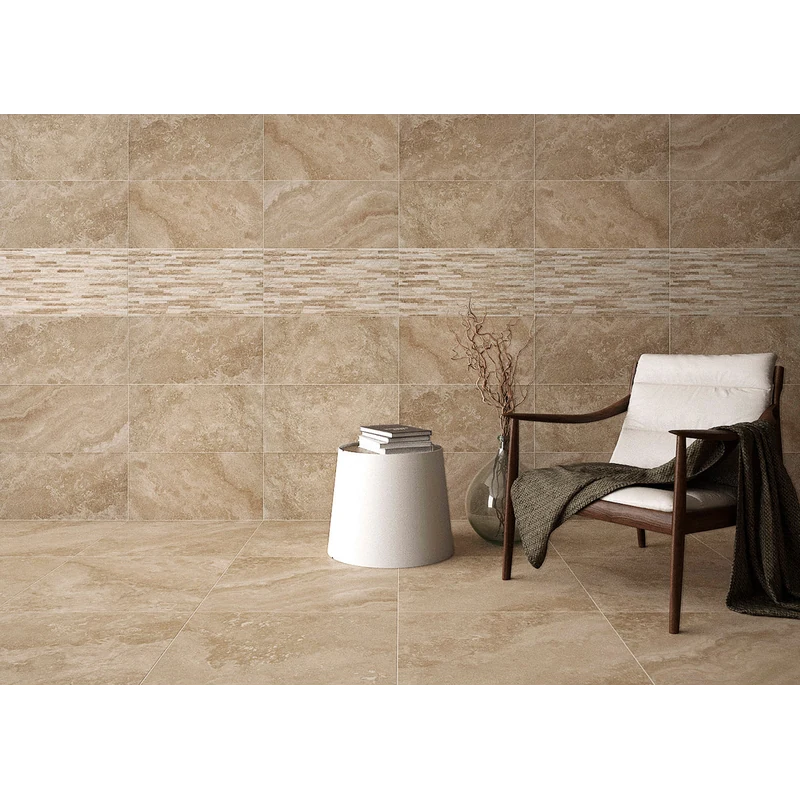
Installation Guide – Happy Floors Cipriani Noce 3×12 Natural Porcelain Bullnose Tile
Important Advisory
Inspect all pieces before installation and confirm the color, finish, size, and edge orientation with the surrounding field tile. Follow Happy Floors installation guidance, setting-material and grout manufacturer instructions, applicable local building codes, and recognized tile industry standards. For wet-area installations, coordinate the tile work with an appropriate substrate and waterproofing system.
Step 1: Layout & Planning
- Confirm the location of the finished edge, border, or transition before applying setting material.
- Dry-fit the bullnose alongside the coordinating field tile to check alignment, spacing, corners, and the overall appearance.
- Plan the layout so the pressed finished edge is placed toward the exposed side whenever possible.
- Maintain consistent joint alignment between the bullnose and adjacent tile, and account for changes of plane and movement joints where required by the installation design.
Step 2: Bullnose Installation
- Prepare a clean, dry, sound, and properly aligned substrate suitable for porcelain tile installation.
- Use a setting material recommended for porcelain tile and compatible with the substrate and installation conditions.
- Apply the setting material according to the manufacturer’s instructions, using suitable tools and achieving appropriate coverage for the installation.
- Press each bullnose piece into place and align it carefully with the adjacent field tile, checking the finished edge and joint consistency as you proceed.
- Remove excess setting material from the tile surface and joints before it hardens. Allow the installation to cure as directed by the setting-material manufacturer before grouting.
Step 3: Cutting
- Measure and mark each cut carefully, then dry-fit the piece before setting it permanently.
- Use a wet saw or other cutting equipment with a blade appropriate for porcelain tile.
- Position factory-finished pressed edges toward exposed areas whenever the layout allows.
- Use appropriate eye protection and follow the cutting-tool manufacturer’s safety instructions.
Step 4: Joint Filling
- Select a grout compatible with porcelain tile, the joint design, and the installation conditions.
- Keep joints clear of excess setting material before grouting and maintain the planned joint alignment between the bullnose and field tile.
- Apply and clean the grout according to the grout manufacturer’s instructions, taking care not to displace the trim pieces.
- At changes of plane and other locations requiring movement accommodation, use the sealant or joint treatment specified by the applicable installation guidance rather than rigid grout.
Step 5: Cleaning & Maintenance
- Remove installation residue using products and methods recommended for porcelain tile and the selected grout.
- Clean regularly with a suitable pH-neutral tile cleaner and a soft, non-abrasive tool.
- Avoid harsh abrasive cleaners or equipment that could affect the tile or grout appearance.
- Follow the grout manufacturer’s recommendations for ongoing care and sealing, if applicable.
Disclaimer
Installation results depend on substrate conditions, layout, setting materials, workmanship, and site conditions. Stone Market USA is not responsible for installation errors, improper substrate preparation, or failure to follow manufacturer instructions, local codes, and applicable industry standards.