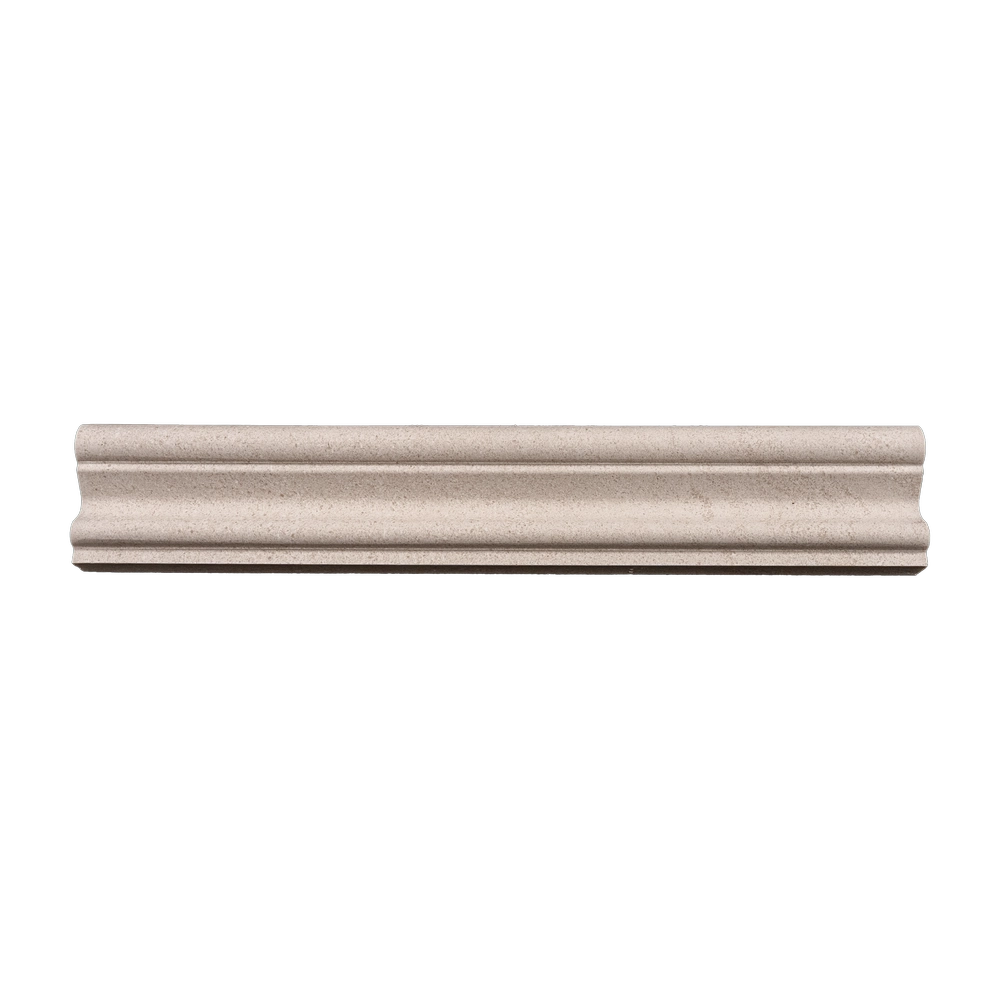
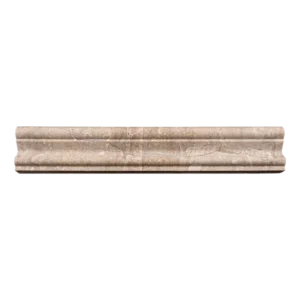
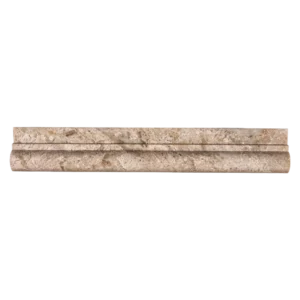
Limestone Crown Molding 2″x12″ Honed – Classic Beige Elegance
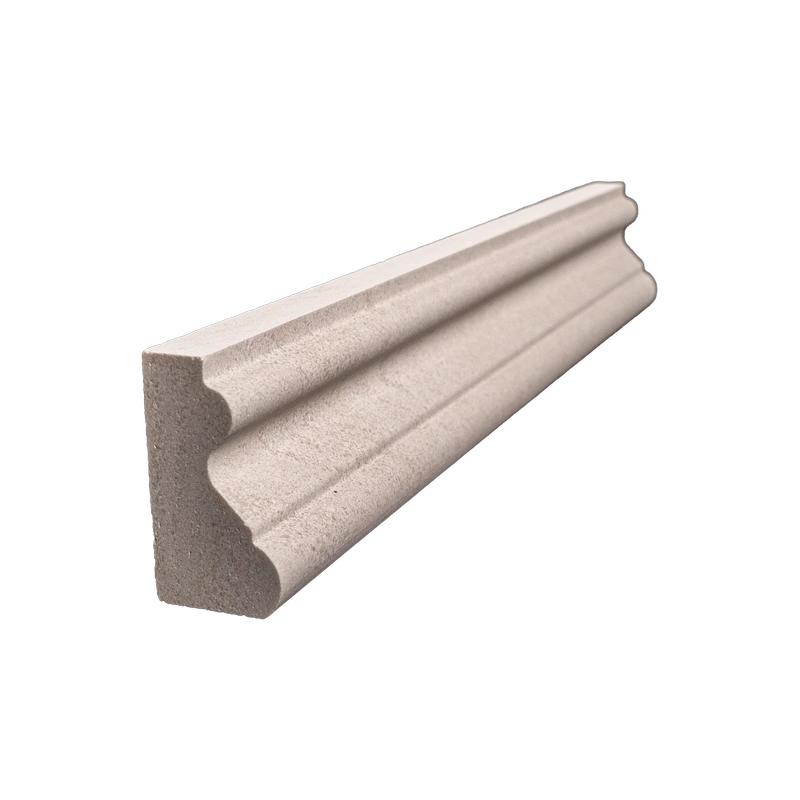
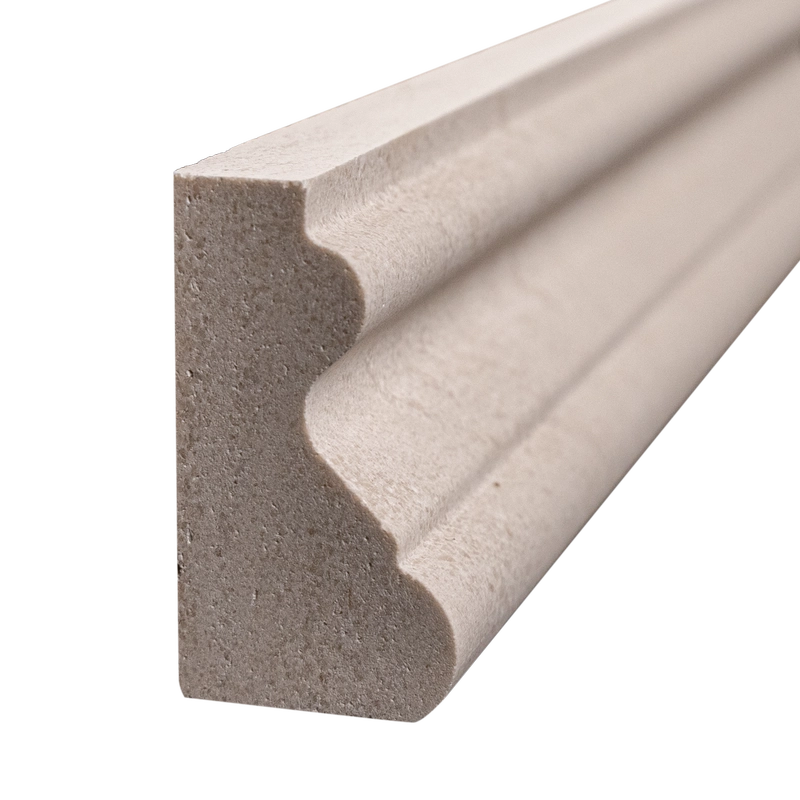
Refine the upper edges of your wall installations with our 2″x12″ Limestone Crown Molding in a soft honed finish. Made from high-quality beige limestone, this trim adds architectural sophistication and warmth to both residential and commercial interiors. Its straight-edge design and matte surface highlight the stone’s natural character while seamlessly tying together ceiling and wall elements.
The subtle honed finish minimizes glare and softens the visual transition at ceiling lines, making this crown molding ideal for minimalist or traditional styles. Whether you’re finishing a bathroom, kitchen, or living room, it delivers durable beauty that blends easily with coordinating limestone tiles.
Key Features
- Material: Natural beige limestone
- Finish: Honed – smooth and non-reflective
- Size: 2″ x 12″ (5.1 cm x 30.5 cm)
- Edge: Straight for clean, seamless installation
- Style: Elegant crown molding for ceiling trim
Bring harmony to your space with this refined limestone crown molding — a detail that enhances the overall architecture with quiet luxury.
Installation Guide – Limestone Crown Molding (2″x12″ Honed)
Step 1: Surface Preparation – Ensure Clean Contact
- Make sure all adjacent wall tile or drywall surfaces are clean, dry, and flat.
- Mark a level guideline at the top of the area where crown molding will be installed.
- Remove any dust or debris to enhance mortar bond strength.
Step 2: Dry Layout – Fit and Visual Planning
- Dry-lay the crown molding pieces to inspect for tone consistency and fit.
- Use a wet saw with a diamond blade to make accurate cuts and mitered corners.
- Confirm alignment and coverage along the transition area before final installation.
Step 3: Adhesive Application – Set the Molding
Recommended Mortars:
- Laticrete 254 Platinum White
- Mapei Ultralite Mortar (non-sag, white)
Instructions:
- Apply thin-set mortar to the back of each crown molding piece using a margin trowel.
- Back-butter to ensure full contact and press the molding into place along your guide line.
- Support with painter’s tape while mortar sets (cure for at least 24 hours).
Step 4: Grouting – Seam Finishing
- Wait at least 24 hours before applying grout.
- Use unsanded grout to avoid damaging the honed surface.
- Clean off excess grout with a damp sponge and buff the surface after 30–45 minutes.
Step 5: Sealing – Enhance Longevity
- After grout fully cures (typically 72 hours), apply a penetrating sealer designed for honed limestone.
- Reapply sealer periodically based on environmental exposure and use.
Maintenance Tips
- Clean with pH-neutral stone cleaners only.
- Do not use acidic, abrasive, or bleach-based cleaners.
- Dust or wipe gently with a soft cloth to preserve the honed texture.
Important Note
Limestone is a natural material and will exhibit variations in color and veining. Always dry-lay and inspect materials prior to installation. Stonemarket USA is not responsible for natural variation or installation issues.