Silver Diamond Tile 18″x18″ Polished – Beige Marble with Straight Edge
Subtle Luxury in Balanced Proportions
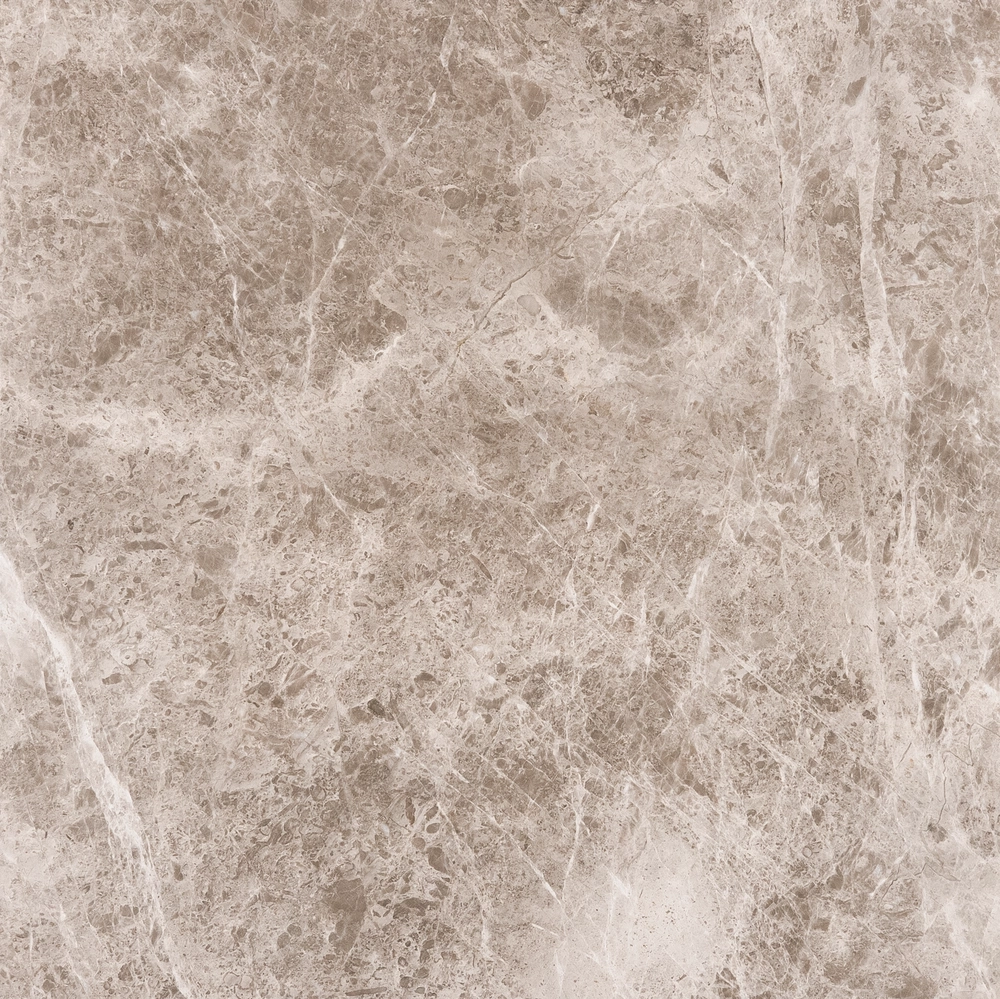
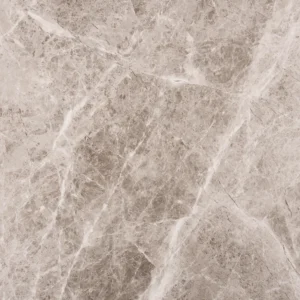
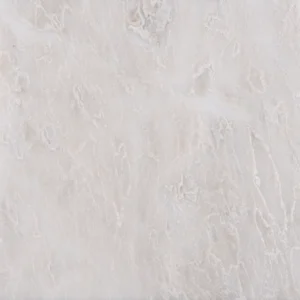
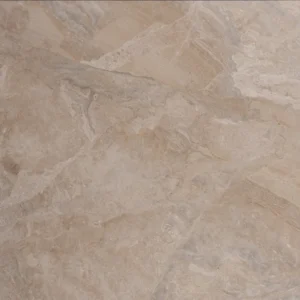
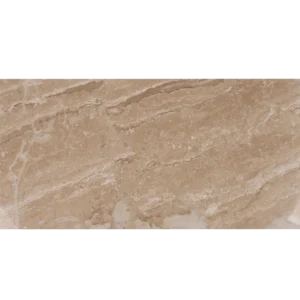
Introduce timeless elegance with the Silver Diamond Polished Tile. This premium beige marble tile showcases soft cappuccino hues with delicate veining, offering a smooth, polished finish that enhances natural light and visual depth. Its 18″x18″ format balances proportion and presence—ideal for rooms that call for both warmth and sophistication.
Designed with a straight edge for clean alignment, this tile suits a variety of design styles. From luxury homes to refined commercial interiors, it brings polished continuity to walls and floors alike. Moreover, its durable surface and easy maintenance make it a practical choice for high-traffic areas.
Product Features – 18″x18″ Polished Silver Diamond Tile
- Material: Natural Silver Diamond Marble
- Color: Soft beige with subtle, elegant veining
- Finish: Polished – enhances reflectivity and brightness
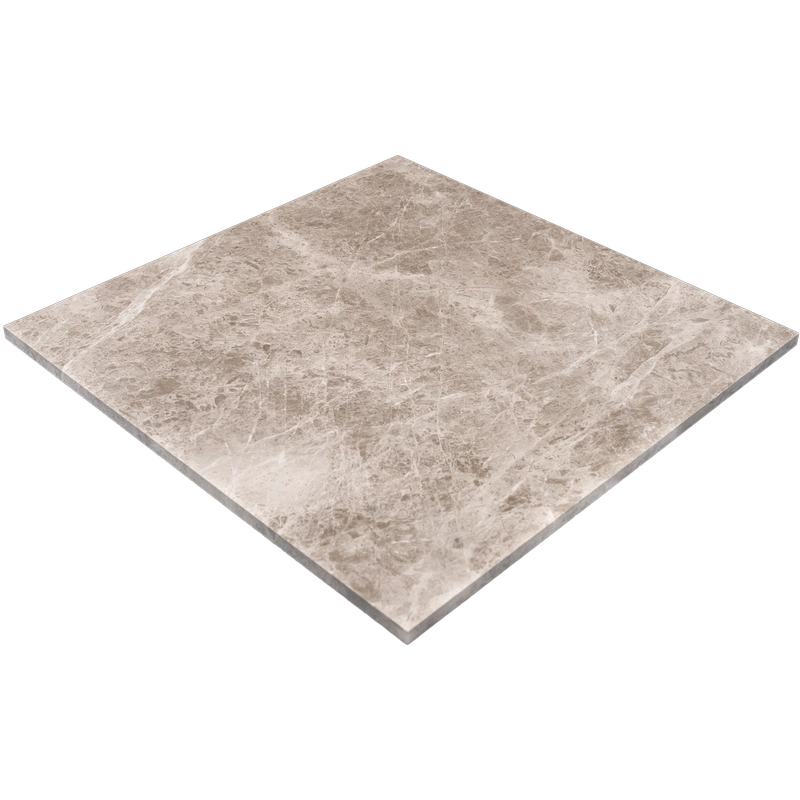
- Size: 18″x18″ (45.7×45.7 cm)
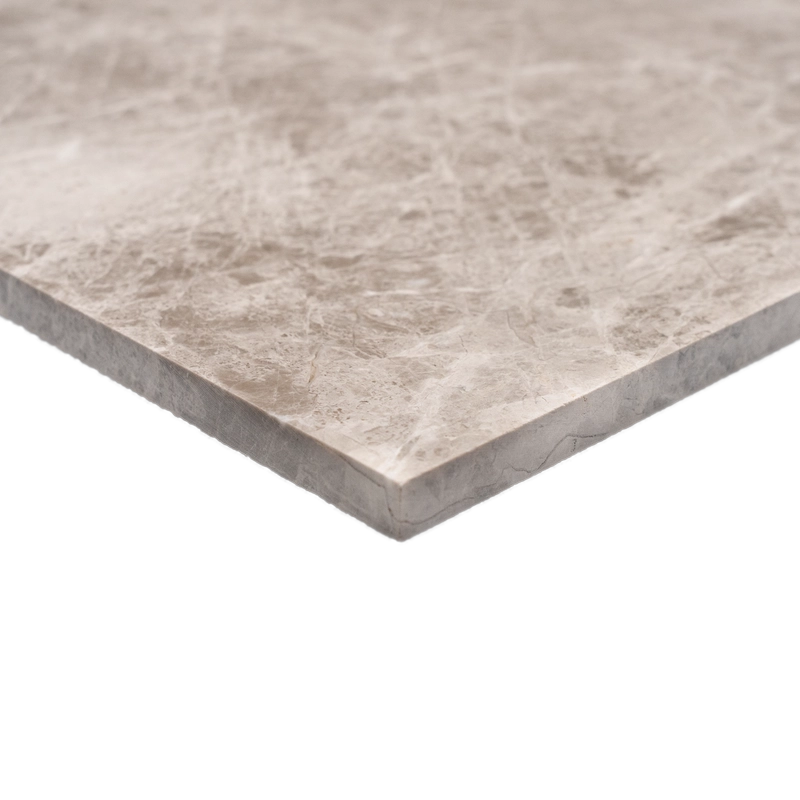
- Thickness: 0.47″ (1.2 cm)
- Edge: Straight edge for clean grout lines
- Use: Indoor floors and walls – residential and commercial
Applications
- Formal entryways – welcome guests with refined marble detail
- Living spaces – enhance scale and light
- Bathrooms – create a spa-like ambiance
- Retail or hospitality – reinforce a high-end visual identity
Installation Guide – Step by Step
Step 1: Surface Preparation – Flat and Clean Base
- Clean the substrate thoroughly; remove dust, grease, old adhesives, and moisture.
- Use a long straightedge or level to ensure surface flatness within 1/8″ over 10 ft.
- Apply a waterproofing membrane in wet or high-moisture areas.
Step 2: Layout Planning – Tone & Vein Coordination
- Mark layout lines to center the tile placement for visual symmetry.
- Dry-lay several tiles to preview Silver Diamond’s natural tone variation and ensure a consistent blend.
- Use **1/16″–1/8″ grout joints** for a refined, seamless finish with the straight edge design.
Step 3: Mortar Application – Choose White Thin-Set
Recommended Products:
- Mapei Ultraflex LFT White
- Laticrete 254 Platinum White
- Ardex X77 or X5 White
Instructions:
- Use a 1/2″ square-notched trowel to spread the mortar evenly.
- Back-butter each tile to ensure full contact and reduce voids under the tile.
- Apply in small areas to prevent mortar from drying before tile placement.
Step 4: Cutting & Fitting – Smooth Precision
- Use a wet saw with a continuous-rim diamond blade to prevent chipping.
- Polish visible edges using a marble hand pad for a refined finish.
- Test-fit all cut pieces before final setting.
Step 5: Setting Tiles – Alignment and Flatness
- Place tiles with care and use a leveling system to prevent lippage between large-format tiles.
- Use spacers to keep joints consistent and tight.
- Immediately clean excess mortar from the polished surface with a damp sponge to avoid staining or haze.
- Allow adhesive to cure for at least 24 hours before proceeding to grout.
Step 6: Grouting & Sealing – Enhance and Protect
- Pre-seal the polished marble with a penetrating sealer before applying grout to prevent staining.
- Use non-sanded grout to avoid scratching the polished finish.
- Apply grout with a rubber float, working diagonally across the joints.
- Wipe away excess grout promptly and buff haze from the tile surface after 20–30 minutes.
- After grout curing (typically 72 hours), apply a second coat of sealer for long-term protection.
Maintenance Tips – Keep the Shine
- Use pH-neutral, non-abrasive marble cleaners only.
- Wipe spills immediately to prevent etching or staining.
- Re-seal surfaces every 6–12 months depending on foot traffic and exposure.
- Avoid acidic, bleach-based, or abrasive cleaning agents.
Shipping & Packaging
Each 18″ x 18″ Silver Diamond Polished Marble Tile is individually protected with foam and corner guards. Store indoors and inspect before installation to ensure color consistency and finish quality.
Important Note
Natural stone tiles may vary in tone and veining. Always dry-lay before installation. Stonemarket USA assumes no responsibility for installation errors or variations inherent to natural materials.