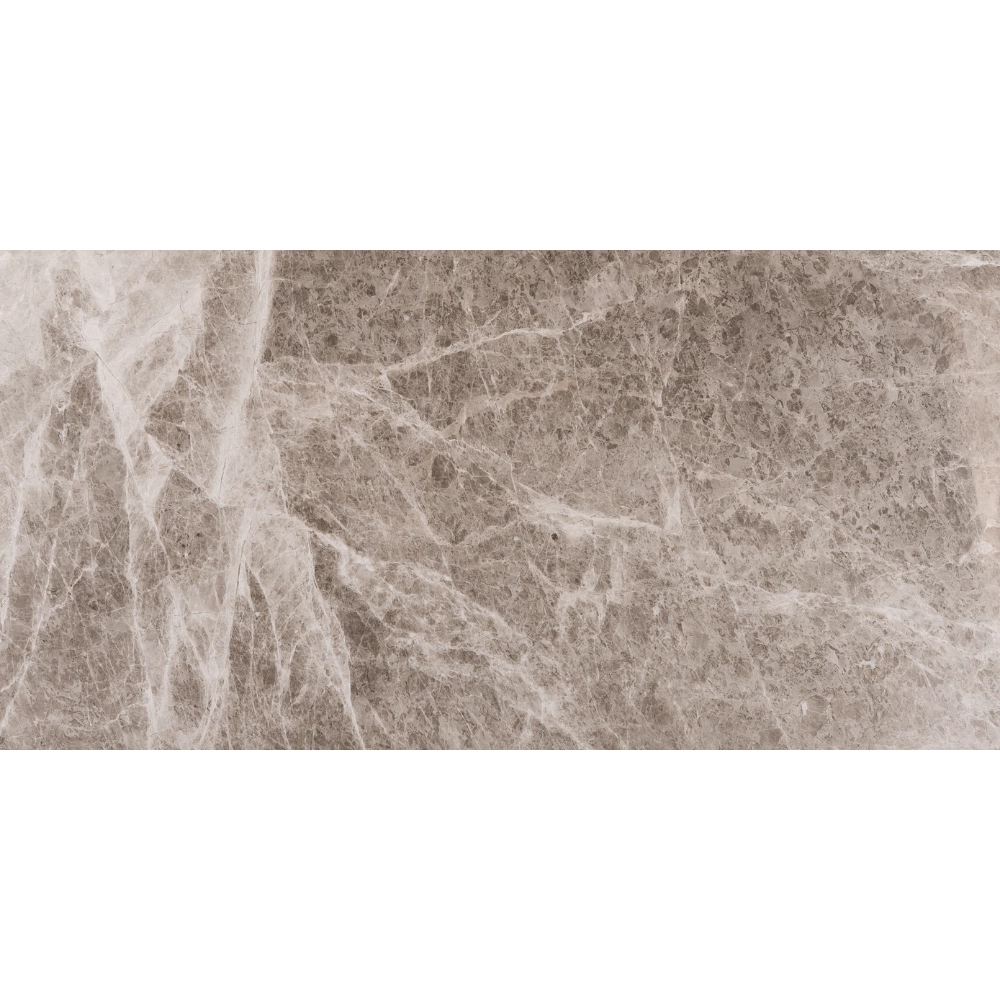
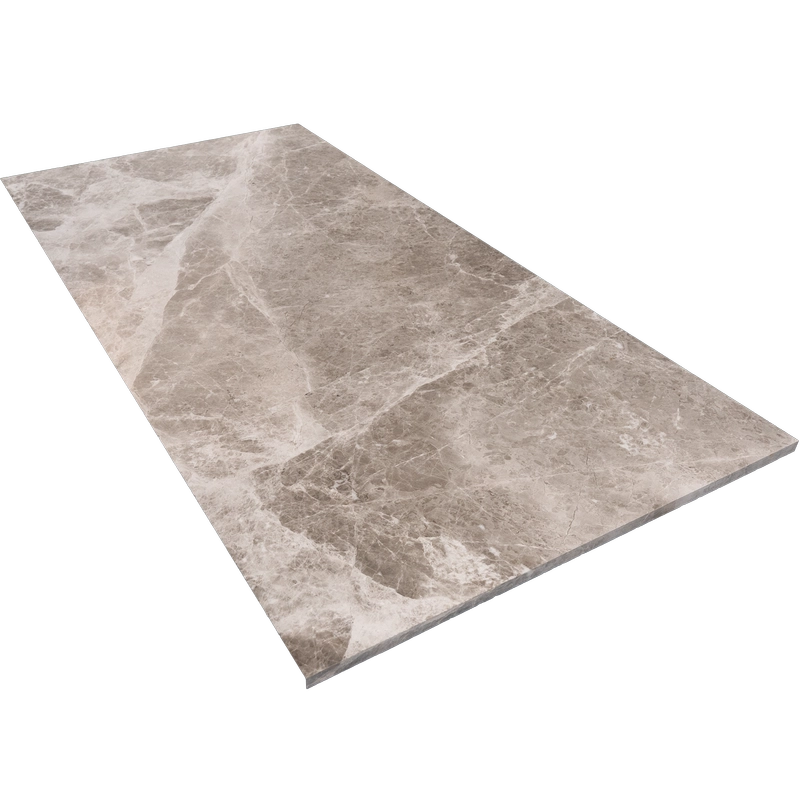
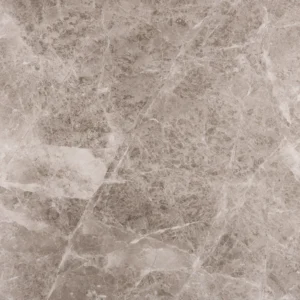
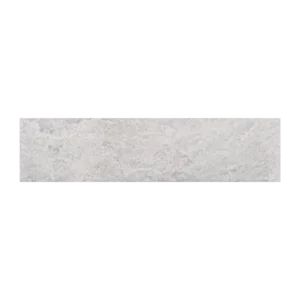
Silver Diamond Tile 18″x36″ Honed – Beige Marble with Straight Edge
Refined Scale Meets Natural Serenity
Transform interiors with the commanding presence of the Silver Diamond Honed Tile. This large-format marble tile blends soft beige undertones with subtle, earthy veining—delivering timeless appeal and natural sophistication. The honed finish provides a smooth, matte surface that diffuses light for a calm, grounded atmosphere, ideal for upscale residential and commercial designs.
Its elongated dimensions enhance spatial flow and reduce grout lines, making it a smart choice for open-plan living spaces, hotel lobbies, or modern bathrooms. With a straight edge profile, the tile aligns seamlessly for a clean, architectural look. Designed for lasting beauty, this marble tile brings both luxury and function to any environment.
Product Features
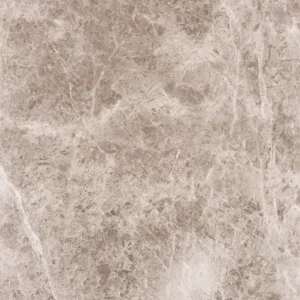
- Material: Premium Silver Diamond marble
- Color: Elegant beige with natural stone movement
- Finish: Honed – soft matte surface
- Size: 18″x36″ (45.7×91.4 cm)
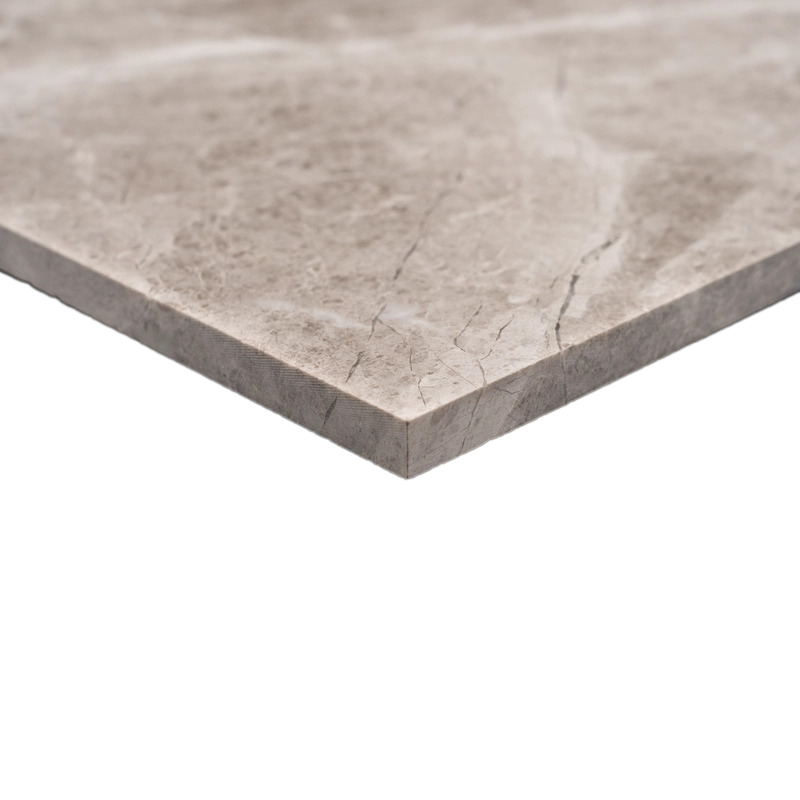
- Thickness: 0.47″ (1.2 cm)
- Edge: Straight edge for clean alignment
- Application: Indoor walls and floors – ideal for living rooms, bathrooms, entryways, and feature walls
Why Choose This Tile?
The Silver Diamond 18″x36″ honed tile offers a sophisticated balance of proportion, texture, and natural color. Whether you aim to soften a minimalist design or add warmth to a sleek interior, this tile is a versatile and enduring solution.
Installation Guide – Step by Step
Step 1: Surface Preparation – Ultra-Flat and Dry
- Ensure substrate is completely clean, level, and structurally sound.
- Check flatness using a 10-ft straightedge; surface must be within 1/8″ tolerance.
- Apply a self-leveling compound to correct dips or high spots.
- Use a waterproofing membrane in wet environments such as showers or bathrooms.
Step 2: Layout Planning – Visual Balance with Large Format
- Establish centerlines and layout grid to maintain pattern symmetry.
- Dry-lay multiple tiles to assess natural variation in tone and veining.
- Blend tiles from multiple boxes to ensure consistent appearance.
- Use **1/16″–1/8″ grout joints** for straight edge installation, adjusting to surface flatness.
Step 3: Mortar Application – High-Bond Thin-Set Required
Recommended Adhesives:
- Mapei Ultraflex LFT White
- Laticrete 4-XLT or 254 Platinum White
- Ardex X77 or X5 White
Instructions:
- Spread white thin-set with a 1/2″ square-notched trowel.
- Back-butter each tile to ensure complete coverage and avoid voids.
- Install in small sections to prevent premature mortar drying (skin-over).
Step 4: Cutting & Fitting – Clean Cuts for a Seamless Look
- Use a wet saw with a continuous-rim diamond blade designed for marble.
- Polish any exposed cuts for a professional finish.
- Dry-fit each cut tile before final placement.
Step 5: Setting Tiles – Avoid Lippage
- Use a leveling system suitable for large-format tiles to eliminate lippage.
- Tap tiles gently with a rubber mallet for even alignment.
- Use spacers to maintain consistent grout joint width.
- Wipe away excess mortar immediately with a damp sponge to avoid stains.
- Allow tile to cure for 24 hours before grouting.
Step 6: Grouting & Sealing – Preserve the Finish
- Pre-seal the honed marble with a penetrating sealer before grouting.
- Use non-sanded grout to avoid damaging the honed surface.
- Grout diagonally using a rubber float, and clean joints promptly.
- Buff surface after 20–30 minutes to remove haze.
- Apply a second coat of penetrating sealer after grout cures (typically 72 hours).
Maintenance Tips – Protect the Stone
- Clean regularly using pH-neutral stone cleaners.
- Quickly wipe spills to avoid absorption and staining.
- Re-seal high-traffic or wet areas every 6–12 months.
- Avoid bleach, vinegar, or acidic cleaners that could etch the stone.
Shipping & Packaging
Each 18″ x 36″ Silver Diamond Honed Marble Tile is securely packaged with edge protectors and foam support. Inspect all tiles before installation for consistency and damage.
Important Note
Due to its large size and natural variation, Silver Diamond marble should always be dry-laid before installation. Stonemarket USA assumes no responsibility for installation errors or natural variation in tone and veining.