Radiant Luxury in Every Square Inch
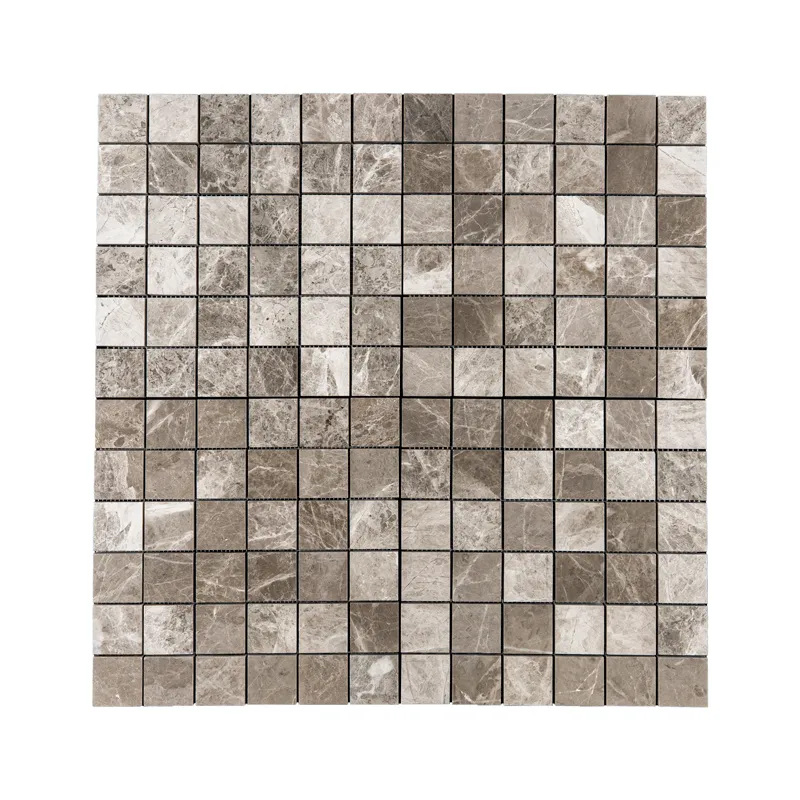
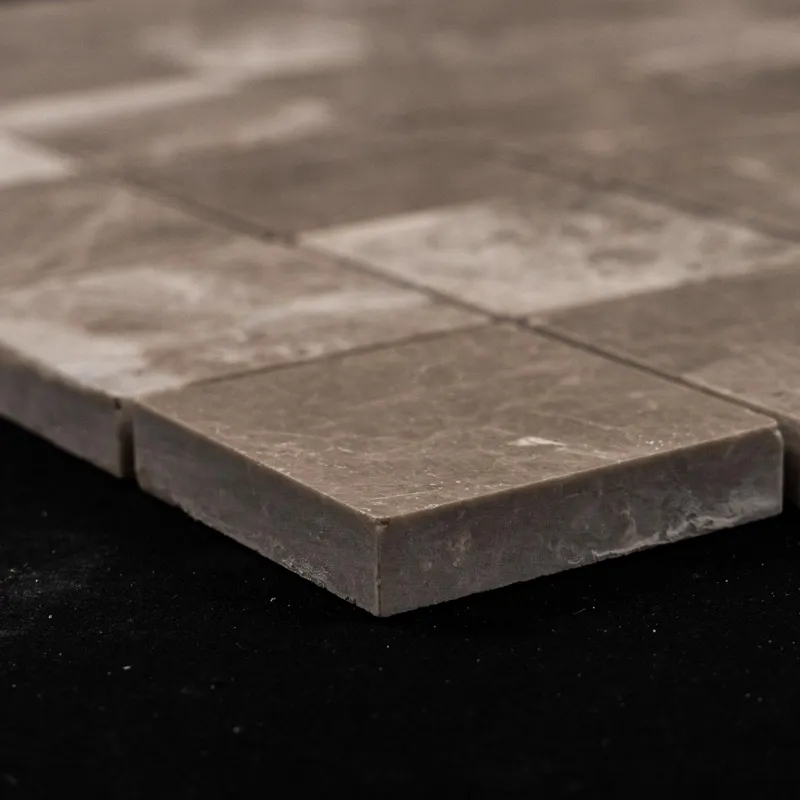
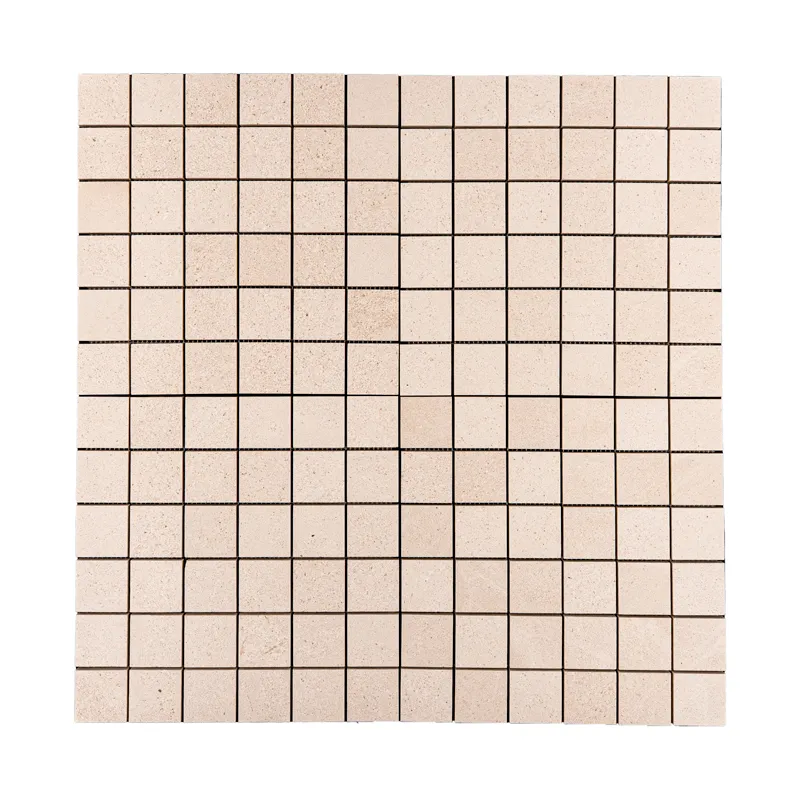
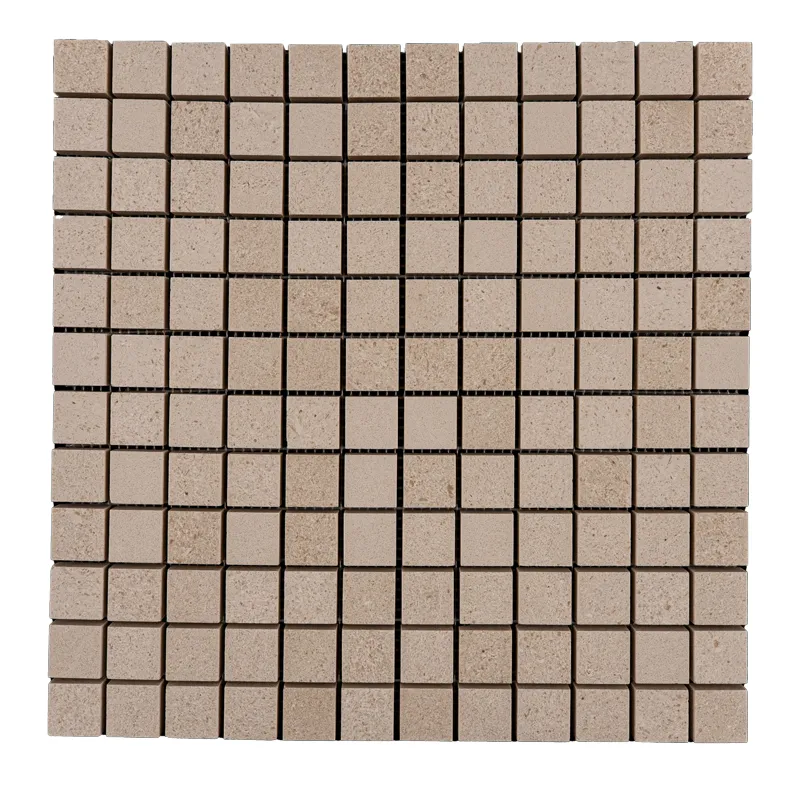
Transform your interiors with the bold refinement of Silver Diamond 2×2 Inch Polished Luxurious Mosaic Tile – Marble Silver Gray. This striking mosaic features precisely cut 2×2 inch square pieces crafted from high-quality silver-gray marble. The polished finish highlights the stone’s natural sparkle and veining, delivering a clean and luxurious feel to any space.
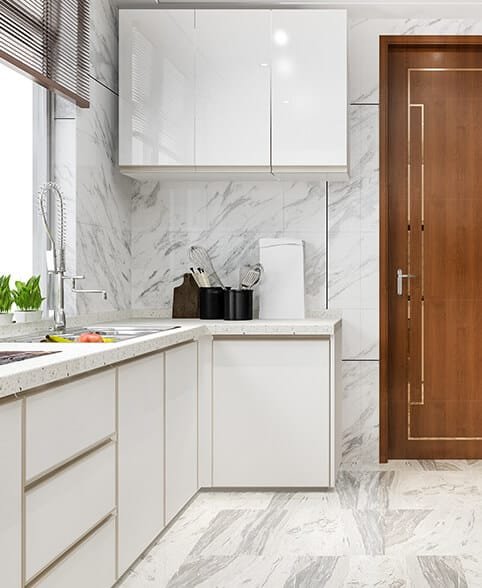
Ideal for kitchen backsplashes, shower walls, accent areas, and statement surfaces, this mesh-mounted tile offers a seamless installation experience while exuding opulence.
Product Overview
Material: Natural Silver Gray Marble
Tile Sheet Size: 12″ x 12″ (30.5 cm x 30.5 cm)
Tile Size: 2″ x 2″ (5.1 cm x 5.1 cm) individual pieces
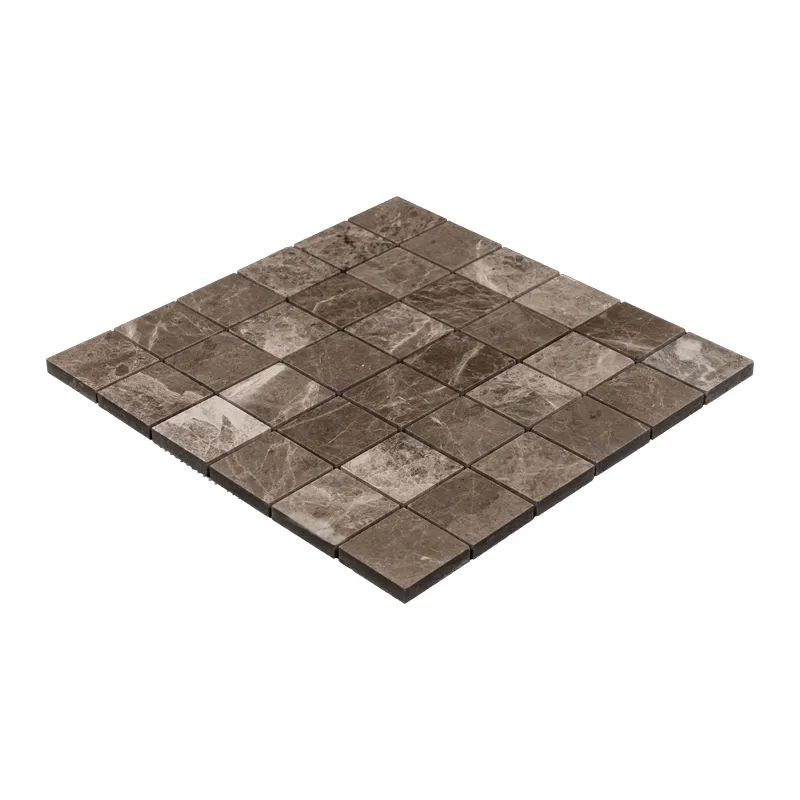
Thickness: 3/8″ (10 mm)
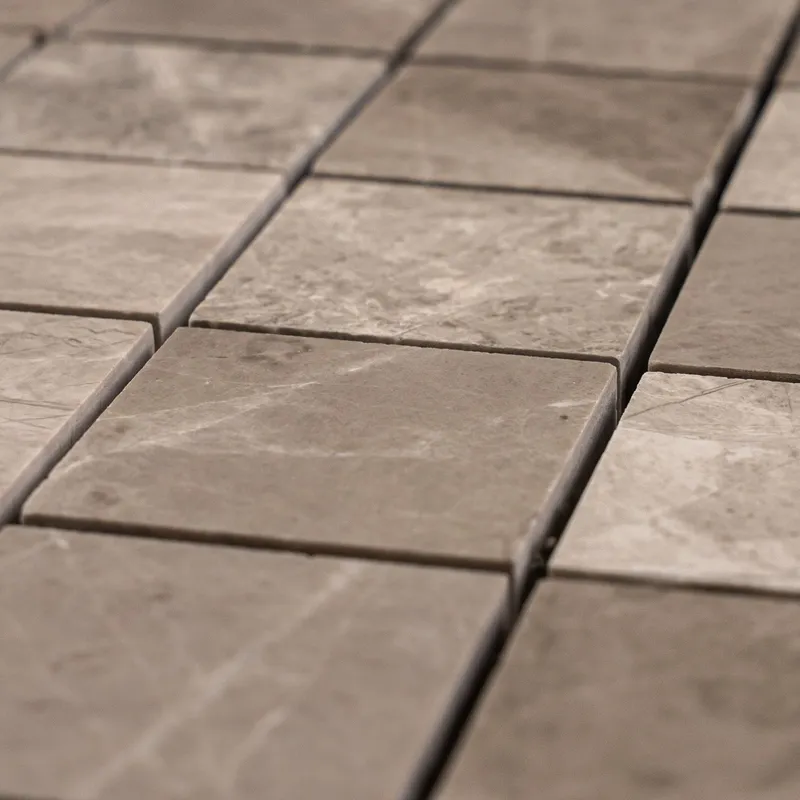
Finish: Polished (Glossy, Reflective Surface)
Color: Silver Gray with Natural Veining
Pattern: Square Mosaic (2×2 inch)
Backing: Mesh-mounted for easy application
Packaging: 72 boxes / 360 sheets per order (approx. 34.59 SQM total coverage)
Key Features
Modern square design for a contemporary aesthetic
High-gloss polished finish enhances brightness and depth
Natural veining offers distinct character in each tile
Suitable for both residential and commercial interiors
Water-resistant and easy to clean, ideal for wet zones
Mesh backing simplifies cutting and alignment
Recommended Applications
Kitchen backsplashes
Bathroom walls and showers
Feature walls and decorative niches
Fireplace surrounds and entryways
Boutique retail and hospitality design
Installation & Maintenance Tips
Use high-quality white thin-set mortar for best adhesion
Apply non-sanded grout to avoid scratching the polished surface
Seal thoroughly with a premium marble sealer before and after grouting
Clean only with pH-neutral, stone-safe products
Ordering & Shipping Info
Sold by: Square meter (1 SQM per unit)
Box Quantity: 72 boxes per order (34.59 SQM total)
Shipping: Reliable nationwide delivery with protective packaging
Bulk Pricing: Discounts available for large orders and contractors
Order Silver Diamond 2×2 Marble Mosaic Today
Make a bold, elegant statement in your home or commercial space with Silver Diamond Mosaic Tiles. From spa-like bathrooms to upscale kitchens, this tile brings unmatched luxury and timeless sophistication.
Questions or custom needs? Contact our expert team for tailored advice and assistance.
Maximize the Performance of Your Silver Diamond Square Polished Marble Mosaic Tile (12″ x 12″)
Follow these essential steps for preparing, installing, and finishing your Silver Diamond Square Polished Marble Mosaic Tile (12″ x 12″) to achieve a flawless and long-lasting installation. Proper installation ensures durability, stability, and aesthetic appeal while maintaining the luxurious polished marble finish and timeless square design.
Step 1: Surface Preparation
- Clean, dry, and free from dust, grease, soap scum, and debris.
- Structurally sound and level, with no cracks or loose sections.
- Properly waterproofed, especially in moisture-prone areas like bathrooms, kitchens, and showers.
- Clear of moldings or obstructions that may interfere with tile placement.
- If necessary, apply a self-leveling compound to create an even surface before installation.
Step 2: Layout Planning
- Measure the installation area and mark the center points of all four walls.
- Snap chalk lines to create a precise grid for alignment.
- Dry-lay tiles along the center lines to ensure balanced placement.
- Adjust center lines if edge cuts are too small.
- Use tile spacers (1.5mm – 3mm) for uniform grout joints.
- Dry-lay multiple sheets to confirm pattern alignment.
Step 3: Selecting & Applying Adhesive
Use a high-quality white thin-set mortar such as:
Application Tips:
- Mix only the amount of mortar usable within 30 minutes.
- Apply a 1/4-inch layer using the flat side of a notched trowel.
- Comb the mortar at a 45-degree angle to create ridges.
- Work in 2′ x 3′ sections to avoid drying before placement.
- Back-butter each tile to improve adhesion.
Step 4: Cutting & Fitting Tiles
- Mark tiles with a pencil or tile marker.
- Use a wet saw with diamond blade for clean cuts.
- Smooth edges with a rubbing stone.
- For intricate cuts, use a tile nipper or grinder.
- Dry-fit all tiles before applying adhesive.
Step 5: Setting the Tiles
- Start from the center of the room, working outward.
- Place tiles with a twisting motion for bond strength.
- Avoid sliding tiles into position.
- Use spacers to maintain grout lines.
- Tap gently with a rubber mallet.
- Wipe off excess mortar with a damp sponge.
- Allow to cure 24 hours before grouting.
Step 6: Grouting & Finishing
- Remove spacers before grouting.
- Use non-sanded grout to protect the polished finish.
- Spread grout diagonally with a rubber float.
- Remove excess grout immediately.
- After 15–20 minutes, clean haze with a damp sponge.
- Allow to cure 72 hours before use.
- Apply penetrating sealer after curing.
Maintenance Tips
- Use pH-neutral cleaners to protect the surface.
- Avoid acidic or harsh chemicals.
- Reseal regularly to maintain shine and durability.
- Place felt pads under furniture to prevent scratching.
Important Notice:
Stonemarket USA is not responsible for improper installations. We strongly recommend hiring a professional tile installer and using premium-grade materials for the best results.
📞 Need help? Contact Stonemarket USA Customer Support
By following these expert installation guidelines, you’ll enjoy the timeless beauty and durability of your Silver Diamond Square Polished Marble Mosaic Tile (12″ x 12″) for years to come.
[...video embed iframe rendered here...]