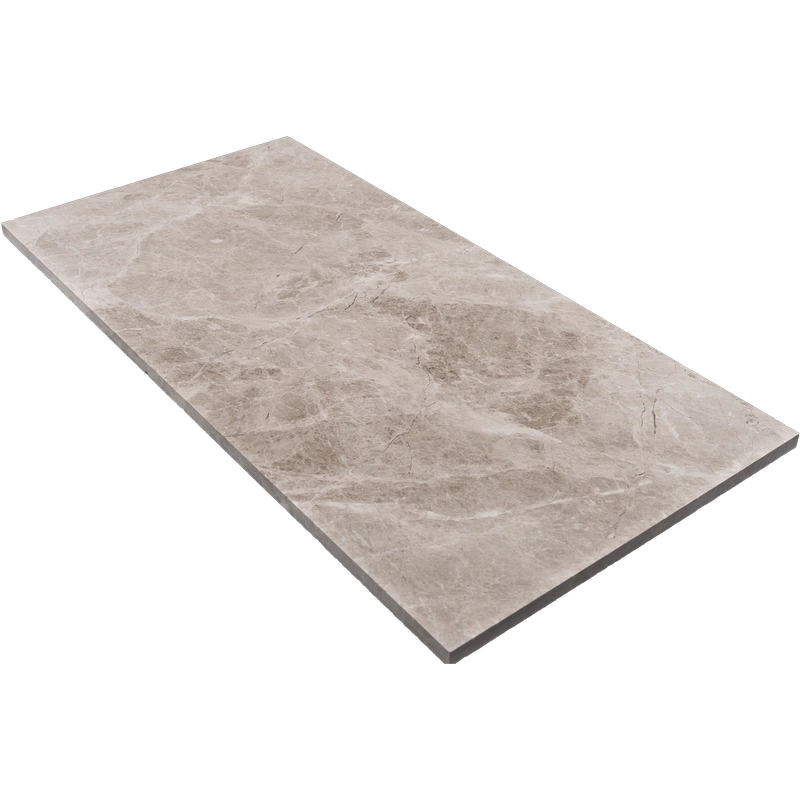
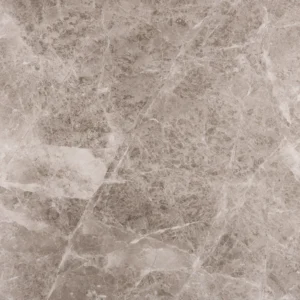
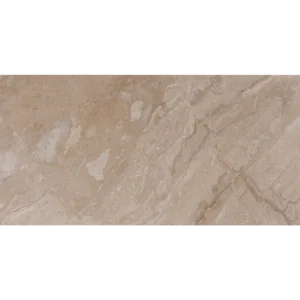
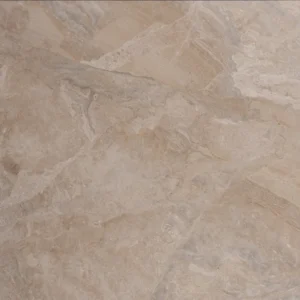
Silver Diamond Beige Marble Tile 12″x24″ – Honed Finish
Refined Natural Stone in a Soft Matte Finish
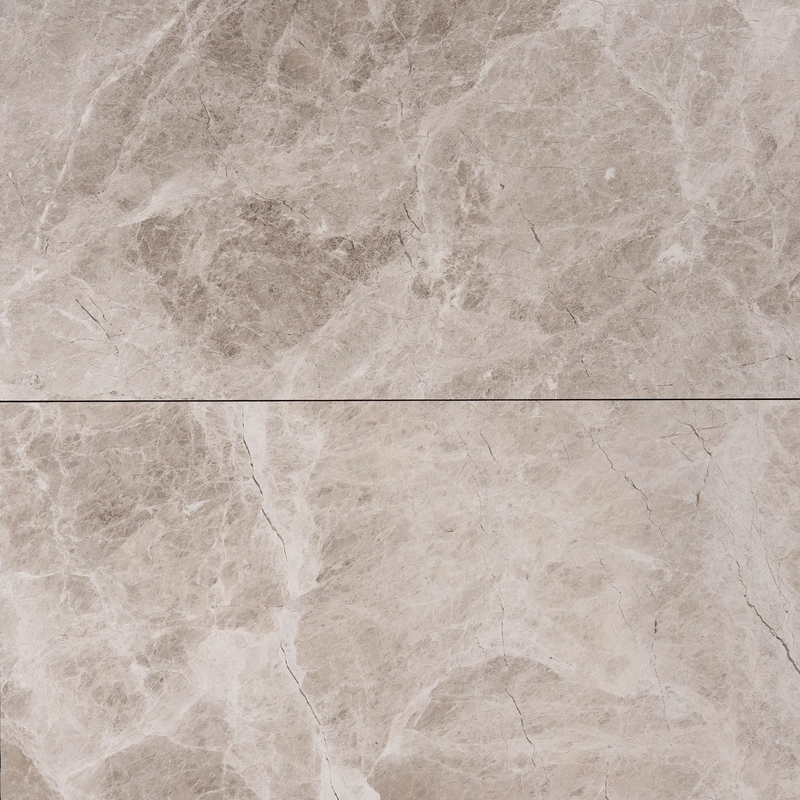
The Silver Diamond Beige Marble Tile 12″x24″ offers a quiet sophistication with its honed surface and cappuccino-beige tone. Crafted from premium natural marble, this tile brings a warm, understated elegance to any space. Its 12″x24″ format creates visual continuity, making it ideal for rooms where subtle texture and refined design are essential.
With a honed finish that softens the natural veining without a glossy reflection, this tile lends itself to modern, minimalist, or transitional interiors. Its straight edge provides clean alignment, helping designers and installers achieve tight grout lines and a seamless aesthetic. Perfect for both residential and commercial projects, this tile performs beautifully on bathroom walls, shower surrounds, kitchen backsplashes, and large-format floor layouts.
Key Features of Silver Diamond Honed Marble Tile 12″x24″
- Material: Natural Silver Diamond marble
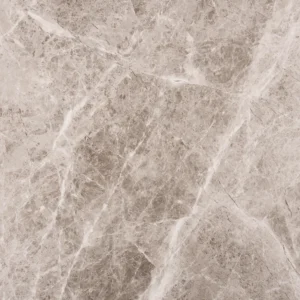
- Color: Soft beige with subtle gray-cappuccino veining
- Finish: Honed – matte, smooth surface with low reflection
- Size: 12″x24″ (30.5 x 61 cm)
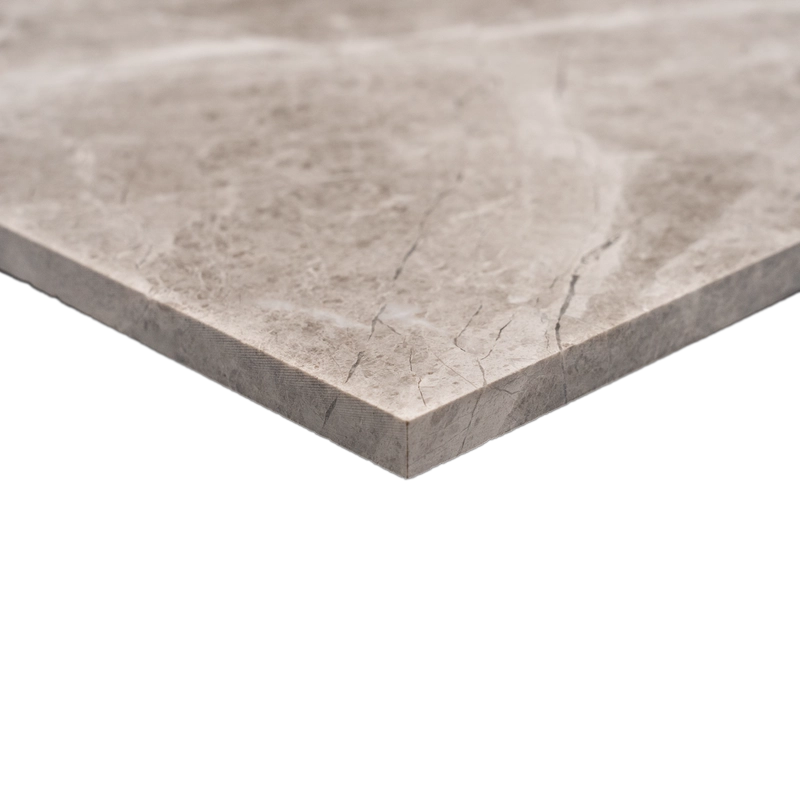
- Thickness: 0.47″ (1.2 cm)
- Edge: Straight edge for modern, seamless installation
Where to Use
- Bathroom and shower walls for a spa-like calm
- Kitchen backsplashes or feature panels
- Flooring in living areas, foyers, or open-plan spaces
- Commercial applications such as hotel lobbies or boutique offices
Installation Guide – Step by Step
Step 1: Surface Preparation – Flat, Stable, Clean
- Ensure substrate is dry, solid, and clean from contaminants or residue.
- Use a 10-ft straightedge to check for flatness (within 1/8″). Level if needed using a self-leveling compound.
- Apply waterproofing membrane if installing in showers, wet rooms, or high-moisture areas.
Step 2: Layout Planning – Plan for Tone and Grain
- Mark centerlines and reference points for symmetrical layout.
- Dry-lay tiles to visualize natural tone shifts and blend from multiple boxes.
- Use **1/16″ to 1/8″ grout joints** for clean alignment with straight edges.
Step 3: Mortar Application – Use White Thin-Set
Recommended Thin-Sets:
- Mapei Ultraflex LFT White
- Laticrete 254 Platinum White
- Ardex X77 White
Instructions:
- Apply mortar with a 1/2″ square-notched trowel for full bed coverage.
- Back-butter each tile to ensure complete contact and minimize hollow spots.
- Apply in small, manageable areas to prevent premature drying.
Step 4: Cutting & Fitting – Smooth & Accurate
- Use a wet saw with a diamond blade designed for natural stone.
- Polish cut edges with a marble hand pad if exposed.
- Always test-fit pieces before securing in place.
Step 5: Setting Tiles – Aligned and Flat
- Set tiles carefully using a leveling system to avoid lippage.
- Maintain consistent grout spacing and align straight edges precisely.
- Clean off excess thin-set from tile surface and joints using a damp sponge.
- Allow mortar to cure 24 hours before grouting.
Step 6: Grouting & Sealing – Preserve the Finish
- Pre-seal honed marble with a penetrating sealer to prevent grout stains.
- Use non-sanded grout to protect delicate honed surfaces.
- Apply grout diagonally with a rubber float, then clean immediately with a damp sponge.
- Let grout cure for 72 hours, then apply a second coat of sealer for protection.
Maintenance Tips – Preserve the Natural Look
- Use pH-neutral cleaners approved for natural stone.
- Wipe spills immediately to prevent etching or staining.
- Re-seal every 6–12 months, especially in kitchens or wet areas.
- Avoid harsh chemicals, vinegar, or bleach-based products.
Shipping & Packaging
Each 12″ x 24″ Silver Diamond Honed Marble Tile is securely packaged with protective foam and edge guards. Inspect before installation to confirm tone consistency and finish.
Important Note
Due to the natural variation in Silver Diamond marble, dry-lay and blend tiles prior to installation. Stonemarket USA is not responsible for installation issues or inherent stone variation.