+1-904-412-1131 | Info@stonemarketusa.com
Mon-Fri: 9:00 AM - 6:00 PM |

Premium Craftsmanship, Outstanding Service. Discover More.

Contact Info

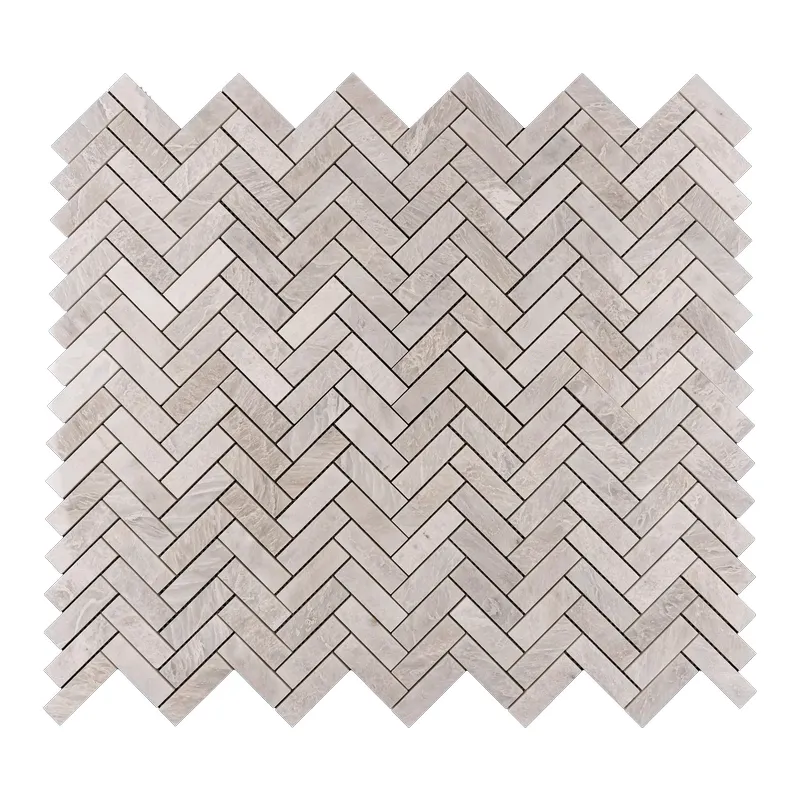
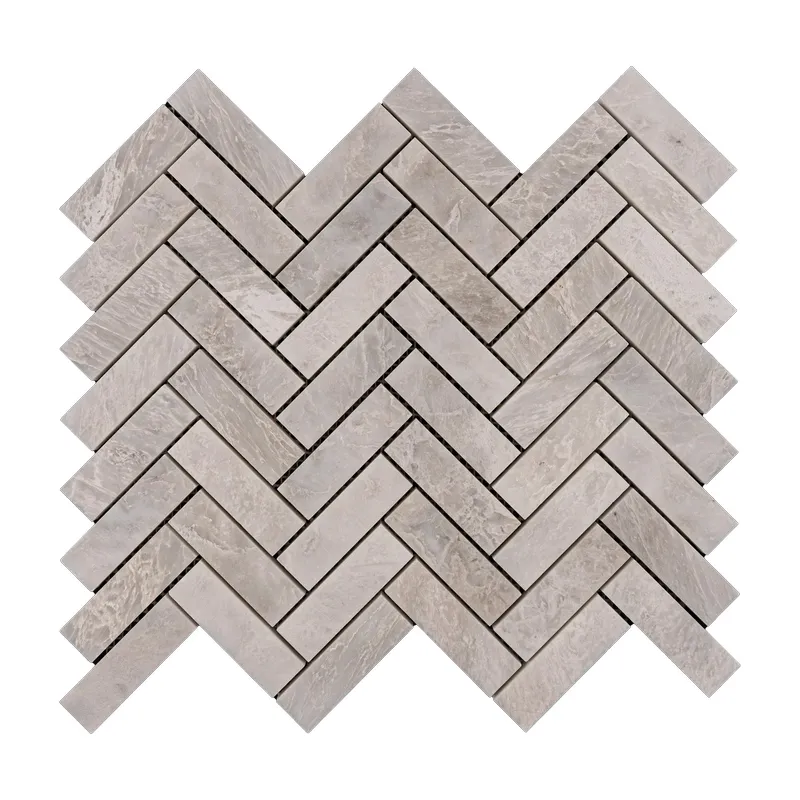
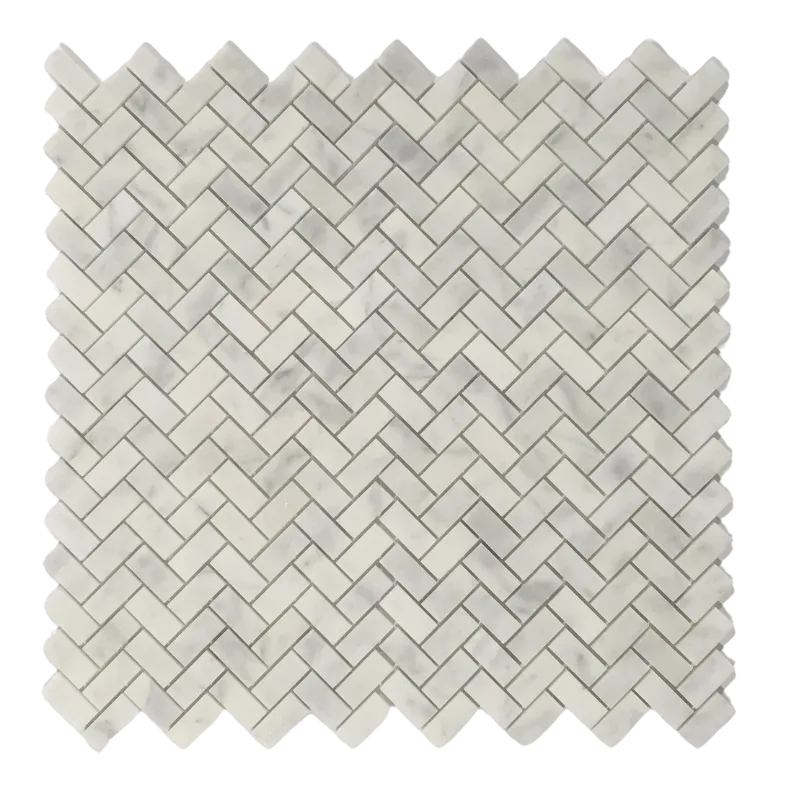
Iceberg Herringbone 1×3″ Polished Marble Mosaic Tile – White & Gray Elegance

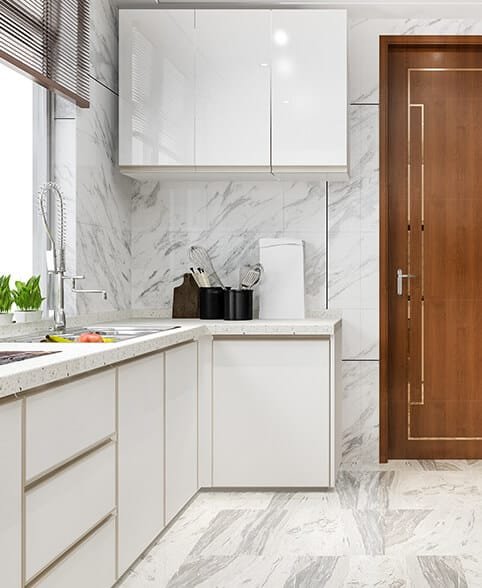
Add timeless elegance to your space with the Iceberg Herringbone Polished Marble Mosaic Tile. The crisp white color and subtle gray veining create a clean and sophisticated look. Its 1×3 inch herringbone pattern adds a modern touch, while the polished finish reflects light beautifully. Ideal for a bathroom, kitchen backsplash, shower wall, feature wall, or any upscale interior.

$22.00 /Piece

Item Code MMB20-11185 Categories , , Tags ,

Description

Iceberg Herringbone Polished Marble Mosaic Tile (11.2″ x 13″) โ€“ Premium Elegance for Modern Spaces

Upgrade your interior with the timeless beauty of Iceberg Herringbone Polished Marble Mosaic Tile. This luxurious marble tile features a crisp white base with soft gray veining, arranged in a stylish herringbone pattern. Perfect for bathroom walls, kitchen backsplashes, shower enclosures, accent walls, and upscale commercial interiors.


๐Ÿงฑ Product Overview

  • Material: Premium Natural Iceberg Marble

  • Tile Sheet Size: 11.2″ x 13″ (28.5 cm x 33 cm)

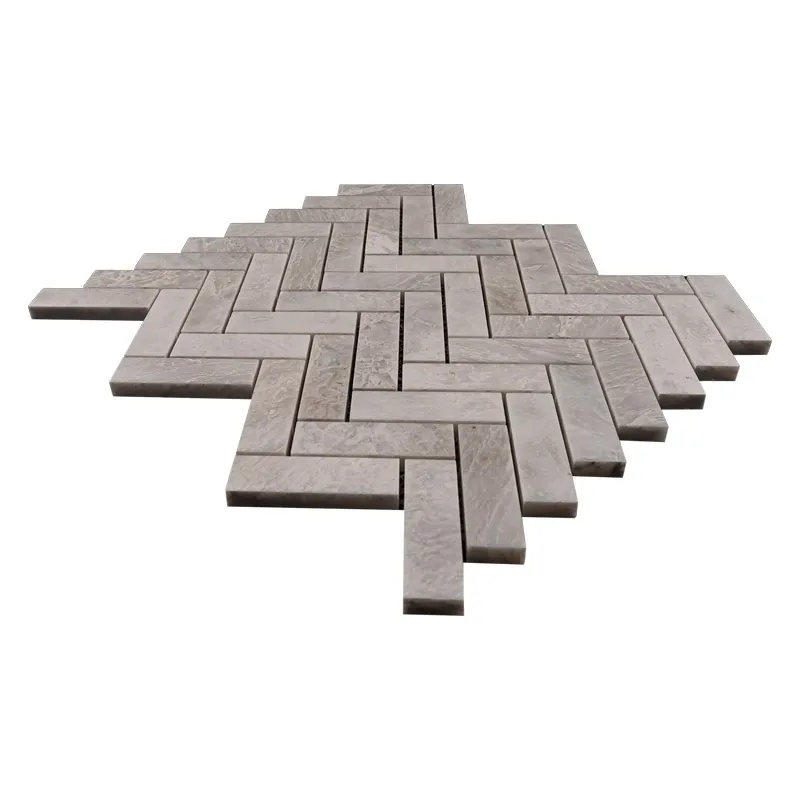
  • Chip Size: 1″ x 3″ individual pieces

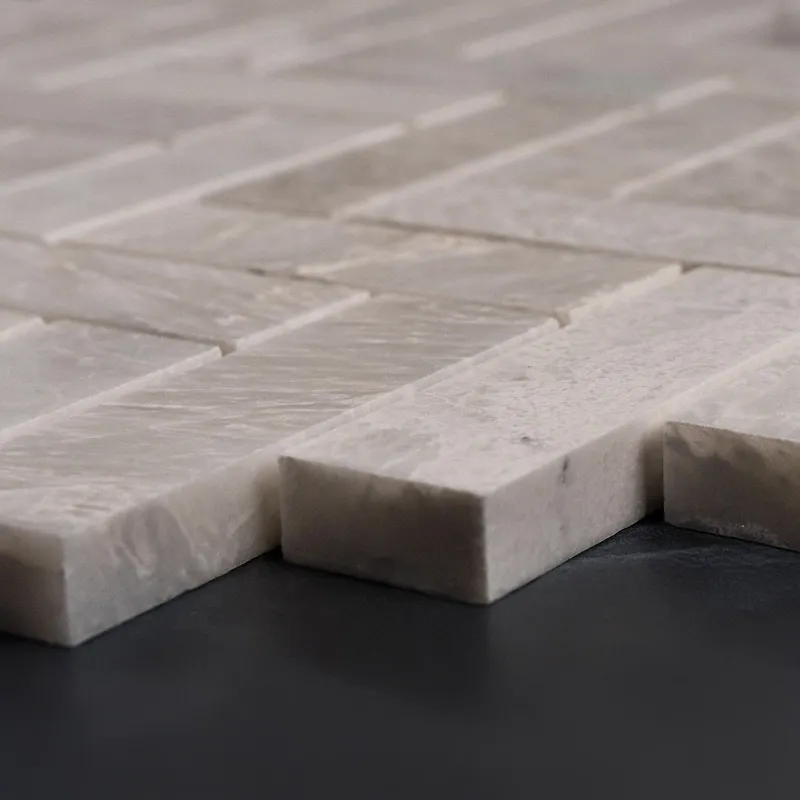
  • Thickness: 3/8″ (10 mm)

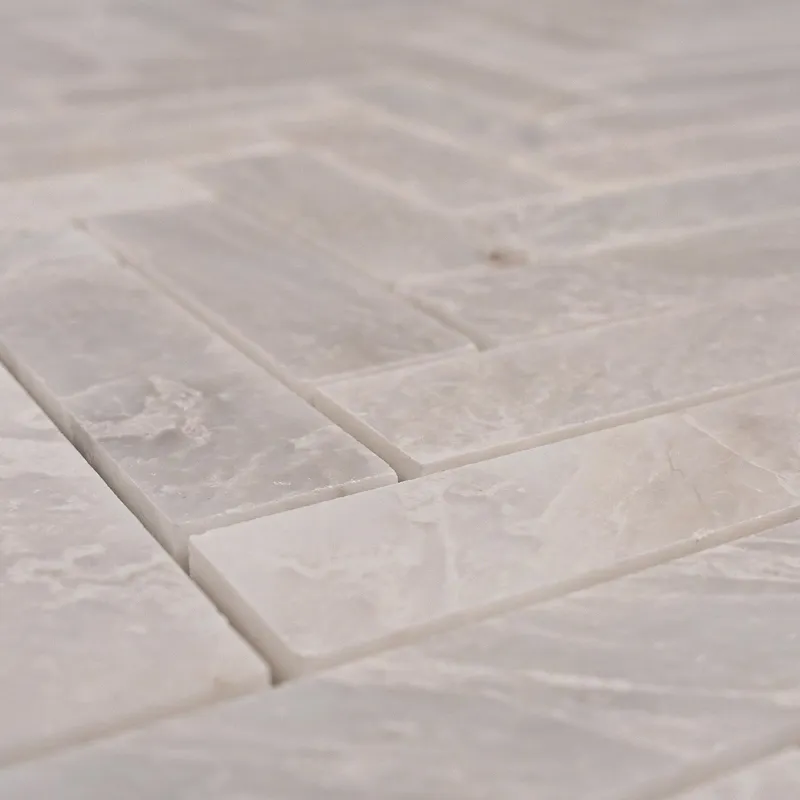
  • Finish: Polished (Glossy & Light Reflective)

  • Color: Crisp White with Subtle Gray Veins

  • Pattern: Herringbone Mosaic

  • Backing: Mesh-mounted for easy installation

  • Packaging: 72 boxes / 360 pieces per order (33.86 SQM total)


โœจ Key Features

  • Timeless Herringbone Design: Adds visual movement and modern charm.

  • Polished Finish: Reflects light beautifully for a luminous surface.

  • Versatile Use: Ideal for bathrooms, kitchens, showers, accent walls, and more.

  • Durability: Moisture-resistant, wear-resistant, and long-lasting.

  • Quick Installation: Mesh backing allows for seamless application.

  • Low Maintenance: Easy to clean and maintain with simple care.


๐Ÿ  Recommended Applications

  • Bathroom Walls & Shower Floors: Create a spa-like, elegant ambiance.

  • Kitchen Backsplashes: Add a sleek, high-end touch to your cooking space.

  • Accent & Feature Walls: Introduce texture and dimension to any room.

  • Fireplaces & Entryways: Perfect for statement interiors and high-traffic areas.

  • Hotels & Commercial Spaces: Elevate professional environments with luxurious marble.


๐Ÿ›  Installation & Maintenance Tips

  • Adhesive: Use a high-quality white thin-set mortar.

  • Sealing: Apply a penetrating stone sealer to prevent stains.

  • Grouting: Use non-sanded grout to protect the polished finish.

  • Cleaning: Maintain shine with a pH-neutral marble cleaner.


๐Ÿ“ฆ Ordering & Shipping Info

  • Sold by: Square meter (1 SQM per unit)

  • Box Quantity: 72 boxes per order (33.86 SQM total)

  • Shipping: Fast & secure delivery to your location

  • Bulk Pricing: Wholesale discounts available upon request


๐Ÿ›’ Order Iceberg Herringbone Marble Mosaic Tile Today!

Transform your space with the elegant and modern look of Iceberg Herringbone Polished Marble Mosaic Tile. Whether you’re renovating your kitchen or upgrading a commercial lobby, this luxurious tile brings timeless style and high-end quality to every project.

๐Ÿ“ž Need help with your order? Contact our experts for personalized assistance and exclusive offers.
๐Ÿ‘‰ Click below to buy now and elevate your space with premium marble design!

Additional information

Weight5.80 lbs
Dimensions11.20 × 13 × 0.40 in
Chip Size (Inches)

Finish

Color

Thickness

Installation Guide

Iceberg Herringbone Polished Marble Mosaic Tile (11.2″ x 13″)

Maximize Performance & Beauty with Proper Installation

Achieve a flawless, long-lasting finish by following this expert installation guide for your Iceberg Herringbone Polished Marble Mosaic Tile. These step-by-step instructions ensure your tiles maintain their structural integrity, luxurious finish, and precise herringbone layout.


โœ… Step 1: Surface Preparation โ€“ Prepare a Clean, Level Base

A well-prepared surface is key to a successful installation. Ensure the substrate is:

  • โœ” Clean, dry, and free of dust, grease, soap scum, or debris

  • โœ” Level and structurally sound, without cracks or loose spots

  • โœ” Waterproofed in wet areas like bathrooms, kitchens, and showers

  • โœ” Cleared of moldings or fixtures that may interfere

  • โœ” Flattened using a self-leveling compound if necessary


๐Ÿ“ Step 2: Layout Planning โ€“ Achieve Symmetry & Balance

  • โœ” Measure the area and mark the center of each wall

  • โœ” Snap chalk lines between opposing walls to create a layout grid

  • โœ” Dry-lay tiles along center lines to preview spacing and pattern

  • โœ” Adjust layout to avoid narrow cuts at the edges

  • โœ” Use spacers (1.5mmโ€“3mm) to ensure consistent grout joints

  • โœ” Dry-lay multiple sheets to visualize the herringbone flow


๐Ÿงฑ Step 3: Adhesive Selection โ€“ Use Premium Mortar for Strong Bond

We recommend a high-quality white thin-set mortar such as:

  • Mapei

  • Laticrete

  • Ardex

Application Steps:

  1. Mix only the amount usable within 30 minutes

  2. Apply mortar with the flat side of a 1/4″ notched trowel

  3. Comb mortar at a 45ยฐ angle with the notched side

  4. Work in small sections (approx. 2โ€™ x 3โ€™)

  5. Back-butter each tile for stronger adhesion


๐Ÿ”ช Step 4: Cutting & Fitting โ€“ Precision for Polished Marble

  • โœ” Use a wet saw with a diamond blade for clean cuts

  • โœ” Mark tiles clearly with a pencil or marker

  • โœ” Smooth edges with a rubbing stone for a polished finish

  • โœ” For detailed cuts, use tile nippers or a grinding tool

  • โœ” Dry-fit before applying mortar to ensure perfect alignment


๐Ÿงฉ Step 5: Setting the Tiles โ€“ Secure a Seamless Pattern

  • โœ” Begin from the center, working outwards

  • โœ” Press tiles with a slight twist to embed in mortar

  • โœ” Avoid sliding to prevent adhesive displacement

  • โœ” Use spacers to maintain clean grout lines

  • โœ” Gently tap tiles with a rubber mallet for even placement

  • โœ” Wipe away excess mortar with a damp sponge

  • โœ” Let the adhesive cure for 24 hours


๐Ÿงผ Step 6: Grouting & Finishing โ€“ Finalize with Care

  • โœ” Remove spacers before grouting

  • โœ” Use non-sanded grout to protect the polished marble surface

  • โœ” Apply grout diagonally using a rubber float

  • โœ” Remove excess grout immediately

  • โœ” After 15โ€“20 minutes, wipe off haze with a damp sponge

  • โœ” Allow grout to cure for 72 hours

  • โœ” Finish with a penetrating sealer to protect from stains and moisture


๐Ÿงฝ Maintenance Tips โ€“ Keep Your Marble Looking New

  • โœ” Clean regularly with pH-neutral stone cleaners

  • โœ” Avoid acidic or abrasive cleaners

  • โœ” Reapply sealer as needed to maintain protection

  • โœ” Use felt pads under furniture to prevent scratches


โš ๏ธ Important Notice

Stonemarket USA is not responsible for improper installations. For optimal results, we strongly recommend using professional installers and premium-grade materials.


๐Ÿ’ฌ Questions? Need Help?

Contact our expert team for support or to get connected with a certified tile installer in your area.
๐Ÿ“ž [Your Contact Info]


๐Ÿš€ Ready to Elevate Your Space?

Click below to order your Iceberg Herringbone Polished Marble Mosaic Tile (11.2″ x 13″) and bring timeless elegance into your home or commercial project.
[๐Ÿ›’ Order Now]