+1-904-412-1131 | Info@stonemarketusa.com
Mon-Fri: 9:00 AM - 6:00 PM |

Premium Craftsmanship, Outstanding Service. Discover More.

Contact Info

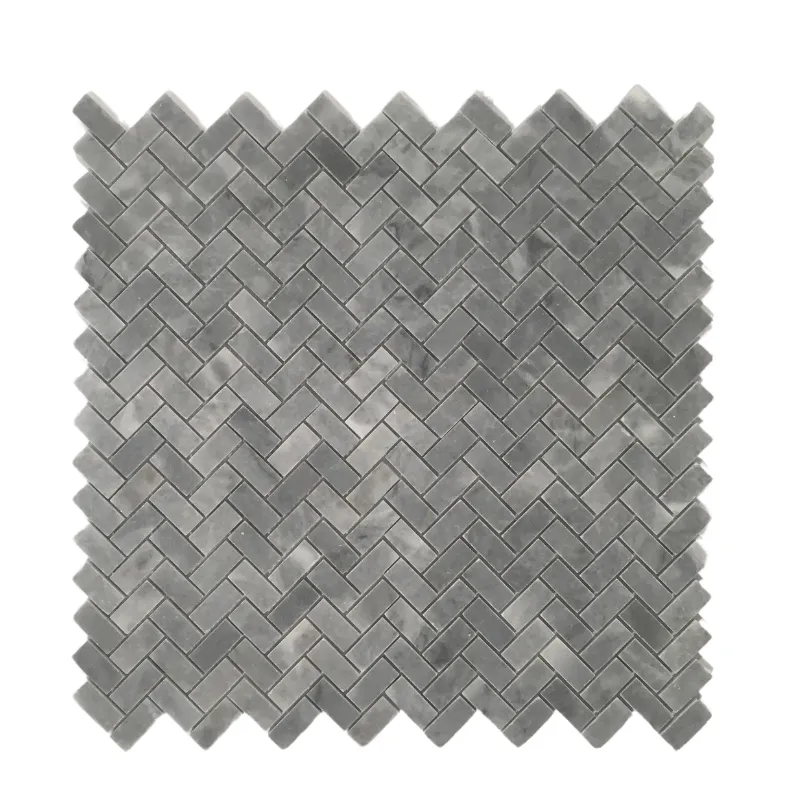
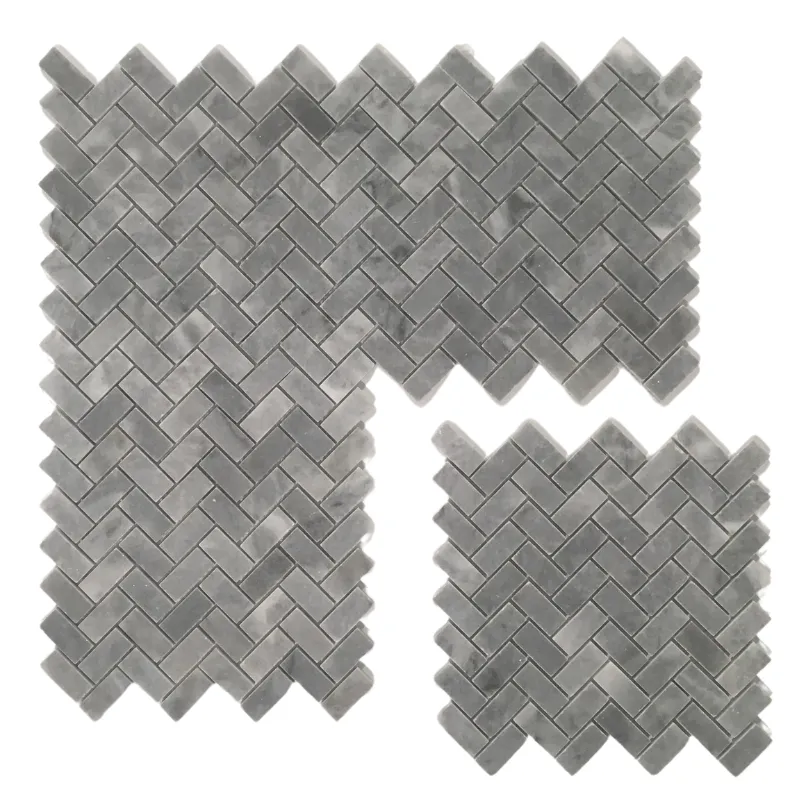
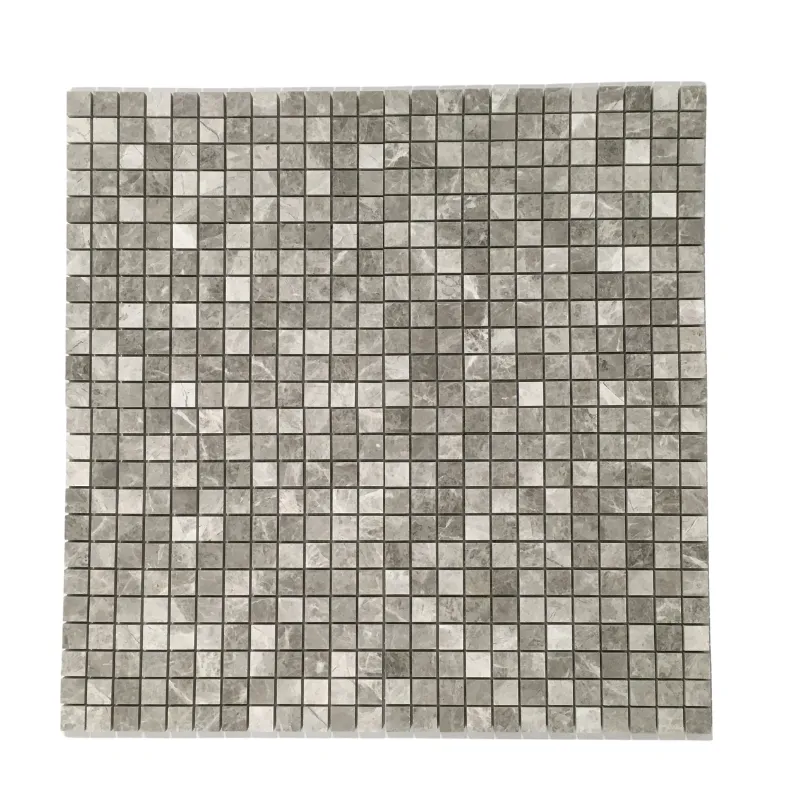
1×2 Polished Finish Bardiglio Herringbone Marble Mosaic

Upgrade your space with the timeless elegance of Bardiglio Herringbone Marble Mosaic. Featuring a polished finish and sophisticated gray tones, this Polished Marble Mosaic Tile is durable and stylish for kitchen backsplashes, shower walls, and decorative accents.

$25.00 /Piece

Item Code MMG20-9524 Categories , Tags ,

Description

🏗️ 1 x 2 Bardiglio Herringbone Marble Mosaic

✨ Elevate Your Space with the 1 x 2 Bardiglio Herringbone Marble Mosaic

A stunning blend of natural elegance and modern design. Featuring a sleek polished finish and a sophisticated gray tone, this marble mosaic enhances any interior with its timeless appeal. The herringbone pattern adds texture and depth, making it an ideal choice for luxurious backsplashes, shower walls, and accent areas.

🔹 Key Features:

  • Material: Natural Marble
  • Stone Name: Bardiglio
  • Pattern: Herringbone
  • Finish: Polished
  • Color: Gray
  • Sheet Size: 11.4″ x 11.4″ (29 x 29 cm)
  • Tile Size: 1″ x 2″
  • Thickness: 1 cm

🏡 Ideal Applications:

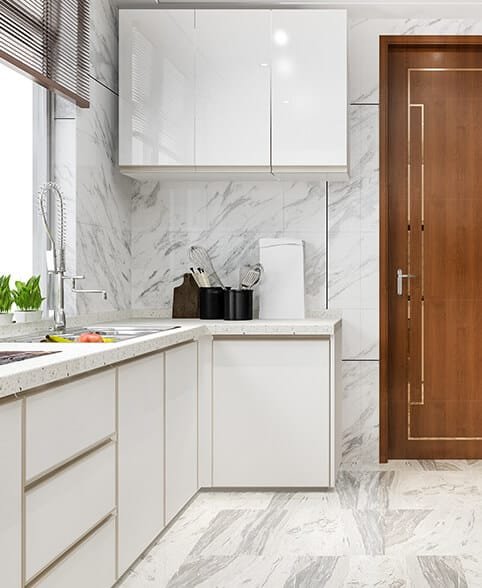
  • Kitchen Backsplash
  • Bathroom Walls & Floors
  • Shower Walls
  • Entryways & Hallways
  • Decorative Accent Walls

🔥 Why Choose Bardiglio Herringbone Marble Mosaic?

  • Elegant & Timeless Design – The herringbone pattern adds a unique and stylish touch.
  • Premium Natural Marble – Durable, high-quality stone for long-lasting beauty.
  • Polished Surface – Reflects light, creating a bright and spacious feel.
  • Versatile Use – Perfect for both wall and floor installations.

✨ Transform your home with the sophisticated charm of Bardiglio Herringbone Marble Mosaic. Order today and bring the luxury of natural marble into your space!

Additional information

Weight4.7 lbs
Dimensions11.42 × 11.42 × 0.40 in
Color

Thickness

Finish

Size (inches)

Chip Size (Inches)

Installation Guide

Tools & Materials Needed:

✔ Tile Adhesive (Thinset Mortar)
✔ Notched Trowel (1/4″ recommended)
✔ Tile Spacers
✔ Level
✔ Wet Saw (for cutting)
✔ Grout (Unsanded for polished marble)
✔ Grout Float
✔ Sponge & Clean Water
✔ Sealer (for natural stone)


Step-by-Step Installation Instructions:

1. Surface Preparation

  • Ensure the installation surface is clean, dry, and level.
  • For walls: Use cement board or backer board for better adhesion.
  • For floors: Make sure the subfloor is sturdy and free of debris.

2. Layout & Dry Fitting

  • Before applying adhesive, lay out the mosaic sheets on the surface to determine the best placement.
  • Ensure the herringbone pattern aligns correctly.
  • Use tile spacers for even grout lines.

3. Applying the Adhesive

  • Use a notched trowel to spread a thin layer of tile adhesive on the surface.
  • Work in small sections to prevent the adhesive from drying out before tile placement.

4. Setting the Tiles

  • Press each mosaic sheet firmly into the adhesive.
  • Use a rubber float or a small block of wood to gently press down and ensure even adhesion.
  • Keep consistent spacing between sheets for uniform grout lines.

5. Cutting & Adjustments

  • Use a wet saw with a diamond blade for precise cuts.
  • Cut carefully along edges and corners to maintain the herringbone pattern.

6. Grouting the Tiles

  • Allow 24 hours for the adhesive to set before grouting.
  • Use unsanded grout to prevent scratching the polished marble surface.
  • Apply grout with a rubber float, working it into the joints.
  • Wipe off excess grout with a damp sponge before it dries.

7. Sealing the Marble

  • Once the grout is fully dry (after 24-48 hours), apply a high-quality sealer to protect the marble from stains and moisture.
  • Sealing is highly recommended for all natural stone installations.

8. Final Cleaning & Maintenance

  • After sealing, clean the surface with a soft cloth and pH-neutral stone cleaner.
  • Avoid harsh chemicals or acidic cleaners that can damage the marble.

Additional Tips:

Use white thinset mortar to prevent discoloration of light-colored marble.
Work in small sections to ensure adhesive doesn’t dry too quickly.
Regularly seal the marble to maintain its polished look and durability.

By following these steps, you’ll achieve a beautiful, long-lasting installation of your Bardiglio Herringbone Marble Mosaic.

Need more help? Contact our support team for expert assistance!