+1-904-412-1131 | Info@stonemarketusa.com
Mon-Fri: 9:00 AM - 6:00 PM |

Premium Craftsmanship, Outstanding Service. Discover More.

Contact Info

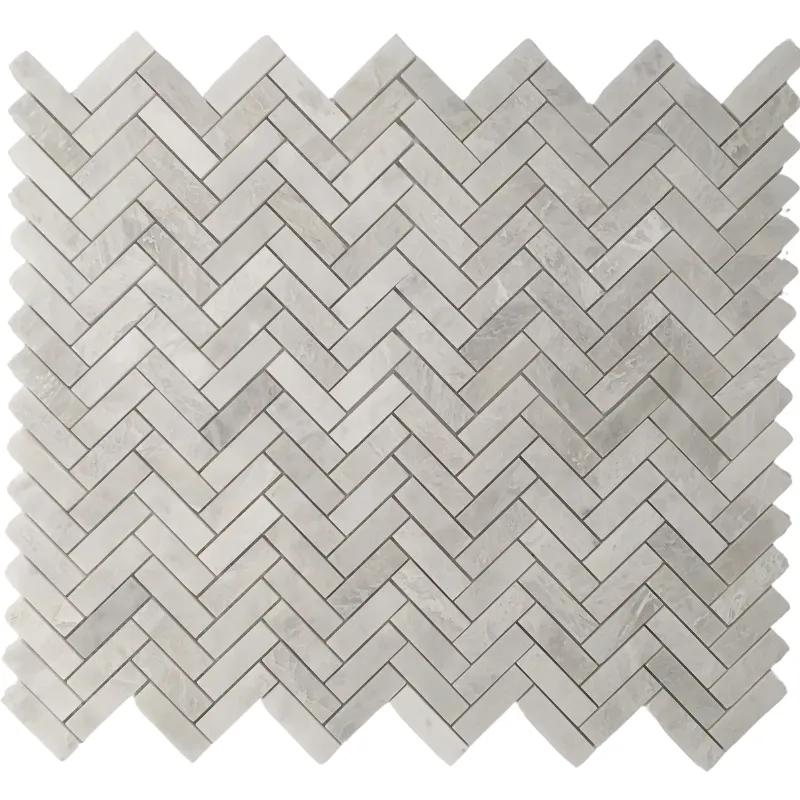
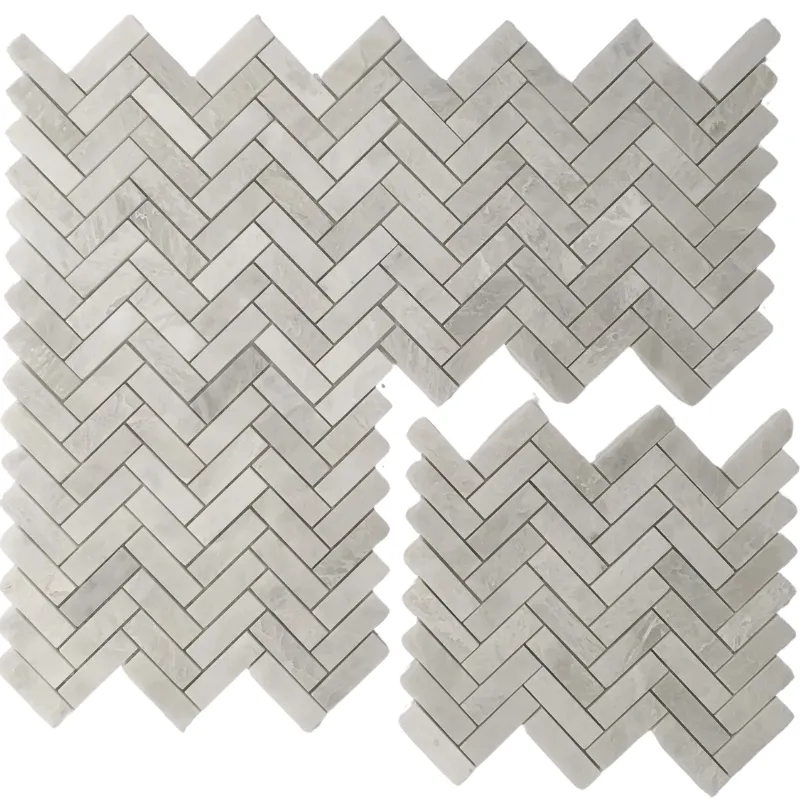
Iceberg Herringbone 1×3″ Polished Marble Mosaic Tile – White & Gray Elegance

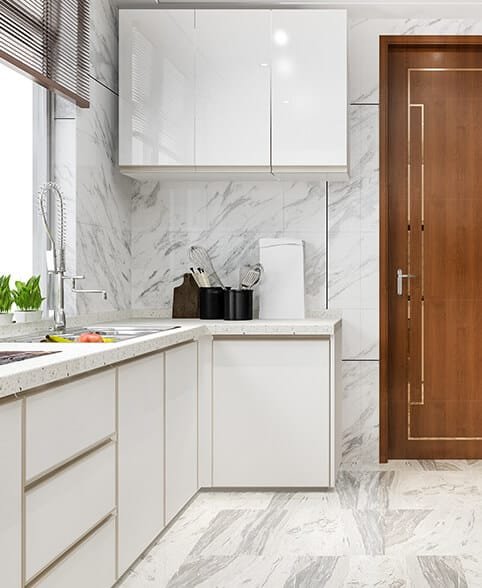
Add timeless elegance to your space with the Iceberg Herringbone Polished Marble Mosaic Tile. The crisp white color and subtle gray veining create a clean and sophisticated look. Its 1×3 inch herringbone pattern adds a modern touch, while the polished finish reflects light beautifully. Ideal for a bathroom, kitchen backsplash, shower wall, feature wall, or any upscale interior.

$22.00 /Piece

Item Code MMB20-11185 Categories , , Tags ,

Description

Iceberg Herringbone Polished Marble Mosaic Tile (11.2″ x 13″) – Premium Elegance for Modern Spaces

Upgrade your interior with the timeless beauty of Iceberg Herringbone Polished Marble Mosaic Tile. This luxurious marble tile features a crisp white base with soft gray veining, arranged in a stylish herringbone pattern. Perfect for bathroom walls, kitchen backsplashes, shower enclosures, accent walls, and upscale commercial interiors.


🧱 Product Overview

  • Material: Premium Natural Iceberg Marble

  • Tile Sheet Size: 11.2″ x 13″ (28.5 cm x 33 cm)

  • Chip Size: 1″ x 3″ individual pieces

  • Thickness: 3/8″ (10 mm)

  • Finish: Polished (Glossy & Light Reflective)

  • Color: Crisp White with Subtle Gray Veins

  • Pattern: Herringbone Mosaic

  • Backing: Mesh-mounted for easy installation

  • Packaging: 72 boxes / 360 pieces per order (33.86 SQM total)


✨ Key Features

  • Timeless Herringbone Design: Adds visual movement and modern charm.

  • Polished Finish: Reflects light beautifully for a luminous surface.

  • Versatile Use: Ideal for bathrooms, kitchens, showers, accent walls, and more.

  • Durability: Moisture-resistant, wear-resistant, and long-lasting.

  • Quick Installation: Mesh backing allows for seamless application.

  • Low Maintenance: Easy to clean and maintain with simple care.


🏠 Recommended Applications

  • Bathroom Walls & Shower Floors: Create a spa-like, elegant ambiance.

  • Kitchen Backsplashes: Add a sleek, high-end touch to your cooking space.

  • Accent & Feature Walls: Introduce texture and dimension to any room.

  • Fireplaces & Entryways: Perfect for statement interiors and high-traffic areas.

  • Hotels & Commercial Spaces: Elevate professional environments with luxurious marble.


🛠 Installation & Maintenance Tips

  • Adhesive: Use a high-quality white thin-set mortar.

  • Sealing: Apply a penetrating stone sealer to prevent stains.

  • Grouting: Use non-sanded grout to protect the polished finish.

  • Cleaning: Maintain shine with a pH-neutral marble cleaner.


📦 Ordering & Shipping Info

  • Sold by: Square meter (1 SQM per unit)

  • Box Quantity: 72 boxes per order (33.86 SQM total)

  • Shipping: Fast & secure delivery to your location

  • Bulk Pricing: Wholesale discounts available upon request


🛒 Order Iceberg Herringbone Marble Mosaic Tile Today!

Transform your space with the elegant and modern look of Iceberg Herringbone Polished Marble Mosaic Tile. Whether you’re renovating your kitchen or upgrading a commercial lobby, this luxurious tile brings timeless style and high-end quality to every project.

📞 Need help with your order? Contact our experts for personalized assistance and exclusive offers.
👉 Click below to buy now and elevate your space with premium marble design!

Additional information

Weight5.80 lbs
Dimensions11.20 × 13 × 0.40 in
Chip Size (Inches)

Finish

Color

Thickness

Installation Guide

Iceberg Herringbone Polished Marble Mosaic Tile (11.2″ x 13″)

Maximize Performance & Beauty with Proper Installation

Achieve a flawless, long-lasting finish by following this expert installation guide for your Iceberg Herringbone Polished Marble Mosaic Tile. These step-by-step instructions ensure your tiles maintain their structural integrity, luxurious finish, and precise herringbone layout.


✅ Step 1: Surface Preparation – Prepare a Clean, Level Base

A well-prepared surface is key to a successful installation. Ensure the substrate is:

  • ✔ Clean, dry, and free of dust, grease, soap scum, or debris

  • ✔ Level and structurally sound, without cracks or loose spots

  • ✔ Waterproofed in wet areas like bathrooms, kitchens, and showers

  • ✔ Cleared of moldings or fixtures that may interfere

  • ✔ Flattened using a self-leveling compound if necessary


📐 Step 2: Layout Planning – Achieve Symmetry & Balance

  • ✔ Measure the area and mark the center of each wall

  • ✔ Snap chalk lines between opposing walls to create a layout grid

  • ✔ Dry-lay tiles along center lines to preview spacing and pattern

  • ✔ Adjust layout to avoid narrow cuts at the edges

  • ✔ Use spacers (1.5mm–3mm) to ensure consistent grout joints

  • ✔ Dry-lay multiple sheets to visualize the herringbone flow


🧱 Step 3: Adhesive Selection – Use Premium Mortar for Strong Bond

We recommend a high-quality white thin-set mortar such as:

  • Mapei

  • Laticrete

  • Ardex

Application Steps:

  1. Mix only the amount usable within 30 minutes

  2. Apply mortar with the flat side of a 1/4″ notched trowel

  3. Comb mortar at a 45° angle with the notched side

  4. Work in small sections (approx. 2’ x 3’)

  5. Back-butter each tile for stronger adhesion


🔪 Step 4: Cutting & Fitting – Precision for Polished Marble

  • ✔ Use a wet saw with a diamond blade for clean cuts

  • ✔ Mark tiles clearly with a pencil or marker

  • ✔ Smooth edges with a rubbing stone for a polished finish

  • ✔ For detailed cuts, use tile nippers or a grinding tool

  • ✔ Dry-fit before applying mortar to ensure perfect alignment


🧩 Step 5: Setting the Tiles – Secure a Seamless Pattern

  • ✔ Begin from the center, working outwards

  • ✔ Press tiles with a slight twist to embed in mortar

  • ✔ Avoid sliding to prevent adhesive displacement

  • ✔ Use spacers to maintain clean grout lines

  • ✔ Gently tap tiles with a rubber mallet for even placement

  • ✔ Wipe away excess mortar with a damp sponge

  • ✔ Let the adhesive cure for 24 hours


🧼 Step 6: Grouting & Finishing – Finalize with Care

  • ✔ Remove spacers before grouting

  • ✔ Use non-sanded grout to protect the polished marble surface

  • ✔ Apply grout diagonally using a rubber float

  • ✔ Remove excess grout immediately

  • ✔ After 15–20 minutes, wipe off haze with a damp sponge

  • ✔ Allow grout to cure for 72 hours

  • ✔ Finish with a penetrating sealer to protect from stains and moisture


🧽 Maintenance Tips – Keep Your Marble Looking New

  • ✔ Clean regularly with pH-neutral stone cleaners

  • ✔ Avoid acidic or abrasive cleaners

  • ✔ Reapply sealer as needed to maintain protection

  • ✔ Use felt pads under furniture to prevent scratches


⚠️ Important Notice

Stonemarket USA is not responsible for improper installations. For optimal results, we strongly recommend using professional installers and premium-grade materials.


💬 Questions? Need Help?

Contact our expert team for support or to get connected with a certified tile installer in your area.
📞 [Your Contact Info]


🚀 Ready to Elevate Your Space?

Click below to order your Iceberg Herringbone Polished Marble Mosaic Tile (11.2″ x 13″) and bring timeless elegance into your home or commercial project.
[🛒 Order Now]