Description
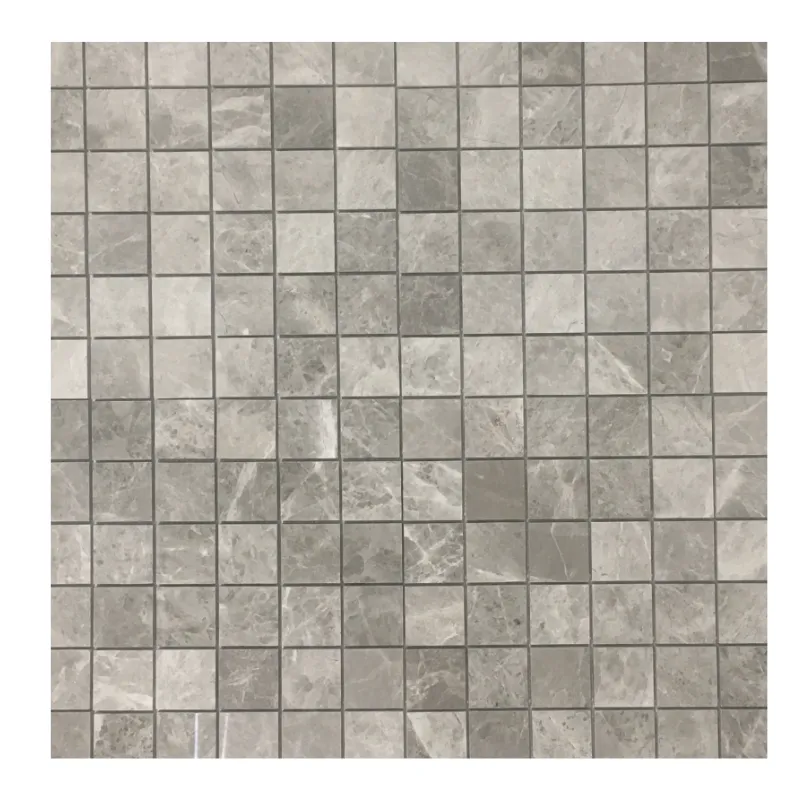
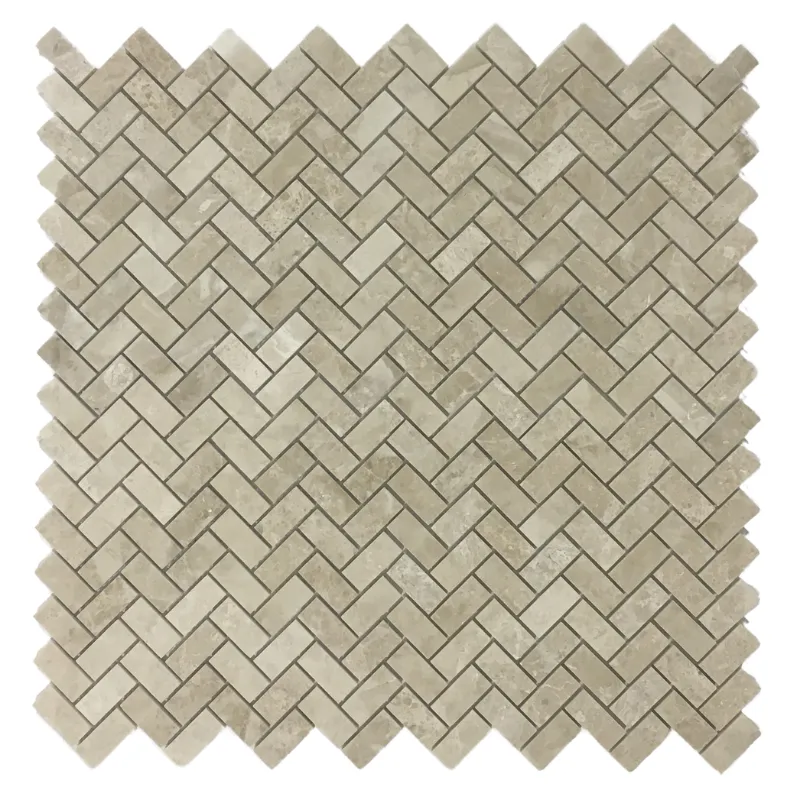
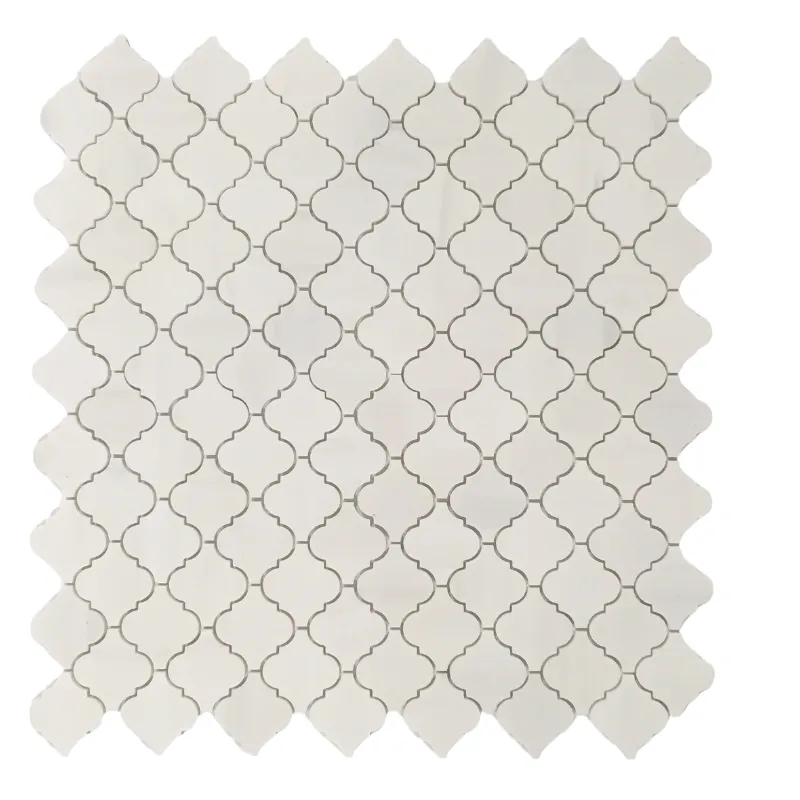
🏗️ 2 x 2 Limestone Honed Marble Mosaic
✨ Transform Your Space with the 2 x 2 Limestone Honed Marble Mosaic
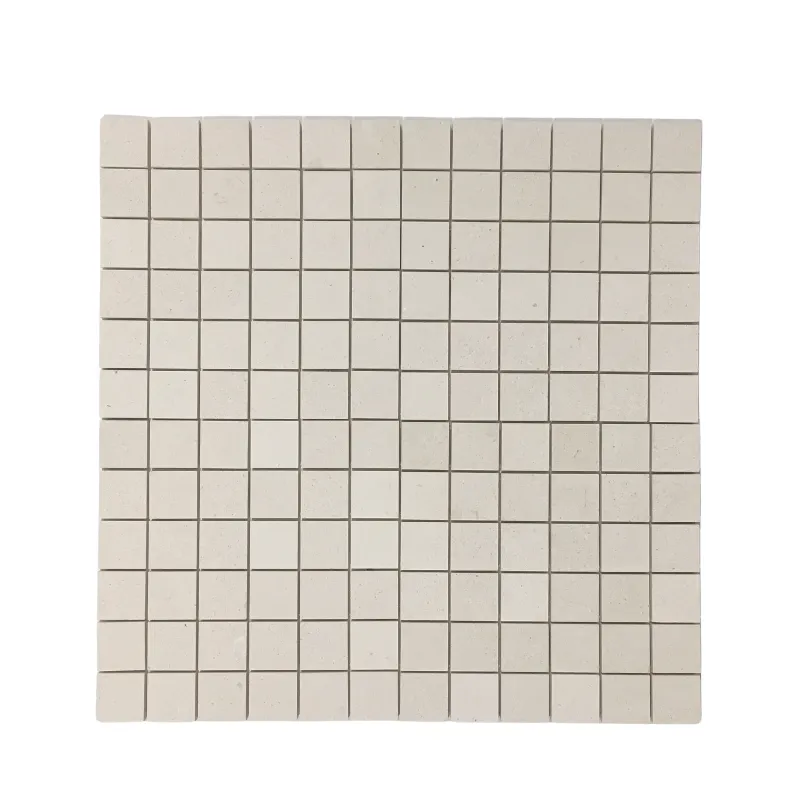
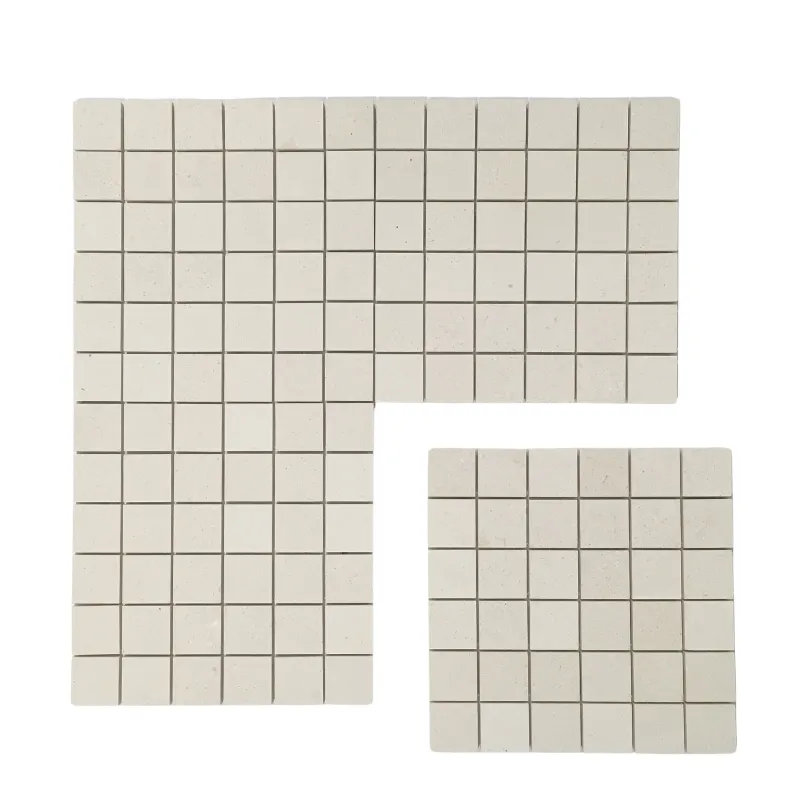
Bring natural elegance and refined charm to your home with our premium 2 x 2 Limestone Honed Marble Mosaic. This sophisticated mosaic showcases subtle beige and creamy tones, complemented by a smooth matte finish that enhances its organic beauty. The square mosaic format offers timeless versatility, effortlessly elevating any contemporary or classic design.
🔹 Key Features:
- Material: Natural Marble
- Stone Name: Limestone
- Pattern: Square Mosaic (2 x 2 inches)
- Finish: Honed (Matte)
- Color: Soft Beige & Creamy Tones
- Sheet Size: 12″ x 12″ (30.5 x 30.5 cm)
- Tile Size: 2″ x 2″
- Thickness: 1 cm
- Coverage: 33.49 sq. m per order (72 boxes, 360 pcs)
🏡 Ideal Applications:
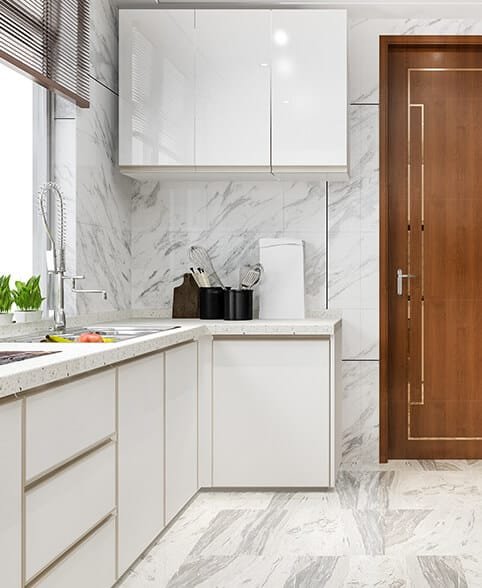
✔️ Kitchen Backsplash – Brings warmth and elegance to your culinary space.
✔️ Bathroom Walls & Floors – Creates a relaxing, spa-like atmosphere.
✔️ Shower Walls – Naturally moisture-resistant with a sophisticated look.
✔️ Entryways & Hallways – A welcoming first impression.
✔️ Decorative Accent Walls – Adds subtle texture and depth.
🔥 Why Choose 2 x 2 Limestone Marble Mosaic?
✅ Classic & Timeless Style – Enhances interiors with enduring beauty.
✅ Premium Natural Limestone – Durable and easy to maintain, perfect for everyday living.
✅ Matte Honed Finish – Provides a contemporary and understated aesthetic.
✅ Versatile Application – Ideal for both residential and commercial environments.
✨ Elevate your home with the timeless sophistication of the 2 x 2 Limestone Honed Marble Mosaic. Order today to add luxurious warmth and natural beauty to your spaces!
Installation Guide
2 x 2 Limestone Honed Marble Mosaic
🔹 Tools & Materials Needed:
- ✔️ Tile Adhesive (Thinset Mortar – white recommended)
- ✔️ Notched Trowel (1/4″ recommended)
- ✔️ Tile Spacers
- ✔️ Level
- ✔️ Wet Saw (for cutting)
- ✔️ Grout (Unsanded recommended)
- ✔️ Grout Float
- ✔️ Sponge & Clean Water
- ✔️ Natural Stone Sealer
🔹 Step-by-Step Installation Instructions:
- Surface Preparation:
- Ensure the installation surface is clean, dry, stable, and level.
- For walls: Install a cement backer board or waterproof substrate.
- For floors: Verify the subfloor is sturdy, level, and free from dirt and debris.
- Layout & Dry Fit:
- Lay out the mosaic sheets on your prepared surface without adhesive to determine proper alignment.
- Arrange sheets so that patterns and natural color variations blend evenly.
- Use tile spacers between sheets to ensure consistent grout lines.
- Applying the Adhesive:
- Spread a thin layer of white tile adhesive evenly using a 1/4″ notched trowel.
- Apply adhesive in manageable sections to prevent drying before tile placement.
- Setting the Mosaic Sheets:
- Firmly press each 2 x 2 mosaic sheet into the adhesive.
- Use a grout float or gentle tapping with a wood block to ensure proper adhesion and level tiles.
- Maintain uniform spacing for grout consistency.
- Cutting Tiles:
- Use a wet saw equipped with a diamond blade for precise and clean cuts.
- Carefully cut mosaic sheets to fit neatly around edges and fixtures.
- Grouting:
- Wait at least 24 hours after setting the mosaic for the adhesive to cure.
- Use unsanded grout to prevent scratches on the honed marble surface.
- Apply grout into joints using a grout float, pressing firmly to ensure full coverage.
- Wipe away excess grout with a damp sponge, rinsing frequently, before it dries.
- Sealing the Marble:
- After grout fully cures (wait 24-48 hours), apply a natural stone sealer to protect your limestone mosaic from moisture and staining.
- Allow the sealer to penetrate as per the manufacturer’s instructions and wipe off excess.
- Final Cleaning & Maintenance:
- Once sealed and completely dry, clean the mosaic tiles gently with a soft cloth and a pH-neutral stone cleaner.
- Regularly maintain your marble tiles by re-sealing annually to preserve their beauty and durability.
- Avoid acidic or abrasive cleaners to protect your honed limestone surface.
🔸 Additional Tips: ✔️ Use white thinset adhesive to prevent any discoloration. ✔️ Regularly check tile alignment with a level during installation. ✔️ Perform installation in smaller sections for best results.
✨ Follow these steps carefully to achieve a professional-quality installation of your 2 x 2 Limestone Honed Marble Mosaic.
For any further assistance, contact our expert support team!

